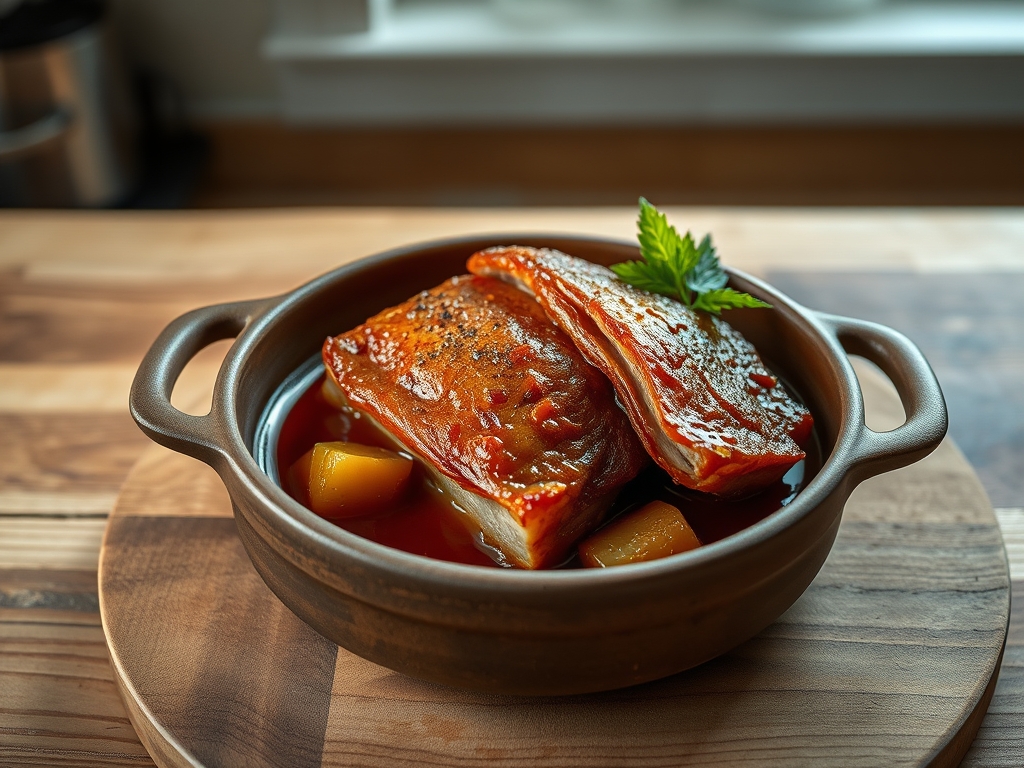
Welcome to the high stakes arena of the pastry laboratory, where the difference between a buttery masterpiece and a structural catastrophe is measured in microns. We are here to dismantle the myth that shortbread is a simple amateur endeavor. It is, in fact, a delicate architectural feat requiring the precise management of lipid barriers and protein hydration. The primary antagonist in this theater of heat is Shortcrust Shrinkage. You have seen it before: that heartbreaking moment when your perfectly crimped edges retreat down the sides of the tart ring like a receding tide, leaving behind a shriveled, toughened husk. This collapse is not bad luck; it is a failure of infrastructure. When gluten networks are over-agitated or insufficiently chilled, they retain a kinetic memory that snaps back the moment the oven's thermal energy hits the dough. We are not just baking; we are conducting a structural audit of flour and fat to ensure total dimensional stability. Let us calibrate the equipment and prepare for a flawless execution.
THE DATA MATRIX
| Metric | Specification |
|---|---|
| Prep Time | 25 Minutes (plus 2 hours hydration) |
| Execution Time | 35 Minutes |
| Yield | 2 x 23cm (9 inch) Tart Shells |
| Complexity (1-10) | 7 |
| Estimated Cost per Serving | $0.85 USD |
THE GATHERS
Ingredient Protocol:
- 500g / 4 cups All-Purpose Flour (Low protein preferred)
- 300g / 1.33 cups Unsalted European Butter (Cold, cubed)
- 150g / 1.25 cups Confectioners Sugar (Sifted)
- 4g / 0.75 tsp Fine Sea Salt
- 2 Large Egg Yolks (Room temperature)
- 30ml / 2 tbsp Heavy Cream (Chilled)
- 5ml / 1 tsp Pure Vanilla Bean Paste
Section A: Ingredient Quality Audit:
The integrity of your shortbread relies entirely on the Solid Fat Index of your butter. If you use standard supermarket butter with high water content, the steam generated during baking will cause the dough to puff and then collapse, exacerbating Shortcrust Shrinkage. Switch to a European-style butter with at least 82 percent butterfat to ensure a short crumb. If your flour has a protein content higher than 10 percent, your dough will be prone to elasticity. You can fix this by replacing 10 percent of the flour weight with cornstarch to interfere with gluten formation. Finally, ensure your sugar is powdered; granulated sugar creates a jagged internal structure that leads to weeping and structural instability under high heat.
THE MASTERCLASS
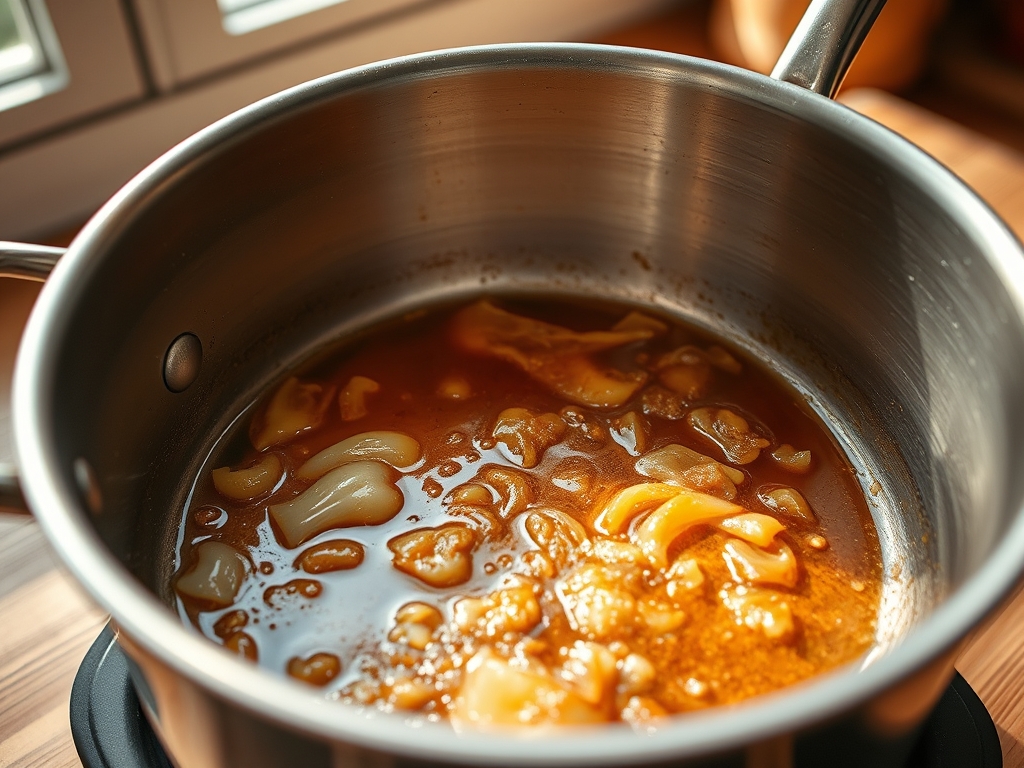
1. The Lipid Enclosure
Place your dry ingredients into a chilled stainless steel bowl. Using a bench scraper, cut the cold butter into the flour until the mixture resembles coarse sand with a few pea-sized lumps remaining.
Pro Tip: This process, known as "sablage," coats the flour proteins in fat. This creates a hydrophobic barrier that prevents water from reaching the proteins, which is the most effective way to inhibit gluten development and prevent Shortcrust Shrinkage.
2. Emulsion Integration
Whisk the egg yolks, cream, and vanilla in a small saucier or ramekin. Create a well in the center of your dry mix and pour in the liquid. Use a flexible spatula to fold the mass together until it just begins to clump.
Pro Tip: Use a digital scale to ensure your liquid ratios are exact. Even a 5ml variance in moisture can trigger excess gluten elasticity, leading to a tough, retracted crust.
3. The Fraisage Maneuver
Turn the dough onto a marble slab. Using the heel of your hand, push the dough away from you in short, firm strokes. This is called fraisage. Gather the dough back together and repeat only twice.
Pro Tip: Fraisage smears the butter into thin, alternating layers without overworking the dough. This mechanical action ensures a flakey texture while keeping the temperature low enough to prevent the fat from melting prematurely.
4. Controlled Hydration and Rest
Wrap the dough tightly in plastic film and flatten it into a disc. Refrigerate for a minimum of two hours, though overnight is superior for molecular stabilization.
Pro Tip: Resting allows the flour to fully hydrate and the gluten strands to relax. If you skip this, the "elastic memory" of the dough will cause significant Shortcrust Shrinkage the moment it encounters the oven's convection currents.
5. Precision Thermal Setting
Roll the dough to a 3mm thickness and fit it into your tart ring. Prick the base with a dock, line with parchment, and fill with ceramic baking weights. Bake at 175C (350F) for 15 minutes, then remove the weights and finish for another 10 minutes.
Pro Tip: The weights provide the necessary internal pressure to counteract the steam-driven lift of the dough. This physical restraint is the final line of defense against structural deformation.
Section B: Prep & Timing Fault-Lines:
The most common human error is the "Warm Hand Syndrome." If the dough exceeds 20C (68F) during handling, the butter will render and soak into the flour, turning your shortcrust into a greasy, flinty cracker. If you notice the dough becoming tacky, stop immediately and return it to the freezer for ten minutes. Additionally, timing the "blind bake" is critical. If you remove the weights too early, the walls of the pastry will bow inward because the protein structure has not yet "set" via heat denaturation.
THE VISUAL SPECTRUM
Section C: Thermal & Visual Troubleshooting:
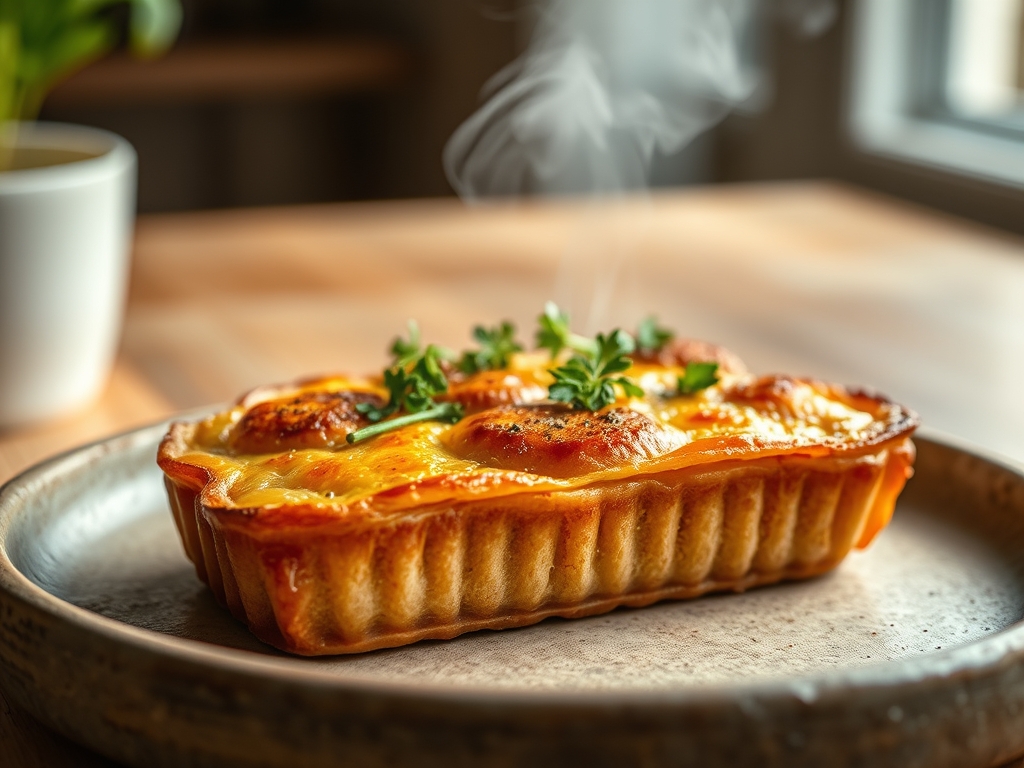
Referencing the Masterclass photo, observe the uniform golden-blonde hue and the sharp, 90-degree angle between the base and the sidewall. If your crust shows dark brown edges with a pale, doughy center, your oven's floor heat is insufficient; consider using a baking stone to infuse the base with immediate conductive heat. If the surface appears dull and "dusty," you likely used too much bench flour during the rolling process. To fix this, use a dry pastry brush to remove excess flour before the dough enters the oven. If the edges have jagged, "saw-tooth" cracks, the dough was too dry; next time, increase the heavy cream by 5ml to ensure a more viscous and pliable raw state.
THE DEEP DIVE
Macro Nutrition Profile:
A standard serving (1/12th of the recipe) contains approximately 280 calories, 18g of fat, 26g of carbohydrates, and 3g of protein. The high fat-to-carb ratio is what provides the signature "melt-in-the-mouth" sensation.
Dietary Swaps:
- Vegan: Replace butter with a high-quality plant-based block (ensure it contains cocoa butter for stability) and use 45ml of aquafaba in place of the eggs.
- Keto: Substitute flour with a 3:1 ratio of almond flour to coconut flour and use erythritol. Note that Shortcrust Shrinkage is less common in keto bakes due to the absence of gluten.
- GF: Use a 1-to-1 gluten-free flour blend containing xanthan gum to provide the necessary structural "glue."
Meal Prep & Reheating Science:
Unbaked dough can be frozen for up to three months. To maintain the molecular structure when reheating a pre-baked shell, use a low-temperature oven (150C/300F) for 5 minutes. Avoid the microwave at all costs; the rapid vibration of water molecules will turn the crisp lipid layers into a soggy, limp mess.
THE KITCHEN TABLE
Why does my crust always shrink even after resting?
You are likely stretching the dough when fitting it into the pan. This creates tension. Always "slump" the dough into the corners, allowing excess to overhang, and never pull or tug the pastry during the lining phase.
Can I use a food processor instead of a bench scraper?
Yes, but use the pulse function sparingly. The high-speed blades can quickly over-process the fat, leading to a "mealy" rather than "short" texture. Stop as soon as the butter pieces are the size of small lentils.
What is the best way to prevent a soggy bottom?
Apply an egg wash "sealant" to the base of the crust during the last 5 minutes of blind baking. This creates a moisture-proof barrier that prevents fillings from migrating into the crisp pastry layers.
My dough is crumbling and won't come together. Help!
The hydration level is too low. Lightly mist the dough with ice water using a spray bottle while performing the fraisage technique. This adds moisture evenly without creating localized "hot spots" of gluten development.