The sensory landscape of a high-end kitchen is not governed by the eyes; it is governed by the fingertips. When you press a finger against the yielding surface of a prime ribeye, you are conducting a high-stakes structural audit of myofibrillar proteins. This is the art of Feeling Meat Doneness. Forget the digital probe for a moment. While thermometers provide data, your hands provide intuition. As heat penetrates the muscle fibers, they undergo a violent transformation from a loose, gelatinous state to a tightly coiled, resilient matrix of denatured proteins. A raw steak feels like the fleshy pad of your thumb when your hand is relaxed; a medium-rare steak mimics the tension of that same pad when your thumb touches your middle finger. Mastering this tactile feedback loop is the difference between a succulent, moisture-retaining masterpiece and a desiccated slab of grey matter. We are here to calibrate your internal sensors, ensuring every sear results in a perfect gradient of color and a texture that defies the resistance of the blade.
THE DATA MATRIX
| Metric | Specification |
|---|---|
| Prep Time | 20 Minutes |
| Execution Time | 15 Minutes |
| Yield | 2 Servings |
| Complexity (1-10) | 7 |
| Estimated Cost per Serving | $18.50 |
THE GATHERS
Ingredient Protocol:
- 2 Center-cut Filet Mignons (approx. 225g / 8oz each)
- 45ml / 3 tbsp High-smoke point oil (Avocado or Grapeseed)
- 60g / 4 tbsp Unsalted European-style butter
- 3 Large garlic cloves, smashed
- 2 Sprigs fresh rosemary
- 10g / 2 tsp Flaky sea salt
- 5g / 1 tsp Coarsely cracked black peppercorns
Section A: Ingredient Quality Audit:
If your protein arrives with a "wet-aged" metallic scent or a slimy surface, the integrity of your sear is compromised. Sub-par meat often contains excess water injection; this moisture will steam the meat rather than sear it. Technical Fix: Perform a dry-brine protocol. Salt the meat heavily and leave it uncovered on a wire rack in the refrigerator for at least four hours. This process uses osmosis to draw moisture out, then reabsorbs the concentrated brine, deeply seasoning the interior while desiccating the surface for a superior Maillard reaction. If your butter breaks or burns too quickly, it lacks sufficient milk solids or has too high a water content. Switch to a cultured butter with at least 82 percent butterfat to ensure a stable emulsion during the basting phase.
THE MASTERCLASS
1. Thermal Calibration and Surface Prep
Remove the protein from refrigeration 45 minutes prior to ignition. Use a lint-free paper towel to aggressively remove every molecule of surface moisture. A damp steak is the enemy of crust. Season only with salt at this stage; pepper can burn and become bitter in the initial high-heat phase.
Pro Tip: Use a digital scale to ensure both steaks are of identical mass. This ensures that your tactile feedback remains consistent across both specimens, allowing you to compare the rate of protein coagulation in real-time.
2. The High-Velocity Sear
Place a heavy-bottomed stainless steel pan or cast-iron skillet over high heat until the oil begins to shimmer and reach the "wisps of smoke" stage. Lay the steak away from you to avoid oil splatter. Press down firmly with a bench scraper or a heavy press to ensure maximum surface-to-metal contact.
Pro Tip: The Maillard reaction occurs most efficiently between 140C and 165C. By using a heavy press, you eliminate air pockets, ensuring that heat transfer is conductive rather than convective, which builds a thicker, crunchier crust.
3. The Aromatic Butter Baste
Once a deep mahogany crust has formed (approximately 3 to 4 minutes), flip the steak. Immediately reduce the heat to medium and add the butter, garlic, and rosemary. As the butter foams, tilt the pan and use a large saucier spoon to continuously drench the steak in the hot, flavored fat.
Pro Tip: This technique, known as arrosage, allows you to gently bring the internal temperature up while the butter solids brown. This adds a nutty, toasted dimension to the flavor profile and ensures the heat distribution is even.
4. Feeling Meat Doneness: The Tactile Audit
This is the critical juncture. Use your index finger to press the center of the steak. For rare, it should feel soft with very little spring-back. For medium-rare, it should offer a gentle resistance, similar to pressing the tip of your nose. If it feels firm like your forehead, you have reached well-done and the structural integrity of the juices is lost.
Pro Tip: Professionals use the "finger-to-thumb" mnemonic device, but the most accurate method involves feeling for the "bounce." A steak that is ready to rest will have a distinct elastic recoil as the internal collagen begins to tighten.
5. The Molecular Rest
Transfer the meat to a warm plate or wire rack. Do not tent it tightly with foil; this creates a steam chamber that will soften your hard-earned crust. Allow it to rest for at least 10 minutes. This allows the agitated muscle fibers to relax and reabsorb the internal juices.
Pro Tip: During the rest, carry-over cooking will increase the internal temperature by about 5 degrees. Always pull your meat when Feeling Meat Doneness indicates it is slightly under your target profile to account for this thermal momentum.
Section B: Prep & Timing Fault-Lines:
The most common failure in the infrastructure of a steak is "Grey Ring Syndrome." This occurs when the exterior is cooked at such a high temperature for too long that a thick band of overcooked meat forms beneath the crust. Technical Fix: Flip the meat more frequently (every 30 to 60 seconds) after the initial crust is set. This prevents heat from dwelling too long on one side, resulting in an edge-to-edge pink interior. If your butter begins to smoke excessively, your pan temperature is too high for the basting phase; immediately add a splash of cold oil to drop the temperature and save the emulsion.
THE VISUAL SPECTRUM
Section C: Thermal & Visual Troubleshooting:
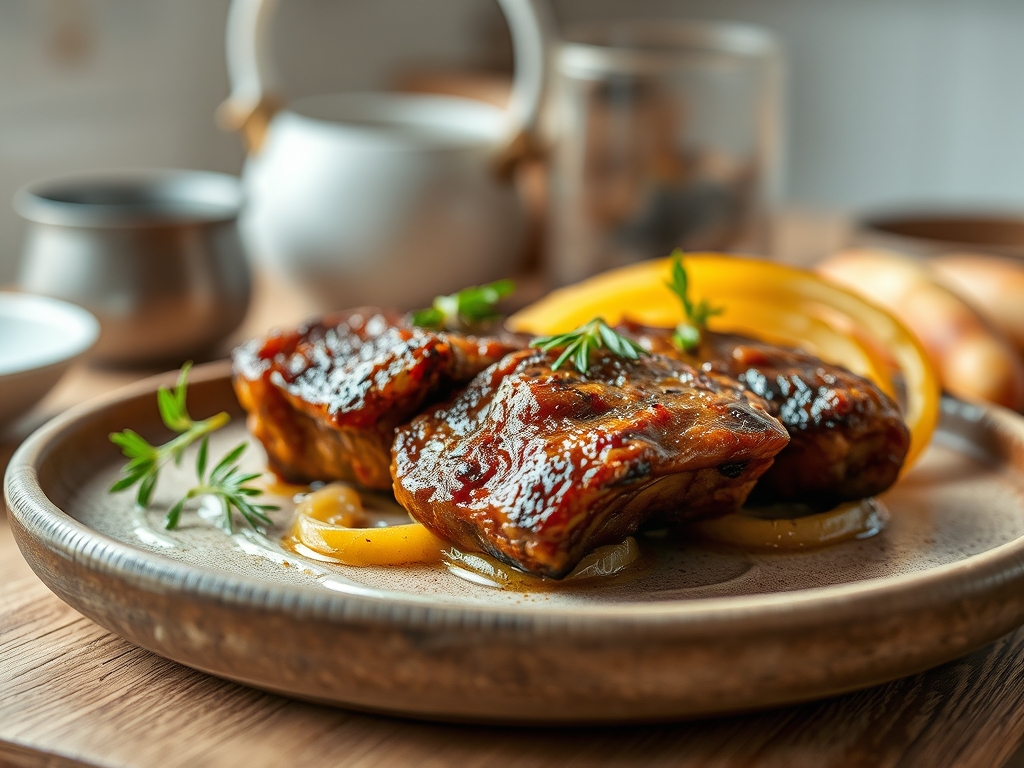
Referencing the Masterclass image, you should observe a "shatter-crisp" exterior with a matte mahogany finish. If your steak looks grey or boiled, your pan was not hot enough or was overcrowded, causing a temperature drop. If the fat hasn't rendered and remains white and rubbery, you failed to sear the edges. Use tongs to stand the steak on its side to melt that fat cap into a crispy, golden delight. Dull colors indicate a lack of acid or salt; a final sprinkle of Maldon salt and a squeeze of lemon juice can brighten the visual and flavor profile instantly.
THE DEEP DIVE
Macro Nutrition Profile:
A standard 225g filet provides approximately 50g of high-bioavailability protein, 30g of fat (depending on trim), and 0g of carbohydrates. It is a dense source of Vitamin B12, Zinc, and Heme-iron.
Dietary Swaps:
- Vegan: Substitute the steak with a thick-cut "steak" of Lion's Mane mushroom. Use vegan butter (oil-based) for the baste. The tactile feedback will be different; the mushroom is done when it feels "meaty" and compressed.
- Keto/GF: This recipe is naturally Keto and Gluten-Free. Ensure your spices are not bulked with flour-based anti-caking agents.
Meal Prep & Reheating Science:
To maintain molecular structure when reheating, avoid the microwave at all costs. The microwave agitates water molecules, steaming the meat from the inside out and turning the proteins into rubber. Instead, reheat in a low oven (120C) until the internal temperature reaches 45C, then flash-sear in a hot pan for 30 seconds to revive the crust.
THE KITCHEN TABLE
How do I know if my pan is hot enough?
Flick a drop of water onto the surface. If it dances and evaporates instantly (the Leidenfrost effect), you are ready. If it just sits and sizzles, wait another minute. High heat is mandatory for the Maillard reaction.
Why does my steak bleed everywhere when I cut it?
You skipped the rest phase. When heat hits meat, juices migrate to the center. Cutting it immediately releases that pressure like a punctured tire. Resting allows the liquid to redistribute into the fibers for a clean, juicy cut.
Can I use a non-stick pan for this?
Negative. Non-stick coatings are not designed for the extreme temperatures required for a professional sear. They can release toxic fumes at high heat and will never produce the complex, deeply flavored crust that stainless steel or cast iron provides.
What is the best oil for searing?
Choose an oil with a high smoke point, such as avocado, grapeseed, or clarified butter (ghee). Extra virgin olive oil has too low a smoke point and will oxidize, creating a bitter, burnt flavor that ruins the protein.