Welcome to the olfactory front lines of the bakery; a place where the air is thick with the promise of cellular respiration. If you are standing over a ceramic bowl waiting for a miracle, you are not just cooking; you are conducting a biological audit. Smelling Yeast Proofing is the definitive diagnostic tool for any serious baker. It is the moment where the dormant Saccharomyces cerevisiae wakes up and begins its frantic, beautiful conversion of sugars into ethanol and carbon dioxide. You are looking for that specific, piquant aroma that signals life. It should be earthy, slightly sweet, and carry a sharp alcoholic edge that cuts through the humidity of the kitchen. If it smells like nothing, your microbes are dead. If it smells like a locker room, your temperature is too high. We are here to calibrate your senses and your station. This is not a hobby; it is a high-stakes chemical reaction where the stakes are fluffy crumb structures and the rewards are pure, golden crusts. Let us begin the audit.
THE DATA MATRIX
| Metric | Specification |
|---|---|
| Prep Time | 15 Minutes |
| Execution Time | 3 Hours |
| Yield | 2 Standard Loaves |
| Complexity (1-10) | 7 |
| Estimated Cost per Serving | $0.45 |
THE GATHERS
Ingredient Protocol:
- 500g / 4 cups Bread Flour (High Protein)
- 350ml / 1.5 cups Filtered Water (95 degrees F)
- 10g / 2 tsp Active Dry Yeast
- 12g / 2.5 tsp Fine Sea Salt
- 15ml / 1 tbsp Honey or Granulated Sugar
- 30ml / 2 tbsp Extra Virgin Olive Oil
Section A: Ingredient Quality Audit:
The most common failure point in fermentation is the use of chlorinated tap water. Chlorine is a broad-spectrum antimicrobial agent designed to kill the very organisms you are trying to cultivate. If your yeast fails to bloom, switch to filtered or spring water immediately. Furthermore, ensure your flour has a protein content of at least 12 percent. Lower protein counts result in a weak gluten matrix that cannot trap the gases produced during the proofing stage. If your flour feels "dusty" rather than "gritty," it likely lacks the structural integrity for a long ferment. Finally, check the expiration date on your yeast. If it has been open for more than six months, the cell count has likely dropped below the threshold required for a vigorous rise.
THE MASTERCLASS
Step 1: The Thermal Calibration
Begin by heating your water to exactly 95 degrees Fahrenheit. Use a digital probe thermometer to verify this; anything above 115 degrees will scald the yeast cells and terminate the reaction. Combine the water and honey in a glass bowl. The honey provides the immediate glucose necessary to jumpstart the metabolism of the yeast.
Pro Tip: Use a digital scale to measure your water by weight rather than volume. A digital scale provides the precision required for consistent hydration levels, ensuring your dough is never too viscous or too dry.
Step 2: The Inoculation Phase
Sprinkle the active dry yeast over the surface of the warm water. Do not stir immediately. Allow the yeast to sit for two minutes to hydrate the outer shell of the granules. After two minutes, use a small whisk to gently incorporate the yeast until no clumps remain.
Pro Tip: This is the critical window for Smelling Yeast Proofing. Within five minutes, you should detect a nutty, beer-like scent. If the aroma is absent, your yeast is non-viable; discard and restart before wasting your expensive flour.
Step 3: The Autolyse and Mix
In a large stainless steel bowl, combine your flour and salt. Create a well in the center and pour in your yeast mixture and olive oil. Use a sturdy bench scraper to fold the flour into the liquid until a shaggy mass forms. Cover and let rest for 20 minutes to allow the flour to fully hydrate.
Pro Tip: The autolyse period allows the flour to absorb water and initiates enzyme activity without the interference of salt or mechanical kneading. This makes the dough more extensible and easier to work with.
Step 4: Mechanical Development
Turn the dough onto a clean surface. Knead the dough for 8 to 10 minutes. You are looking for the "windowpane" effect, where a small piece of dough can be stretched thin enough to see light through it without tearing. This indicates a fully developed gluten network.
Pro Tip: Professional bakers use a bench scraper to keep the work surface clean. This prevents the urge to add excess flour, which would throw off the hydration ratio and result in a dense, heavy loaf.
Step 5: The Bulk Ferment
Place the dough in a lightly oiled bowl and cover with a damp cloth. Place it in a draft-free environment at roughly 75 degrees Fahrenheit. Allow the dough to double in size, which should take approximately 60 to 90 minutes depending on the ambient humidity and temperature.
Pro Tip: Use a clear, straight-sided container for the first rise. This allows you to visually track the volume increase with precision, rather than guessing based on the curve of a bowl.
Section B: Prep & Timing Fault-Lines:
The most frequent human error is rushing the fermentation. If you under-proof, the bread will suffer from "oven spring" so violent that it rips the crust apart. If you over-proof, the gluten structure collapses, resulting in a flat, dense disc. Use the "finger poke" test: if you press the dough and it springs back slowly and leaves a slight indentation, it is ready. If it snaps back instantly, it needs more time. If it deflates, you have waited too long.
THE VISUAL SPECTRUM
Section C: Thermal & Visual Troubleshooting:
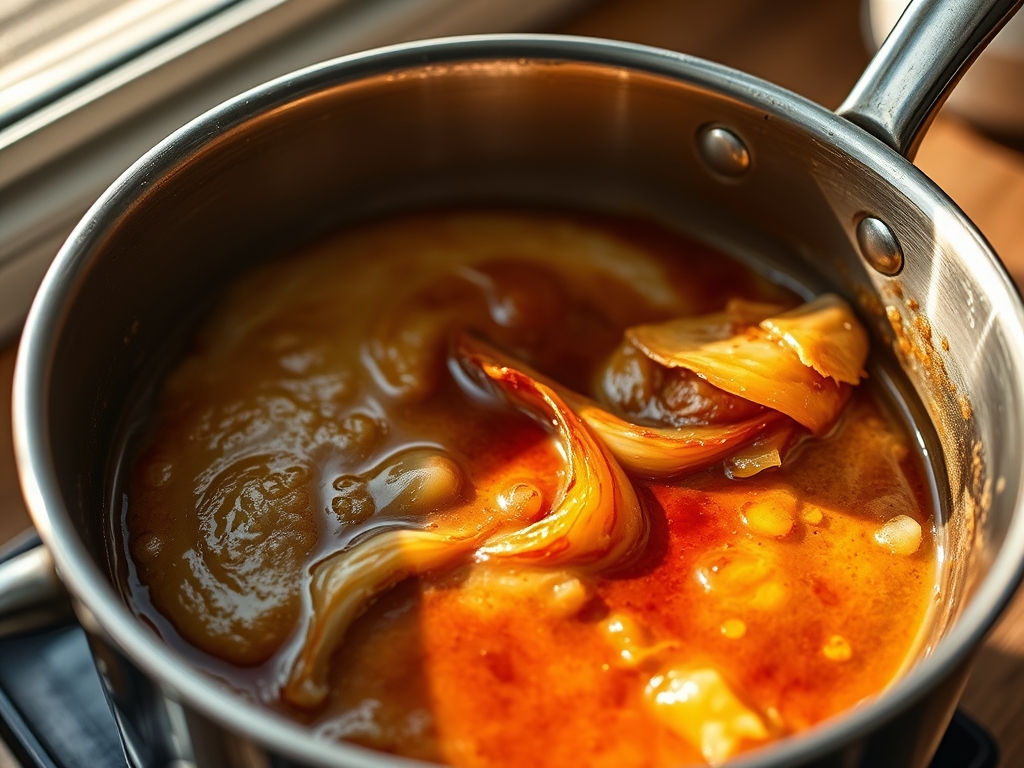
Look closely at the Masterclass photo above. Notice the small, uniform bubbles breaking the surface of the liquid; this is the visual confirmation of Smelling Yeast Proofing. If your mixture looks like stagnant water after ten minutes, the yeast is dead. During the bake, if your crust is pale, you likely lacked enough residual sugar for the Maillard reaction. Adding a small amount of diastatic malt powder can fix this in future batches. If the bread has a "dull" finish, try introducing steam into the oven during the first ten minutes of baking. This keeps the surface moist, allowing the dough to expand fully and creating a glossy, professional sheen on the finished crust.
THE DEEP DIVE
Macro Nutrition Profile:
Each serving (approximately 2 slices) contains 180 calories, 4g of protein, 32g of carbohydrates, and 3g of fat. The fermentation process slightly reduces the glycemic index of the bread compared to commercially produced loaves, as the yeast consumes some of the simple sugars.
Dietary Swaps:
- Vegan: This recipe is naturally vegan if using granulated sugar instead of honey.
- Gluten-Free: Substitute with a high-quality 1:1 gluten-free flour blend containing xanthan gum. Note that Smelling Yeast Proofing is even more critical here as the yeast must work harder to aerate a heavier dough.
- Keto: This specific fermentation process is not keto-friendly due to the high starch content of bread flour.
Meal Prep & Reheating Science:
To maintain the molecular structure, store bread in a paper bag at room temperature for up to two days. Do not refrigerate, as this accelerates retrogradation, causing the starch to crystallize and the bread to go stale. To reheat, wrap in foil and bake at 350 degrees for 10 minutes to re-gelatinize the starches and restore the crumb's elasticity.
THE KITCHEN TABLE
Why does my yeast smell like ammonia?
This typically occurs during an over-extended ferment. The yeast has exhausted its food supply and is beginning to break down amino acids. Shorten your proofing time or lower the ambient temperature to slow the metabolic rate.
Can I use cold water to proof yeast?
You can, but it is a "cold start." It will take significantly longer for the yeast to wake up and begin Smelling Yeast Proofing. This method is best for long, overnight ferments in the refrigerator to develop deeper flavor.
What if my dough doesn't rise but the yeast bloomed?
Your kitchen may be too cold, or your salt may have come into direct contact with the yeast before mixing. Salt is a dehydrator; it can kill yeast cells if they are not protected by flour.
Does the type of sugar matter for the bloom?
Yeast is not picky, but simple sugars like honey or maple syrup are easier for the cells to process than complex granulated sugars. This results in a faster, more aggressive start to your fermentation cycle.