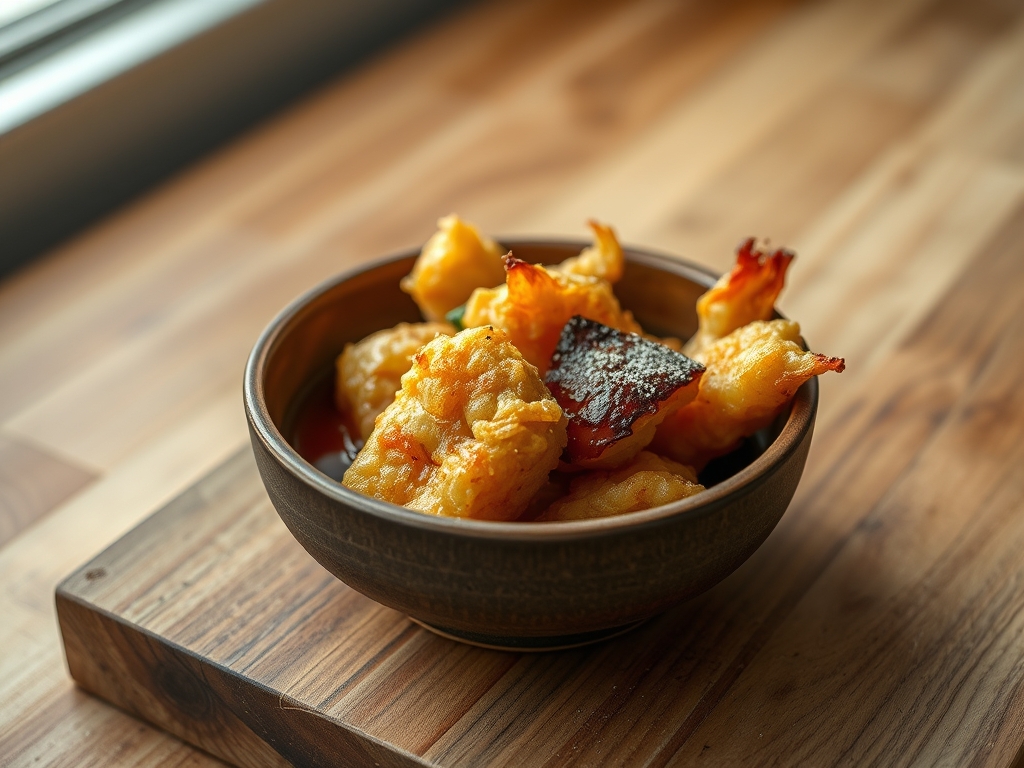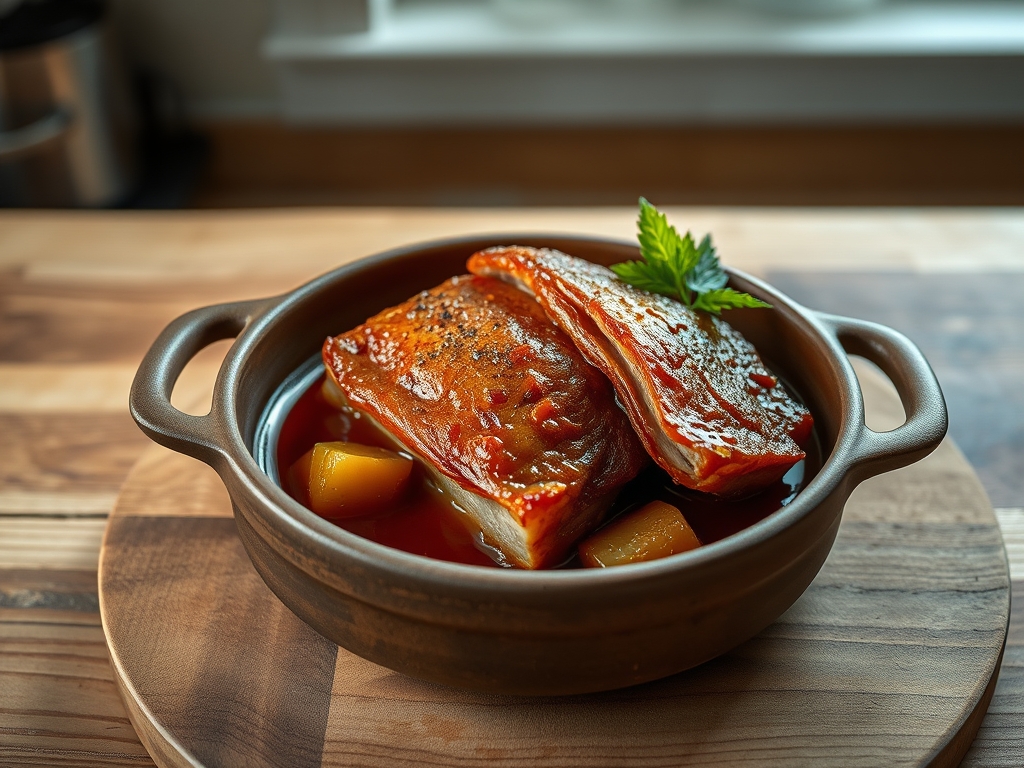
Listen to that. It is not just a sound; it is a structural failure of cellular walls under extreme thermal pressure. When we discuss Crispy Pork Belly, we are talking about the ultimate engineering feat of the culinary world. It is a three-tiered masterpiece of texture: the glass-like shatter of the skin, the melting lipid-buffer of rendered fat, and the succulent, protein-dense foundation of the meat. This is the acoustic signature of a perfect audit. If your pork belly sounds like a wet sponge rather than a snapping dry twig, your infrastructure has failed. We are here to fix the blueprint. We are moving beyond mere cooking into the realm of moisture-migration management and protein denaturation. We are hunting for that specific frequency of crunch that signals a successful Maillard reaction and a total evacuation of subcutaneous water. If you are ready to stop making dinner and start building a legend, grab your digital thermometer. We are going deep into the belly of the beast to ensure every bite is a high-decibel triumph of lipid-based snap.
THE DATA MATRIX
| Metric | Specification |
|---|---|
| Prep Time | 24 Hours (Curing/Drying) |
| Execution Time | 3 Hours |
| Yield | 6 Servings |
| Complexity | 8 / 10 |
| Estimated Cost per Serving | $4.50 – $6.00 |
THE GATHERS
Ingredient Protocol:
- 2 kg / 4.4 lbs Center-cut Pork Belly (skin-on)
- 30g / 2 tbsp Kosher Salt (for the cure)
- 15g / 1 tbsp Five Spice Powder
- 10g / 2 tsp White Pepper
- 500g / 1.1 lbs Coarse Sea Salt (for the salt crust)
- 30ml / 2 tbsp Shaoxing Rice Wine
- 15ml / 1 tbsp White Vinegar (for skin prep)
Section A: Ingredient Quality Audit:
The primary failure point in most pork belly builds is the raw material. If your pork belly arrives in a vacuum-sealed bag sitting in a pool of myoglobin, you are already fighting a losing battle against moisture. Capillary action will pull that liquid into the skin, making a crisp finish nearly impossible. To fix sub-par, "wet" pork, you must perform an emergency desiccation. Pat the meat dry with lint-free towels and leave it uncovered in the coldest part of the refrigerator for an extra twelve hours. Another common issue is uneven thickness. If the slab is lopsided, the heat distribution will be erratic. Use a sharp chef knife to level the meat side so the skin sits perfectly horizontal during the render. Finally, ensure the skin is free of stray hairs; use a disposable razor if the butcher was lazy. A clean surface is non-negotiable for a uniform crackle.
THE MASTERCLASS
1. The Perforation Protocol
Using a specialized meat tenderizer or a cluster of needles, prick the skin of the pork belly thousands of times. Do not pierce through to the fat layer; you only want to create micro-channels in the dermis. This allows the fat to render upward and fry the skin from the inside out.
Pro Tip: Use a digital scale to measure your salt precisely. Consistent salinity is the key to breaking down the tough collagen fibers in the skin without over-seasoning the delicate meat below.
2. The Acidic Dehydration
Brush the skin with white vinegar. The acetic acid breaks down the surface proteins and accelerates the drying process. Flip the slab over and rub the meat side with the Shaoxing wine, five spice, and white pepper, keeping the skin side meticulously dry.
Pro Tip: Use a saucier to mix your dry rub ingredients. The rounded bottom ensures no spices are trapped in corners, allowing for a perfectly homogenous flavor profile before application.
3. The Salt Crust Shield
Place the pork on a large sheet of aluminum foil and fold the edges up to create a tight "box" around the sides of the meat, leaving only the skin exposed. Cover the skin with a half-inch thick layer of coarse sea salt. This salt acts as a desiccant, drawing out every last molecule of moisture.
Pro Tip: A bench scraper is the ideal tool for leveling the salt crust. A perfectly flat salt bed ensures that heat radiates evenly across the entire surface area of the pork.
4. The Primary Thermal Render
Roast the pork at 150C / 300F for approximately 90 minutes. In this phase, we are looking for a slow infuse of heat to melt the intramuscular fat and tenderize the lean tissue while the salt crust hardens into a solid plank.
Pro Tip: Use a probe thermometer to monitor the internal temperature. You are targeting 75C / 167F for the meat. This ensures the connective tissue has dissolved into gelatin without drying out the protein.
5. The High-Velocity Blast
Remove the pork from the oven and discard the hardened salt crust. Increase the oven temperature to 230C / 450F. Place the pork back in. The residual fat on the skin will now begin to boil and aerate, creating the signature bubbly texture seen in the reference photo.
Pro Tip: If you notice "hot spots" where the skin is browning too fast, use small balls of aluminum foil to level the pork slab. This ensures the entire surface is the same distance from the heating element.
Section B: Prep & Timing Fault-Lines:
The most frequent human error is rushing the drying phase. If you skip the 24-hour fridge rest, the steam generated during roasting will "stew" the skin rather than fry it. If your skin is chewy instead of crunchy, your oven temperature was likely too low during the final blast. Conversely, if the meat is dry but the skin is perfect, you failed to shield the sides of the meat with foil. The foil box is essential for moisture retention in the protein layers. Always use a timer; the transition from "perfectly golden" to "acrid carbon" happens in a matter of seconds during the high-heat phase.
THE VISUAL SPECTRUM
Section C: Thermal & Visual Troubleshooting:
Look at the Masterclass photo. Notice the uniform, honeycomb-like structure of the skin. If your pork belly has large, smooth patches that look like plastic, you did not prick the skin enough. Those smooth areas are "islands" of un-aerated collagen. If the color is a dull tan rather than a vibrant mahogany, you may have used too much sugar in your rub, which burned and masked the natural colors. If the skin is separating from the fat, the heat was applied too aggressively too early. The goal is a cohesive, multi-textured slice. If you see black spots, do not panic; use a microplane or a serrated knife to gently shave off the charred bits before serving. This restores the aesthetic integrity of the dish without sacrificing the flavor.
THE DEEP DIVE
Macro Nutrition Profile:
Pork belly is a high-density energy source. A standard 150g serving contains approximately 45g of Fat, 15g of Protein, and 0g of Carbohydrates. It is rich in B vitamins and selenium, though its caloric density requires mindful portioning within a balanced diet.
Dietary Swaps:
- Vegan: For a plant-based "acoustic snap," utilize King Oyster Mushrooms. Score the caps and sear them under a heavy weight to mimic the compressed texture of pork, using liquid smoke and soy sauce to deglaze for a piquant finish.
- Keto/GF: This recipe is naturally Keto-friendly. Ensure your Five Spice powder does not contain added starches or anti-caking agents to remain strictly Gluten-Free.
Meal Prep & Reheating Science:
Reheating pork belly is a delicate operation. Microwaving is strictly forbidden as it turns the skin into rubber. To maintain the molecular structure, reheat in an air fryer or oven at 200C / 400F for 5-8 minutes. This re-activates the fats and restores the viscous interior while crisping the exterior.
THE KITCHEN TABLE
Why is my pork skin still chewy?
Residual moisture is the culprit. Ensure the skin is bone-dry before the salt crust is applied. If it is still chewy after roasting, give it a quick flash-fry in a pan with a millimeter of oil.
Can I use table salt for the crust?
Negative. Table salt is too fine and will penetrate the skin, making the meat inedibly salty. Coarse sea salt creates a removable barrier that extracts moisture without over-seasoning.
What if I don't have a needle tool?
A clean safety pin or the tip of a very sharp paring knife works. The key is quantity; you need hundreds of tiny punctures to allow the steam to escape and the fat to rise.
How do I get a clean slice?
Flip the pork belly skin-side down on the cutting board. Cut through the meat first, then apply firm pressure to snap through the skin. This prevents the crackling from shattering into a mess.