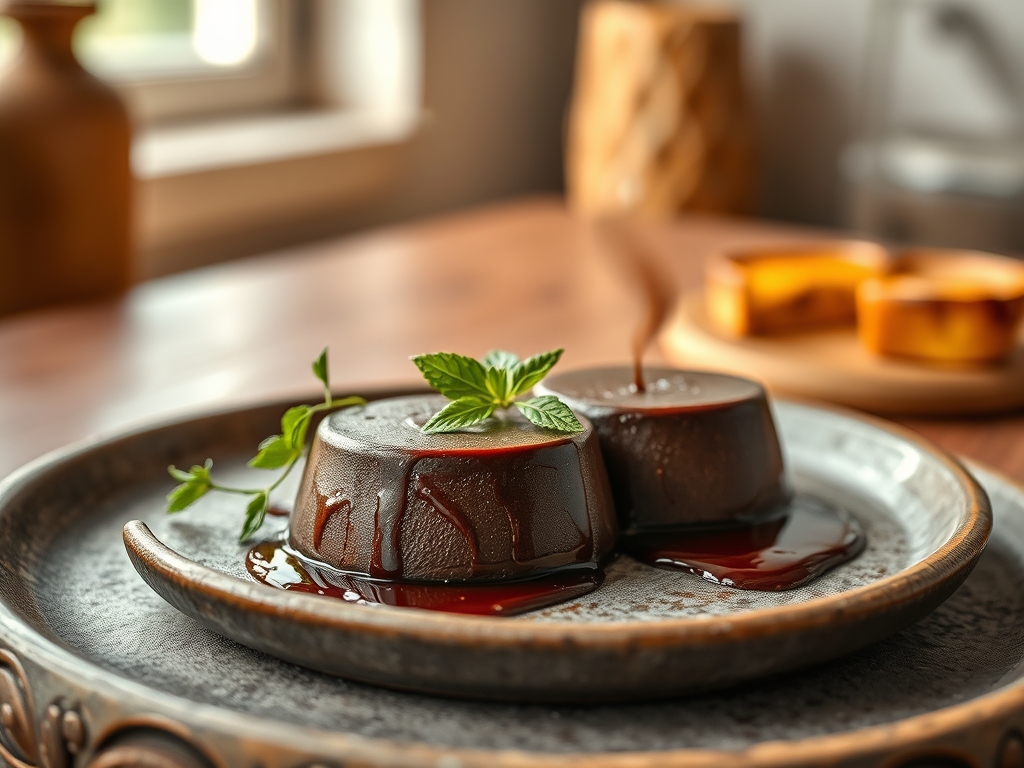
Imagine a substance so architecturally precise that it remains a rigid solid at room temperature but transforms into a luxurious liquid the moment it touches your tongue. This is not mere confectionery; it is a high stakes game of molecular geometry. The Chocolate Melt Point is the physiological sweet spot where chemistry meets cravings. We are dealing with cocoa butter, a complex vegetable fat composed of six distinct crystalline forms. Each form has a different stability profile and a different thermal threshold. When you master this threshold, you unlock the ability to create coatings that snap with the authority of a judge's gavel and fillings that flow like silk. If you miss the mark, you end up with a grainy, dull mess that clings to the palate like wet clay. We are here to audit your technique and ensure your lipids are behaving with absolute discipline. Prepare for a deep dive into the thermal dynamics of the world's most beloved emulsion. We are going to render these solids into liquid gold.
THE DATA MATRIX
| Metric | Specification |
|---|---|
| Prep Time | 20 Minutes |
| Execution Time | 45 Minutes |
| Yield | 500g Finished Ganache |
| Complexity (1-10) | 8 |
| Estimated Cost per Serving | $2.45 |
THE GATHERS
Ingredient Protocol:
- 340g / 12 oz High Quality Dark Chocolate (60% to 70% Cacao)
- 240ml / 1 cup Heavy Cream (minimum 36% milk fat)
- 30g / 2 tbsp Unsalted European Style Butter (room temperature)
- 5ml / 1 tsp Pure Vanilla Extract
- 2g / 0.5 tsp Flaked Sea Salt
Section A: Ingredient Quality Audit:
The primary failure point in chocolate liquefaction is low quality raw material. If your chocolate contains vegetable fats other than cocoa butter, your Chocolate Melt Point will be erratic and unpredictable. These "compound" chocolates lack the polymorphic structure required for a clean snap. If your chocolate appears "bloomed" with white streaks, do not panic; this is simply fat migration. You can fix this by bringing the entire mass to a complete melt and re-tempering. Furthermore, if your cream has a low fat content, the emulsion will fail to stabilize. Always opt for heavy cream with no added carrageenan to ensure a pure, piquant flavor profile and a smooth, viscous finish.
THE MASTERCLASS
Step 1: Precision Fragmentation
Begin by using a sharp serrated knife or a heavy duty bench scraper to shave the chocolate into uniform, feather thin shards. Increasing the surface area is the only way to ensure simultaneous melting across the entire batch. If the pieces are uneven, the smaller bits will overheat and scorch before the larger chunks reach their transition temperature.
Pro Tip: Use a digital scale to weigh your fragments. Precision is the enemy of failure. Small shards allow for a more rapid "render" of the fats, preventing the cocoa solids from seizing.
Step 2: Thermal Infusion of the Dairy
Place your heavy cream in a heavy bottomed saucier over medium heat. You are looking for a gentle simmer, not a rolling boil. As soon as small bubbles form around the perimeter of the pan, remove it from the heat. This is the moment to infuse any aromatics if you choose to deviate from the standard protocol.
Pro Tip: Heat the cream to exactly 82 degrees Celsius (180 degrees Fahrenheit). This temperature is sufficient to break down the protein structures in the dairy without scorching the delicate lactose sugars.
Step 3: The Emulsification Event
Pour the hot cream directly over your shaved chocolate. Do not stir immediately. Cover the bowl with a lid or a plate to trap the residual steam. Let it sit for exactly three minutes. This allows the Chocolate Melt Point to be reached through passive conduction, which is far gentler than active agitation.
Pro Tip: Use a silicone spatula to stir in tight, concentric circles starting from the center. This creates a high shear environment that forces the fat and water molecules into a stable, viscous emulsion.
Step 4: Lipid Integration
Once the mixture is glossy and uniform, add the room temperature butter one small cube at a time. The butter adds a secondary layer of fat that lowers the overall melting threshold of the final product, ensuring it feels even softer on the palate. Finish with the salt and vanilla.
Pro Tip: An immersion blender is your best friend here. Burp the blender to remove air pockets, then process the ganache for thirty seconds to achieve a professional, glass like sheen that reflects light perfectly.
Section B: Prep & Timing Fault-Lines:
The most common human error is impatience. If you stir the chocolate before it has reached its thermal equilibrium, you will introduce air bubbles and cause the temperature to drop too quickly. This results in a "matte" finish rather than a glossy one. Another fault line is the "water hazard." A single drop of water from a damp spoon or steam from a double boiler can cause the chocolate to seize into a dry, crumbly mass. Ensure all tools are bone dry before the audit begins.
THE VISUAL SPECTRUM
Section C: Thermal & Visual Troubleshooting:
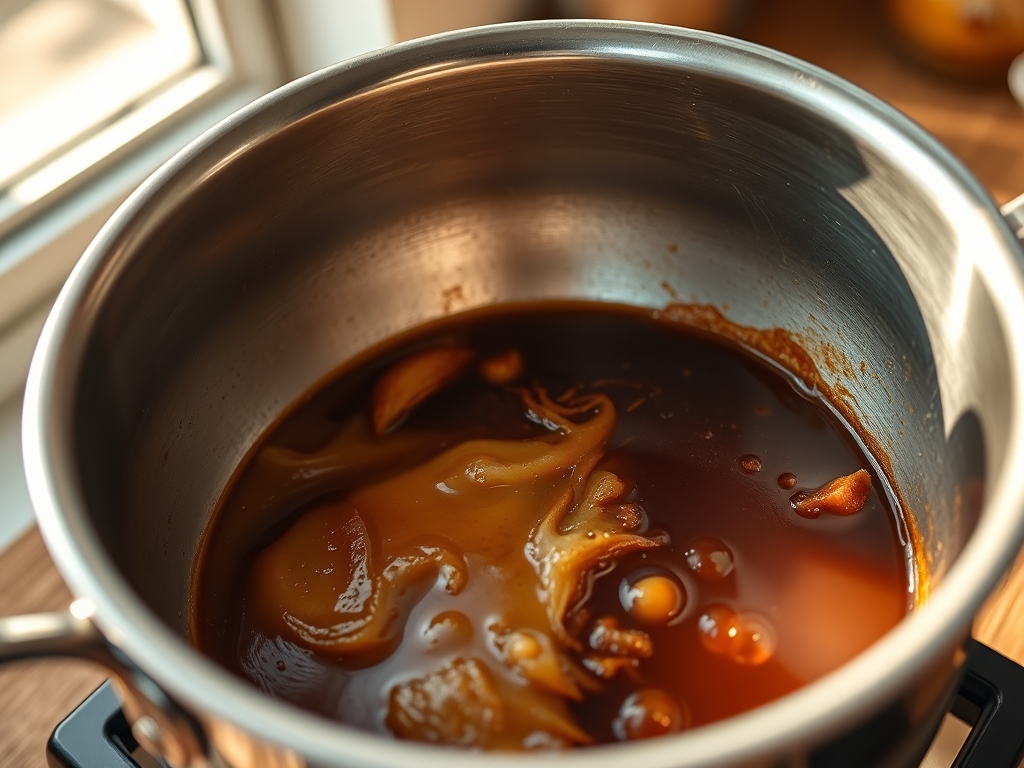
Referencing the Masterclass photo, you should observe a surface that is devoid of streaks or graininess. If your mixture looks dull or "broken" (where the oil is separating from the solids), your emulsion has collapsed. You can often rescue a broken ganache by adding a teaspoon of room temperature milk and whisking vigorously. If the color is uneven, it likely means the chocolate was not chopped finely enough, leading to localized "hot spots" where the cacao solids burned. A perfect result should have the viscosity of heavy motor oil at 35 degrees Celsius and should coat the back of a spoon with a mirror like finish.
THE DEEP DIVE
Macro Nutrition Profile:
A standard serving of this high precision ganache contains approximately 210 calories, 18g of fat, 12g of carbohydrates, and 2g of protein. It is a calorie dense fuel source designed for sensory impact rather than volume consumption.
Dietary Swaps:
For a vegan audit, replace the heavy cream with full fat coconut milk and use a high quality plant based butter. The Chocolate Melt Point remains similar, though coconut fat liquefies at a slightly lower temperature (24 degrees Celsius). For a keto profile, utilize a 100% cacao mass and sweeten with an erythritol blend, though be aware that sugar alcohols can alter the crystallization rate.
Meal Prep & Reheating Science:
To maintain the molecular structure during storage, press plastic wrap directly onto the surface of the ganache to prevent an "oxidation skin" from forming. When reheating, avoid the microwave at all costs. Use a gentle bain-marie (water bath) to slowly coax the fats back into a liquid state without breaking the emulsion.
THE KITCHEN TABLE
Why does my chocolate feel gritty?
Grittiness usually indicates that the sugar crystals did not fully dissolve or the cocoa butter didn't reach its full Chocolate Melt Point. Ensure your cream is hot enough to fully melt every microscopic particle of cacao.
Can I use milk chocolate instead?
Yes; however, milk chocolate has a lower melting point due to the higher milk fat content. You must reduce the amount of cream by roughly 25% to maintain a stable, workable structure.
How do I get that mirror-like shine?
The shine is a result of a perfect emulsion and rapid cooling. Using an immersion blender to remove micro-bubbles and ensuring your butter is high-quality European style (82% fat) will provide that professional luster.
What is the best way to store leftovers?
Store in an airtight container in the refrigerator for up to two weeks. To reuse, let it come to room temperature naturally before applying gentle heat to avoid shocking the crystalline structure.