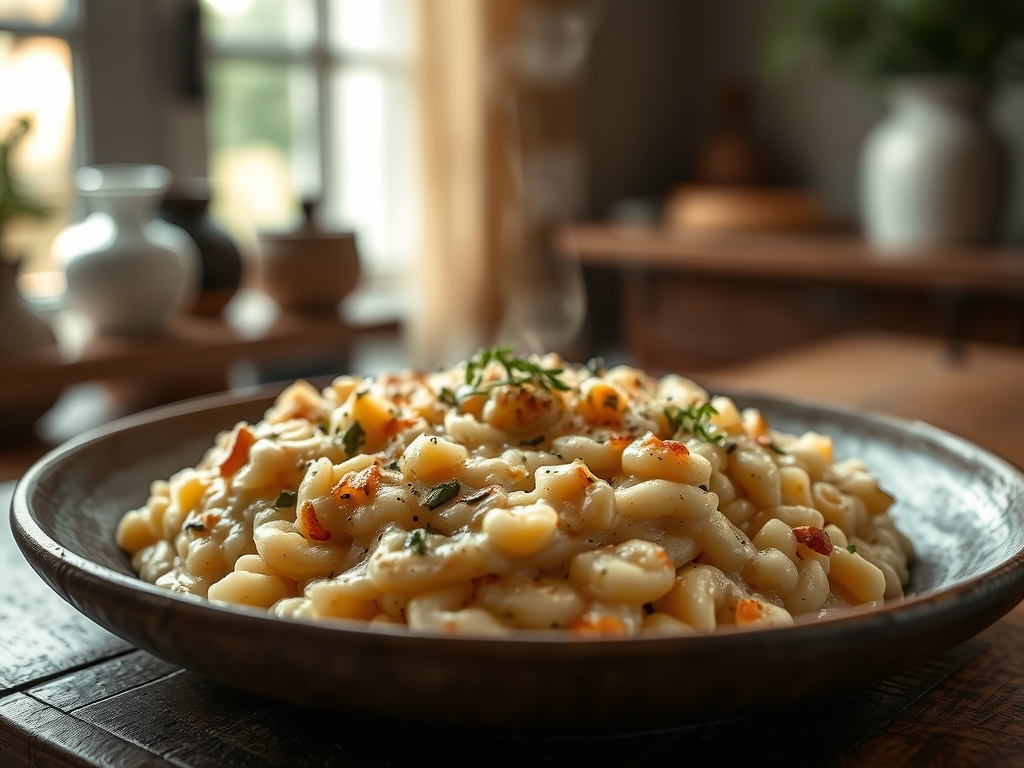
Listen. Can you hear that? That rhythmic, high frequency staccato is the sound of a kitchen firing on all cylinders. It is the Sizzling Pan Feedback that separates the weekend warriors from the culinary elite. When cold protein meets a shimmering, oil slicked surface, the resulting thermal shock is a symphony of moisture evaporation and structural transformation. If your pan is silent, you are not cooking; you are merely warming things up. We are here to audit your process and ensure your thermal load recovery is instantaneous. We want that aggressive hiss to remain constant even as you introduce cold mass into the environment. This is about the physics of the sear and the chemistry of the crust. We are hunting for the Maillard reaction with the precision of a ballistics expert. If your surface heat drops, your crust fails, your juices leak, and your reputation as a technician of the flame evaporates faster than a drop of water on a 500 degree skillet.
THE DATA MATRIX
| Metric | Specification |
|---|---|
| Prep Time | 20 Minutes |
| Execution Time | 15 Minutes |
| Yield | 4 Servings |
| Complexity (1-10) | 7 |
| Estimated Cost per Serving | $8.50 |
THE GATHERS
Ingredient Protocol:
- 700g / 1.5 lbs Center-cut Beef Tenderloin (cubed)
- 45ml / 3 tbsp High Smoke Point Oil (Avocado or Grapeseed)
- 60g / 4 tbsp Unsalted Grass-fed Butter
- 4 Large Garlic Cloves (smashed)
- 15g / 1 tbsp Fresh Rosemary (bruised)
- 10g / 2 tsp Coarse Kosher Salt
- 5g / 1 tsp Freshly Cracked Black Pepper
- 30ml / 2 tbsp Dry Sherry (to deglaze)
- 5ml / 1 tsp Worcestershire Sauce
Section A: Ingredient Quality Audit:
If your beef feels "tacky" or smells faintly of ammonia, the protein structure has begun to degrade; discard it immediately. For moisture issues, if your meat is "weeping" pink liquid in the packaging, it has likely been frozen and thawed poorly. This excess moisture is the enemy of Sizzling Pan Feedback. To fix this, you must perform a dry-brine. Salt the meat and leave it uncovered on a wire rack in the fridge for at least four hours. This allows the surface to dehydrate, ensuring that the energy of the pan goes into browning the meat rather than boiling the surface water. If your garlic is sprouting green "hearts," remove them. Those sprouts contain sulfurous compounds that turn bitter when they hit high heat.
THE MASTERCLASS
1. Thermal Loading and Surface Prep
Place your heavy bottomed stainless steel pan or cast iron skillet over high heat. Do not add oil yet. You are waiting for the Leidenfrost point, where a drop of water beads and dances across the surface rather than evaporating. Once achieved, add your oil. It should shimmer and show viscous legs immediately.
Pro Tip: Use an infrared thermometer to verify the surface temperature is between 425F and 450F. A saucier is excellent for sauces, but for this task, you need the flat surface area of a traditional skillet to maximize contact.
2. The Initial Contact Phase
Introduce the beef in a single layer. Do not crowd the pan. If you add too much mass at once, the thermal load will crash, the Sizzling Pan Feedback will die, and you will end up steaming the meat in its own juices. You should hear an immediate, aggressive roar.
Pro Tip: Use a digital scale to divide your meat into 200g batches. This prevents the "crowded pan syndrome" and ensures the pan recovery time is under ten seconds.
3. The Maillard Rotation
Leave the meat untouched for 90 seconds. We are looking for a deep, mahogany crust. Once the meat releases naturally from the pan, use a bench scraper or heavy tongs to flip the cubes. You are looking for a uniform, rendered fat cap and a crisp exterior.
Pro Tip: This is where molecular chemistry happens. The amino acids and reducing sugars are rearranging to create hundreds of flavor compounds. If you move the meat too early, you tear the fibers and lose the crust.
4. The Aromatic Infusion
Lower the heat to medium high and add the butter, garlic, and rosemary. As the butter foams, it will begin to aerate and brown. Tilt the pan and use a large spoon to continuously baste the beef with the infused fat. This is the "Arrosé" technique.
Pro Tip: Watch the butter solids. You want "Beurre Noisette" (hazelnut butter) aromas. If the butter turns black, your thermal management has failed; wipe the pan and start the butter phase over.
5. Deglaze and Emulsify
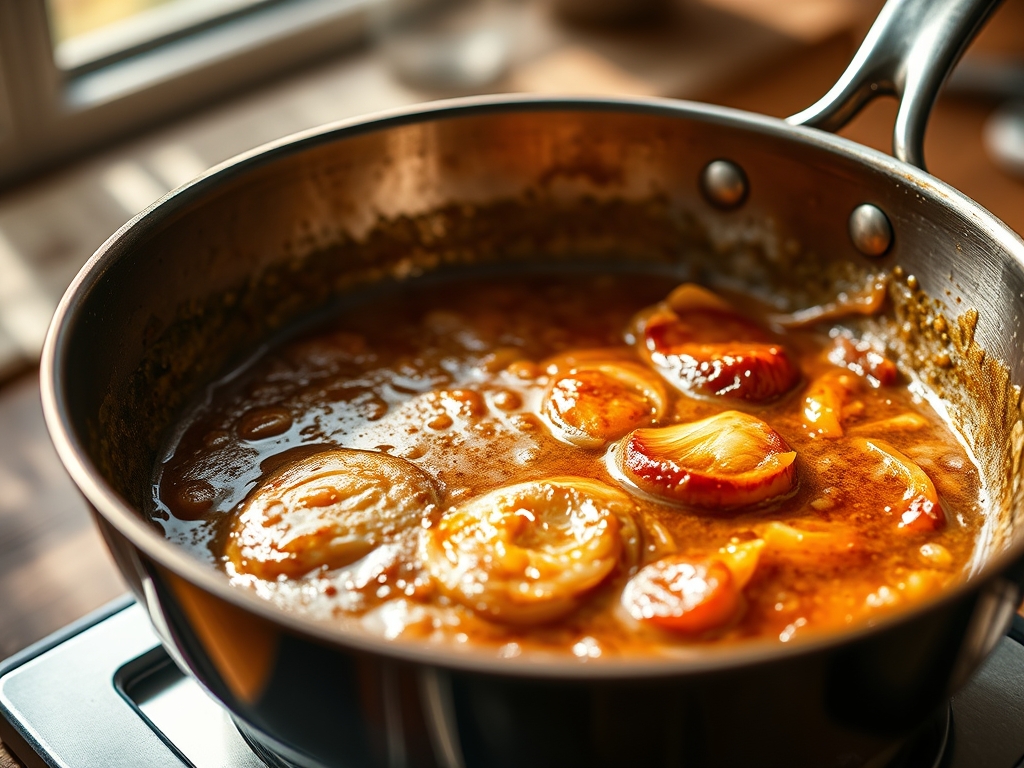
Remove the meat and set it aside to rest. Pour in the dry sherry to deglaze the pan. Use your whisk to scrape up the "fond" (the brown bits stuck to the bottom). Add the Worcestershire sauce and whisk until the liquid is viscous and glossy.
Pro Tip: The fond is concentrated flavor. By adding a cold liquid to a hot pan, you are using kinetic energy to lift those flavors back into a sauce.
Section B: Prep & Timing Fault-Lines:
The most common failure is the "Cold Meat Error." Taking beef directly from a 38F refrigerator and dropping it into a pan is a recipe for a grey, rubbery disaster. The internal coldness acts as a heat sink, dragging the pan temperature down. Always temper your meat at room temperature for 30 minutes. Another fault-line is the "Oil Smoke Point Breach." If your oil starts smoking excessively before the meat hits the pan, the oil has oxidized and will taste acrid. If this happens, dump the oil, wipe the pan, and start over. Timing is everything; have your digital scale and prep bowls ready before the heat is turned on.
THE VISUAL SPECTRUM
Section C: Thermal & Visual Troubleshooting:
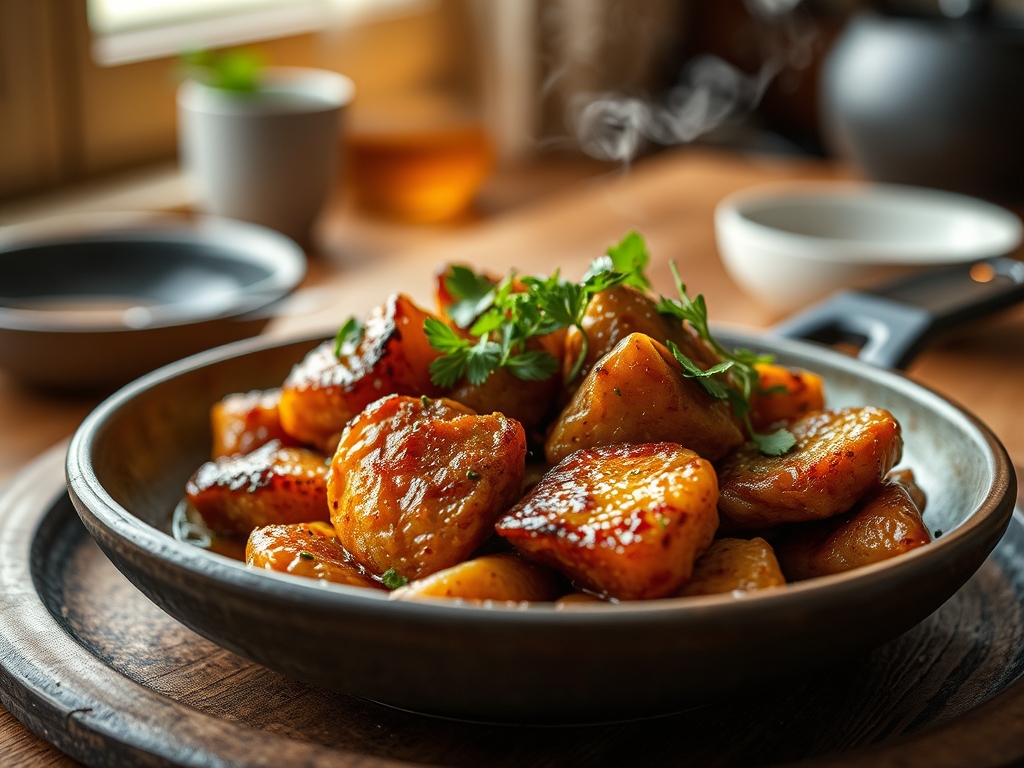
Look at the Masterclass photo above. Notice the "Golden Halo" around the edges of the beef; this indicates even heat distribution. If your meat looks pale or grey, your pan was not hot enough, or you moved the meat too soon. If the edges are black but the center is raw, your heat was too high, causing the exterior to char before the interior could reach the target temperature. The sauce should be a deep amber, not a watery translucent yellow. If the sauce is breaking (oil separating from the solids), whisk in a teaspoon of cold water to re-emulsify the mixture. The rosemary should look crisp and dark green, not blackened and brittle.
THE DEEP DIVE
Macro Nutrition Profile:
A single serving provides approximately 42g of Protein, 28g of Fat (mostly from the butter and beef tallow), and 2g of Carbohydrates. This is a high-density, ketogenic-friendly fuel source.
Dietary Swaps:
- Vegan: Replace beef with extra-firm pressed tofu or seitan. Use a vegan butter alternative and soy sauce instead of Worcestershire.
- Keto/GF: This recipe is naturally Keto. For Gluten-Free, ensure your Worcestershire sauce is a certified GF brand, as some contain malt vinegar.
Meal Prep & Reheating Science:
To maintain the molecular structure during reheating, avoid the microwave. The microwave agitates water molecules, causing the meat to become "steamed" and rubbery. Instead, reheat in a skillet over medium heat with a splash of beef stock to create a steam-tent effect, preserving the viscous sauce and the crust.
THE KITCHEN TABLE
Why is my meat sticking to the pan?
You likely tried to flip it too early. Protein bonds with the metal surface initially; as the Maillard reaction completes, the meat will naturally "release" from the pan. Patience is a technical requirement.
Can I use olive oil for searing?
No. Extra virgin olive oil has a low smoke point (around 375F). It will burn and become bitter before you achieve the necessary Sizzling Pan Feedback. Stick to high-heat oils like avocado or refined coconut oil.
What is the best pan for this?
Carbon steel or cast iron are the champions of heat retention. They have the thermal mass required to maintain temperature when cold meat is added, ensuring the heat drop is minimal and recovery is fast.
How do I know when the sauce is done?
The sauce should reach a "nappe" consistency. This means it is thick enough to coat the back of a spoon. If you draw a line through it with your finger, the path should remain clear.