Stop treating your kitchen like a hobbyist playground and start treating it like a high-performance laboratory where the primary sensor is your own nervous system. When you plunge your hands into a mass of flour and water, you are not just making dinner; you are engaging in a high-stakes structural audit of protein networks. The secret to world-class bread is not found in a digital timer or a fancy thermometer. It is found in the tactile feedback of the gluten matrix. Feeling Dough Elasticity is the difference between a dense, leaden brick and a crumb so airy it defies gravity. You are looking for that precise moment when the shaggy, chaotic mess transforms into a smooth, sentient organism that pushes back against your palm with calculated defiance. This is where the physics of tension meets the art of the bake. If you cannot feel the microscopic snapping of carbon dioxide bubbles or the silky resistance of developed gliadin and glutenin, you are flying blind. Let us recalibrate your biological sensors and master the infrastructure of the knead.
THE DATA MATRIX
| Metric | Specification |
|---|---|
| Prep Time | 20 Minutes |
| Execution Time | 3 Hours 45 Minutes |
| Yield | 2 Large Boules |
| Complexity (1-10) | 7 |
| Estimated Cost per Serving | $0.45 |
THE GATHERS
Ingredient Protocol:
- 1000g / 8 cups High-Protein Bread Flour (12.7% protein minimum)
- 750ml / 3 cups Filtered Water (Target temperature: 32C / 90F)
- 20g / 1.5 tbsp Fine Sea Salt
- 10g / 2.5 tsp Active Dry Yeast
- 50ml / 3.5 tbsp Extra Virgin Olive Oil
Section A: Ingredient Quality Audit:
If your flour feels "dead" or fails to absorb water, you likely have a low-protein "all-purpose" masquerading as bread flour. This creates a weak structural foundation that cannot support long-term fermentation. Fix this by adding 15g of vital wheat gluten to the dry mix. If your yeast is sluggish, do not just wait longer; check your water chemistry. Highly chlorinated tap water acts as a biocide that stunts yeast activity. Use filtered water and ensure it is not so hot that it denatures the fungal enzymes. Finally, if your salt is too coarse, it will tear the delicate gluten strands during the initial mix. Use a digital scale to ensure precision; volumetric measurements are for amateurs who enjoy inconsistent results.
THE MASTERCLASS
1. The Autolyse Phase
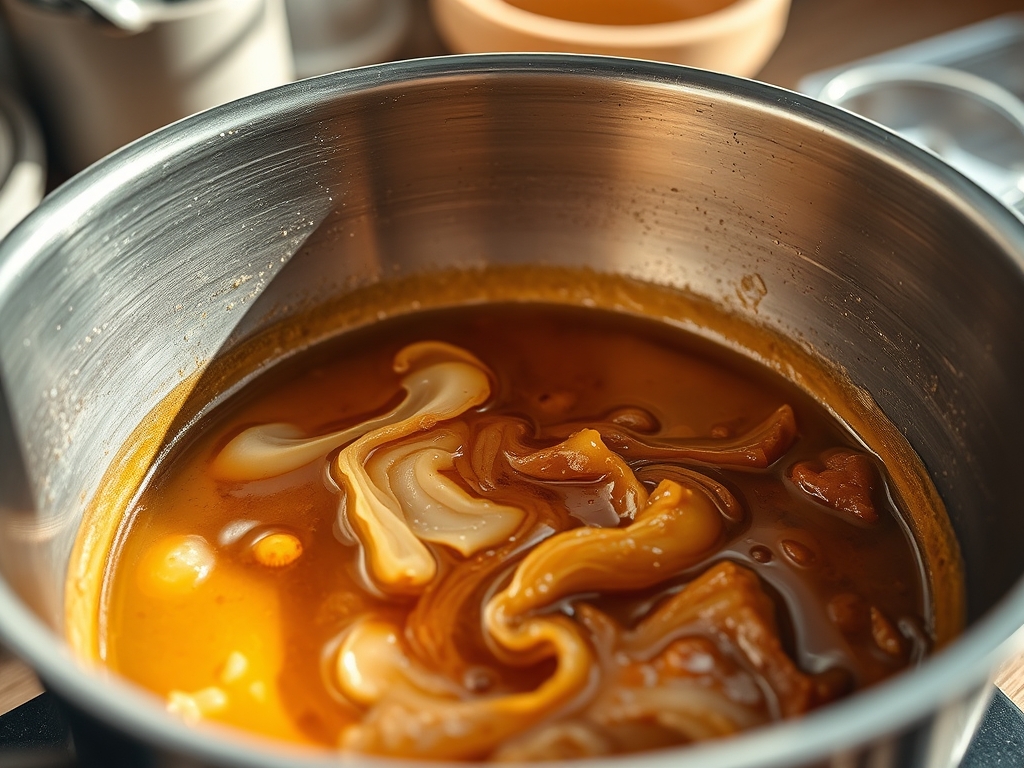
Combine your flour and water in a large ceramic bowl until no dry spots remain. Cover and let rest for 40 minutes. This allows the enzymes to begin breaking down starches into sugars without the interference of salt or yeast.
Pro Tip: This stage initiates the hydration of proteins without mechanical work. Use a bench scraper to clean the sides of the bowl, ensuring every gram of flour is incorporated into the hydration cycle.
2. Yeast and Salt Integration
Dimple your yeast and salt into the hydrated mass. Use your fingertips to "pinch" the ingredients into the dough. This is your first touchpoint for Feeling Dough Elasticity. The mass should feel heavy and slack.
Pro Tip: Salt is a dough strengthener; it tightens the gluten network. Watch as the dough goes from a "soupy" texture to something with more "bite" almost instantly as the salt ions interact with the protein chains.
3. The Structural Knead
Turn the dough onto a clean surface. Use the heel of your hand to push the dough away, then fold it back over itself. Repeat this rhythmic motion for 10 to 12 minutes. You are looking for the "Windowpane Test" where a small piece of dough can be stretched thin enough to see light through it without tearing.
Pro Tip: Avoid adding excess flour during this stage. Use a bench scraper to manage stickiness. Adding flour alters the hydration ratio and results in a crumb that is dry rather than viscous and tender.
4. Bulk Fermentation and Folding
Place the dough in a lightly oiled container. Every 30 minutes, perform a "stretch and fold" by grabbing the edge of the dough, pulling it upward, and folding it over the center. This builds vertical tension without degassing the carbon dioxide.
Pro Tip: Use a digital scale to weigh the dough before and after fermentation to track moisture loss. The dough should feel "inflated" and bouncy, like a soft balloon, by the end of the second hour.
5. Final Shaping and Proofing
Divide the dough and shape into tight rounds. Create surface tension by dragging the dough across the work surface toward your body. This creates a "skin" that will expand beautifully in the oven.
Pro Tip: Professional bakers use a banneton or a proofing basket to maintain the shape. If the dough feels "slack" and spreads out like a pancake, your gluten development was insufficient; you failed the tactile audit.
Section B: Prep & Timing Fault-Lines:
The most common failure in timing is the "Over-Proof." If you wait too long, the yeast consumes all the available sugars and the gluten structure collapses under its own weight. To diagnose this, use the "Finger Poke Test." Press a floured finger 1cm into the dough. If it springs back instantly, it needs more time. If it stays indented, it is over-proofed. If it springs back slowly and leaves a slight dimple, it is prime for the oven. Temperature is your primary lever; if your kitchen is over 25C (77F), your fermentation window shrinks significantly. Use a cold fermentation in the refrigerator to "park" the dough if your timing is off.
THE VISUAL SPECTRUM
Section C: Thermal & Visual Troubleshooting:
Referencing the Masterclass photo, you should see a surface that exhibits "micro-blistering." These tiny bubbles indicate a long, cold fermentation and high surface moisture. If your crust is dull and grey, you likely lacked steam in the oven. To fix this, use a Dutch oven to trap the natural moisture of the dough. If the "ear" (the jagged flap where you scored the dough) is not prominent, your scoring was too shallow or your oven spring was weak due to under-fermentation. Uneven browning usually indicates "hot spots" in your oven; rotate your vessel halfway through the bake to ensure a uniform Maillard reaction across the entire surface.
THE DEEP DIVE
Macro Nutrition Profile:
A standard slice (approx. 50g) contains 130 calories, 4g protein, 26g carbohydrates, and 1g fat. The high protein content and long fermentation lower the glycemic index compared to commercial white bread.
Dietary Swaps:
- Vegan: This recipe is naturally vegan. To enhance flavor, infuse the water with rosemary or roasted garlic.
- Keto: This infrastructure is incompatible with Keto. You would need to swap the flour for almond and coconut flour, utilizing xanthan gum to mimic the gluten elasticity.
- Gluten-Free: Replace bread flour with a high-quality 1:1 GF blend containing psyllium husk. Note: You will lose the "elasticity" feedback as GF dough behaves more like clay than a rubber band.
Meal Prep & Reheating Science:
To maintain the molecular structure, never refrigerate finished bread; this accelerates staling through starch retrogradation. Freeze sliced bread in airtight bags. To reheat, use a toaster or a 175C (350F) oven for 5 minutes to re-gelatinize the starches and restore the "crunch" to the crust.
THE KITCHEN TABLE
How do I know if I have over-kneaded the dough?
It is nearly impossible to over-knead by hand. However, if using a stand mixer, the dough will become tough, lose its luster, and eventually turn into a sticky, broken mess as the protein bonds literally snap.
Why is my dough so sticky even after kneading?
High hydration doughs are naturally sticky. Instead of adding flour, use wet hands to handle the dough. This prevents sticking without compromising the hydration levels needed for a wide, open crumb structure.
Can I use a regular pot instead of a Dutch oven?
Yes, provided it is oven-safe to 260C (500F). The goal is a tight-fitting lid to trap steam. If your lid is loose, place a tray of boiling water on the bottom rack to aerate the oven chamber with moisture.
What does "degassing" mean?
Degassing is the act of punching down the dough to remove large air pockets. For artisanal boules, we avoid aggressive degassing because we want to preserve those irregular, beautiful holes that characterize high-quality sourdough and rustic breads.
Why did my bread collapse after taking it out?
This usually indicates the bread was under-baked. The internal structure had not set firmly enough to support the weight of the crust. Ensure the internal temperature reaches 98C (208F) before removing it from the heat source.