Listen up, kitchen architects. We are not here to play with flour and water like toddlers in a sandbox. We are here to engineer a structural masterpiece. The Savory Galette Base is the unsung hero of the rustic culinary world; it is the load-bearing foundation that must support heavy, moisture-rich fillings without succumbing to the dreaded soggy bottom. Imagine a crust so flaky it shatters like glass upon impact, yet so robust it holds a mountain of roasted root vegetables and melted gruyere without flinching. This is about the physics of cold fat and the chemistry of gluten inhibition. We are aiming for a golden-brown, butter-rich perimeter that boasts a piquant saltiness and a crunch that can be heard three tables away. If your current pastry game feels like wet cardboard, you are failing the infrastructure audit. We are going to render fat into layers of laminated glory and infuse every millimeter with structural integrity. Put down the flimsy plastic measuring cups and grab your digital scale. It is time to build.
THE DATA MATRIX
| Metric | Specification |
|---|---|
| Prep Time | 20 Minutes (plus 60 min chill) |
| Execution Time | 45 Minutes |
| Yield | 1 Large Galette (6-8 Servings) |
| Complexity | 6 / 10 |
| Estimated Cost per Serving | $1.15 USD |
THE GATHERS
Ingredient Protocol:
- 315g / 2.5 cups All-Purpose Flour (unbleached)
- 225g / 1 cup Unsalted European-Style Butter (minimum 82% butterfat)
- 5g / 1 tsp Fine Sea Salt
- 15g / 1 tbsp Granulated Sugar (for Maillard reaction acceleration)
- 120ml / 0.5 cup Ice-Cold Filtered Water
- 15ml / 1 tbsp Apple Cider Vinegar (to inhibit gluten development)
- 1 Large Egg (for the structural wash)
Section A: Ingredient Quality Audit:
If your butter is weeping water at room temperature, your infrastructure is compromised before you start. Low-grade butter contains high water content which creates steam too early, leading to a tough, bready texture rather than distinct flakes. The fix? Use high-fat European butter and keep it at exactly 4 degrees Celsius. If your flour is clumping, it has absorbed ambient humidity; sifting is mandatory to aerate the dry mass. Furthermore, if your water is merely "cool," the butter will melt during the mixing phase, destroying the lamination. Use a slurry of ice and water to ensure the temperature remains low enough to keep the fat discrete.
THE MASTERCLASS
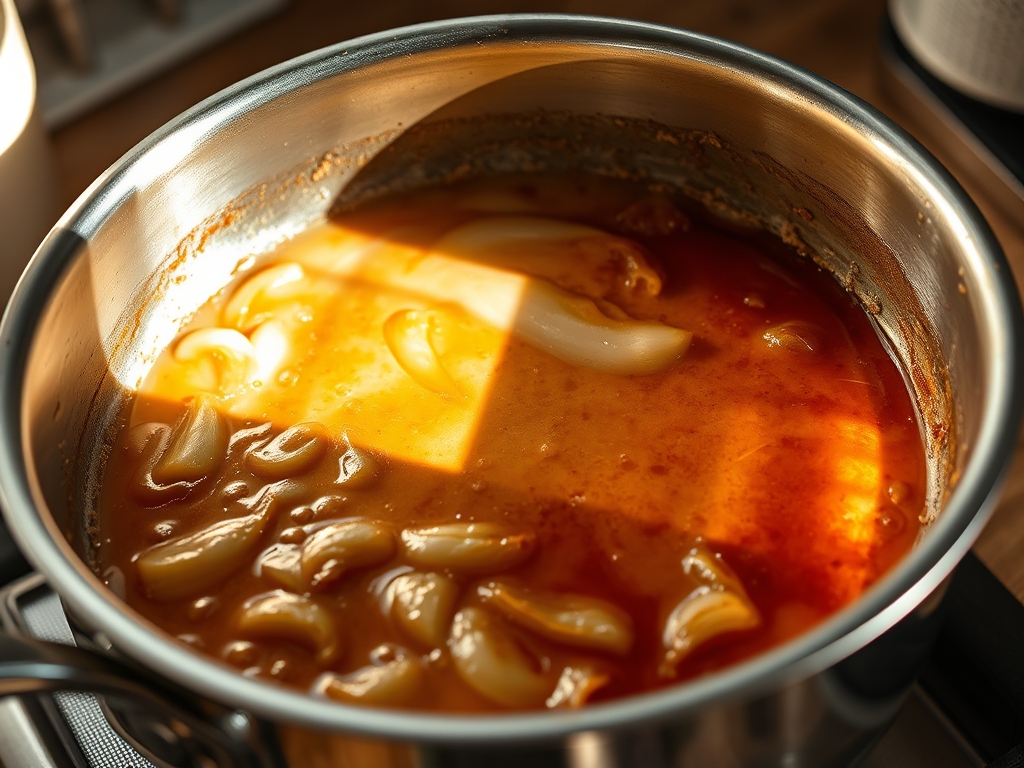
1. Thermal Stabilization of Solids
Begin by cubing your high-fat butter into 1cm units and returning them to the freezer for ten minutes. Use your digital scale to weigh the flour, salt, and sugar into a chilled stainless steel mixing bowl.
Pro Tip: Keeping your equipment cold prevents the butter from reaching its melting point prematurely. This ensures the fat stays in solid "islands" within the flour, which is the secret to a viscous yet flaky crumb.
2. Mechanical Integration
Add the frozen butter to the dry ingredients. Use a bench scraper or a pastry blender to cut the fat into the flour until the largest pieces are the size of garden peas. Do not overwork the mixture with your hands; the heat from your palms is the enemy of structural integrity.
Pro Tip: The bench scraper is superior here because it minimizes contact time. You are looking for "shingled" fat particles that will create steam pockets during the bake, effectively lifting the dough layers.
3. Hydration and Binding
Whisk the apple cider vinegar into the ice water. Drizzle the liquid over the flour mixture one tablespoon at a time, tossing with a fork. Stop the moment the dough holds together when squeezed. It should look "shaggy" and slightly dry.
Pro Tip: The acid in the vinegar prevents the gluten proteins from forming long, elastic chains. This results in a tender crust that breaks cleanly rather than stretching like a pizza dough.
4. The Frasage Technique
Turn the dough onto a cold marble slab or clean counter. Use the heel of your hand to smear the dough away from you in short, decisive strokes. Gather it back together with your bench scraper and repeat once more. Wrap tightly in plastic and chill for one hour.
Pro Tip: This professional technique, known as "frasage," creates long, thin sheets of butter within the dough. This is the manual version of lamination, ensuring a superior shatter-factor in the final Savory Galette Base.
5. Final Deployment and Shaping
Roll the chilled dough into a 12-inch circle on parchment paper. Pile your savory fillings in the center, leaving a two-inch border. Fold the edges over the filling, pleating as you go to create a rustic containment wall. Brush the exterior with a beaten egg.
Pro Tip: Use a heavy rolling pin to maintain even pressure. If the dough cracks, it is too cold; if it sticks, it is too warm. Aim for a thickness of 3mm to ensure the base can render fat properly without becoming greasy.
Section B: Prep & Timing Fault-Lines:
The most common failure in the Savory Galette Base protocol is "The Rush." If you skip the one-hour chill, the gluten remains agitated and the butter remains soft. This leads to "shrinkage" in the oven, where your beautiful circle retreats into a sad, misshapen oval. Another fault-line is the "Wet Filling" error. If your vegetables are not properly drained or sautéed to render excess moisture, the base will absorb that liquid, resulting in a structural collapse. Always ensure fillings are at room temperature before they touch the dough.
THE VISUAL SPECTRUM
Section C: Thermal & Visual Troubleshooting:
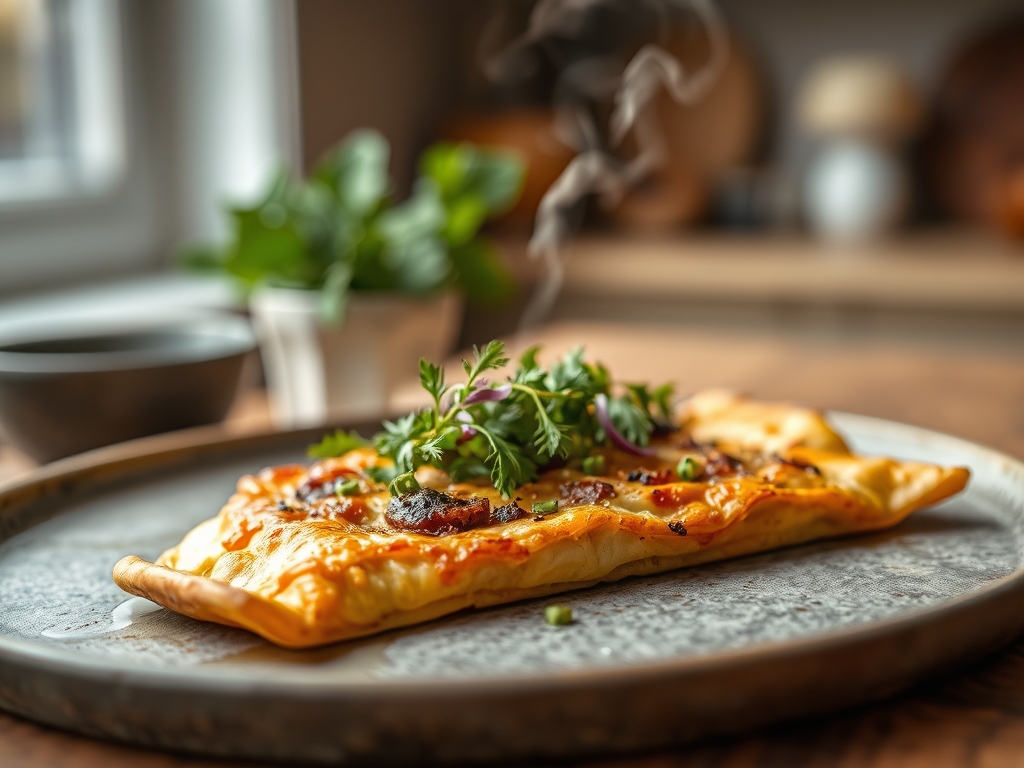
Referencing the Masterclass photo, your goal is a "Deep Mahogany Perimeter." If your crust looks pale and anemic, your oven calibration is likely off; increase the heat by 15 degrees. Dull color usually indicates a failure to apply the egg wash evenly. If you see "Butter Puddling" on the parchment, your dough was too warm when it entered the oven, causing the fat to leak out rather than steam up. The ideal visual cue is a "Laminated Lift," where the edges of the pleats show visible, paper-thin layers that have puffed significantly during the bake. If the bottom is dark but the top is raw, move your rack to a higher position to balance the thermal load.
THE DEEP DIVE
Macro Nutrition Profile:
A single serving of this Savory Galette Base (crust only) provides approximately 280 calories, 18g of fat, 24g of carbohydrates, and 4g of protein. While calorie-dense, the high fat content provides significant satiety and a superior mouthfeel that lower-fat alternatives cannot replicate.
Dietary Swaps:
For a Vegan iteration, substitute the butter with a high-quality plant-based stick (look for coconut or cashew bases with high saturated fat) and use a maple syrup or plant-milk wash. For Gluten-Free requirements, utilize a 1-to-1 flour blend containing xanthan gum, though you must increase the hydration by 10% to compensate for the higher absorbency of rice and potato starches.
Meal Prep & Reheating Science:
To maintain the molecular structure, never reheat a galette in the microwave. Microwaves agitate water molecules, which turns the crust soft and rubbery. Instead, use a toaster oven at 175C / 350F for 8 minutes. This re-crisps the fat and maintains the "shatter" of the laminated layers.
THE KITCHEN TABLE
Why is my galette crust tough?
You likely over-mixed the dough, causing excessive gluten development. Next time, use the bench scraper more and your hands less. Also, ensure your water is truly ice-cold to keep the butter from emulsifying into the flour.
Can I make the dough in a food processor?
Yes, but be careful. Pulse in short bursts only until the butter is the size of peas. Over-processing will turn the fat into a paste, which destroys the flakiness. Manual integration is always safer for structural integrity.
How do I prevent the bottom from getting soggy?
Pre-cook your fillings to render moisture and consider a thin "barrier layer" of grated cheese or breadcrumbs on the dough before adding the vegetables. Always bake on a preheated baking stone or heavy-duty sheet pan for maximum heat transfer.
How long can the raw dough stay in the fridge?
The dough will hold for up to 48 hours. Beyond that, the flour begins to oxidize, turning the dough a greyish color. For long-term storage, wrap it in double plastic and freeze for up to three months.