Imagine the tactile resistance of a stainless steel blade carving through a dense, mahogany-hued matrix of lipids and protein. We are not merely discussing a pantry staple; we are auditing the structural integrity of the ultimate Peanut Butter Spread. The air in the laboratory kitchen should be thick with the scent of volatile aromatic compounds released during the thermal degradation of amino acids. This is the Maillard reaction in its most primal, legume-based form. To the uninitiated, it is a jar of nut paste. To the culinary auditor, it is a non-Newtonian fluid that demands precise shear force to achieve perfect spreadability. We are looking for a specific refractive index and a viscosity that clings to the palate without overwhelming the salivary glands. Every gram of sodium and every milliliter of oil must be accounted for in this lipid adhesion study. If your current spread lacks the luster of a high-gloss finish or the piquant snap of roasted skin, your infrastructure is failing. It is time to recalibrate your expectations and engineer a spread that defies the laws of ordinary shelf-stable mediocrity.
THE DATA MATRIX
| Metric | Specification |
|---|---|
| Prep Time | 10 Minutes |
| Execution Time | 15 Minutes |
| Yield | 500ml / 2 Cups |
| Complexity (1-10) | 4 |
| Estimated Cost per Serving | $0.22 USD |
THE GATHERS
Ingredient Protocol:
- 500g / 1.1 lbs Raw Valencia or Spanish Peanuts (High oil content preferred)
- 30ml / 2 tbsp Neutral Grapeseed Oil (To adjust viscosity)
- 15ml / 1 tbsp Wildflower Honey or Agave (For carbohydrate binding)
- 7g / 1.25 tsp Fine Sea Salt (To enhance the piquant profile)
- 5g / 1 tsp Ground Cinnamon (Optional; for aromatic infusion)
Section A: Ingredient Quality Audit:
The primary failure point in any Peanut Butter Spread is the use of stale, oxidized legumes. If your raw peanuts smell like dusty cardboard, the lipid profile has already degraded. Technical Fix: Perform a "snap test" by breaking a nut in half; it should shatter cleanly rather than crumble. If the nuts are too dry, you must increase your oil ratio by 5% to compensate for the lack of natural moisture. Furthermore, avoid table salt with anti-caking agents like silicon dioxide. These additives can create a gritty mouthfeel that disrupts the smooth emulsion we are attempting to engineer. Always utilize a high-purity sea salt to ensure the minerals dissolve into the aqueous phase of the spread.
THE MASTERCLASS
Step-by-Step Execution:
1. Thermal Activation and Roasting
Distribute the raw peanuts across a heavy-duty rimmed baking sheet in a single, uncrowded layer. Place them in a preheated oven at 175C / 350F for approximately 12 to 15 minutes. You are looking for a deep golden hue and a glossy sheen as the internal oils begin to render.
Pro Tip: Use a digital probe thermometer to check the internal temperature of the nuts. You are targeting 160C for optimal flavor development. This thermal stage initiates the Maillard reaction, transforming simple sugars and amino acids into complex flavor molecules.
2. The Mechanical Breakdown
Transfer the hot roasted peanuts into the bowl of a high-speed food processor or industrial blender. Begin processing on a low frequency to break the nuts into a coarse meal. Use a silicone spatula or a bench scraper to clear the sidewalls of the vessel frequently.
Pro Tip: Do not wait for the nuts to cool. Processing them while the lipids are in a liquid state reduces the mechanical strain on your equipment and allows for a more rapid transition from solid to paste. A digital scale should be used here to ensure your yield matches your input.
3. Achieving Liquid Phase Transition
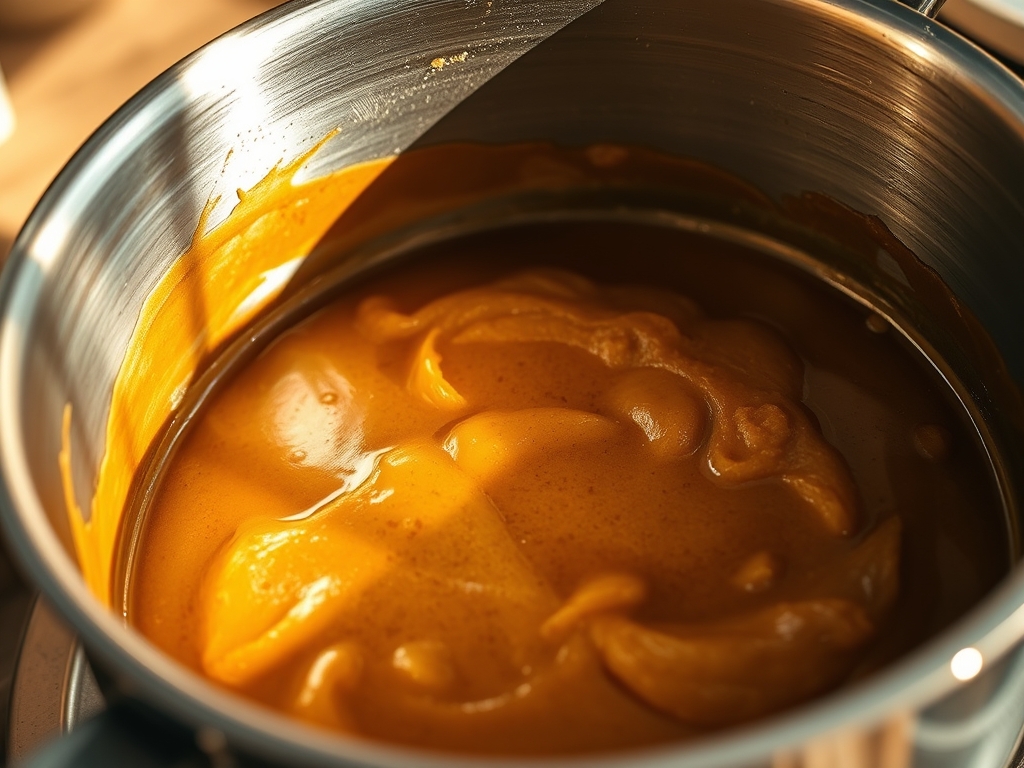
Increase the processor speed to maximum. The mixture will transition from a dry powder to a thick, clumped mass, and finally into a smooth, flowing liquid. This occurs as the cell walls of the peanuts rupture, releasing their internal oil stores to create a continuous lipid phase.
Pro Tip: If the mixture remains stubborn or "chalky," slowly drizzle in your neutral oil. This acts as a lubricant, increasing the shear force within the blender and allowing the blades to aerate the mixture, resulting in a lighter, more voluminous texture.
4. Component Integration and Emulsification
Once the desired viscosity is achieved, add your salt, honey, and any aromatic spices. Pulse the processor for an additional 60 seconds to ensure total distribution. The honey acts as a stabilizer, helping to bind the oil and solids into a cohesive Peanut Butter Spread.
Pro Tip: Use a saucier to slightly warm your honey before adding it. This reduces its viscosity, allowing it to integrate seamlessly into the fat-heavy mixture without creating sticky pockets or "hot spots" of sweetness.
Section B: Prep & Timing Fault-Lines:
The most common human error is impatience during the mechanical breakdown phase. Many operators stop processing when the mixture looks like wet sand. This results in a spread that will separate within 24 hours. You must continue until the mixture "turns" into a glossy liquid. Another critical fault-line is temperature control. If you process the nuts for too long without pausing, the friction from the blades can exceed 80C, which may scorch the delicate oils and produce a bitter aftertaste. Monitor the vessel temperature with an infrared thermometer to ensure you stay within the safe operating window of 60C to 70C.
THE VISUAL SPECTRUM
Section C: Thermal & Visual Troubleshooting:
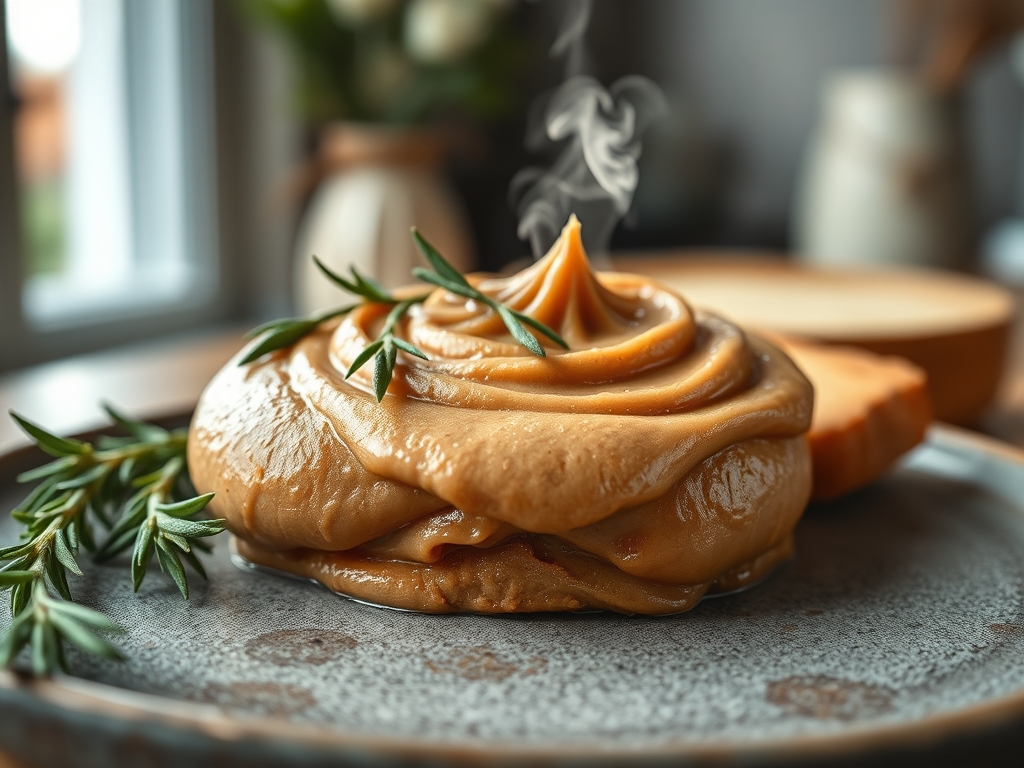
Referencing the Masterclass photo, your final product should exhibit a uniform, satin finish with no visible particulates larger than 0.5mm. If your spread appears dull or matte, you have likely under-processed the nuts or used a variety with insufficient oil content. Solution: Add 5ml of oil and process for another 2 minutes. If the color is uneven or "speckled," it indicates that the roasting was not uniform. In future batches, ensure you agitate the baking sheet every 5 minutes during the thermal phase. If the spread looks too dark (approaching chocolate brown), you have over-roasted the legumes; this cannot be reversed, but the bitterness can be masked by a 2% increase in sweetener.
THE DEEP DIVE
Macro Nutrition Profile
A standard 32g serving of this engineered spread provides approximately 190 calories. The profile is dominated by monounsaturated fats (16g), followed by plant-based protein (8g) and dietary fiber (2g). The micronutrient density is high in Vitamin E and Magnesium, provided the thermal processing did not exceed the smoke point of the peanut oil.
Dietary Swaps
- Vegan: Use agave or maple syrup instead of honey.
- Keto: Eliminate the honey and use a pinch of stevia or erythritol; increase salt by 1g to compensate for the lack of carbohydrate-driven flavor.
- GF: Naturally gluten-free, but ensure your salt and spices are processed in a certified facility.
Meal Prep & Reheating Science
To maintain the molecular structure, store the spread in a glass jar with a hermetic seal. While commercial spreads use hydrogenated oils to prevent separation, this natural version relies on the honey-lipid bond. If separation occurs, do not discard the oil. Gently warm the jar in a water bath to 40C and stir vigorously to re-emulsify the fats into the solids.
THE KITCHEN TABLE
Why does my peanut butter get hard in the fridge?
Saturated fats solidify at low temperatures. To restore the viscous flow, allow the jar to sit at room temperature for 20 minutes. The lipids will transition back to a liquid state, restoring the engineered spreadability of your Peanut Butter Spread.
Can I use a different type of nut?
Certainly. However, the lipid-to-protein ratio varies across species. Almonds have less natural oil and will require a 15% increase in added neutral oil to achieve the same glossy, non-Newtonian flow as the peanut-based matrix.
How long will this audit-grade spread last?
Due to the low water activity and high fat content, this spread is microbially stable. It will remain shelf-stable for 4 weeks or refrigerated for 3 months. Always check for rancid odors, which indicate lipid oxidation.
Why is my spread gritty instead of smooth?
This is typically caused by undissolved salt crystals or insufficient processing time. Ensure you use fine-grain salt and process the mixture until the friction heat helps the salt integrate into the lipid phase for a seamless mouthfeel.