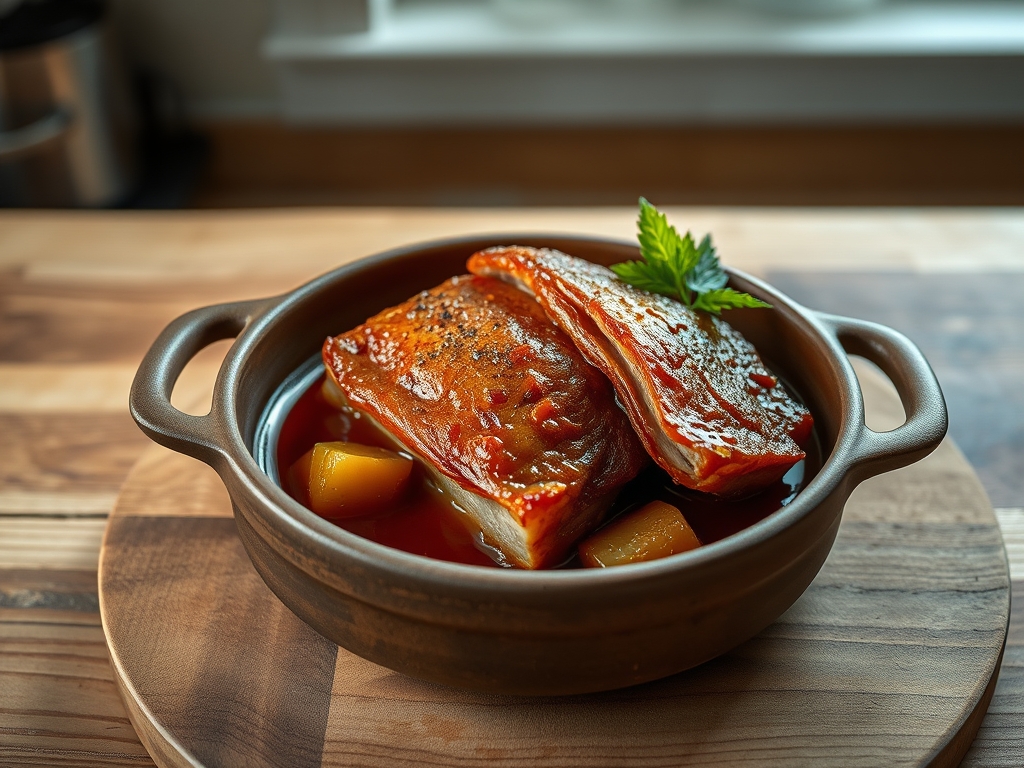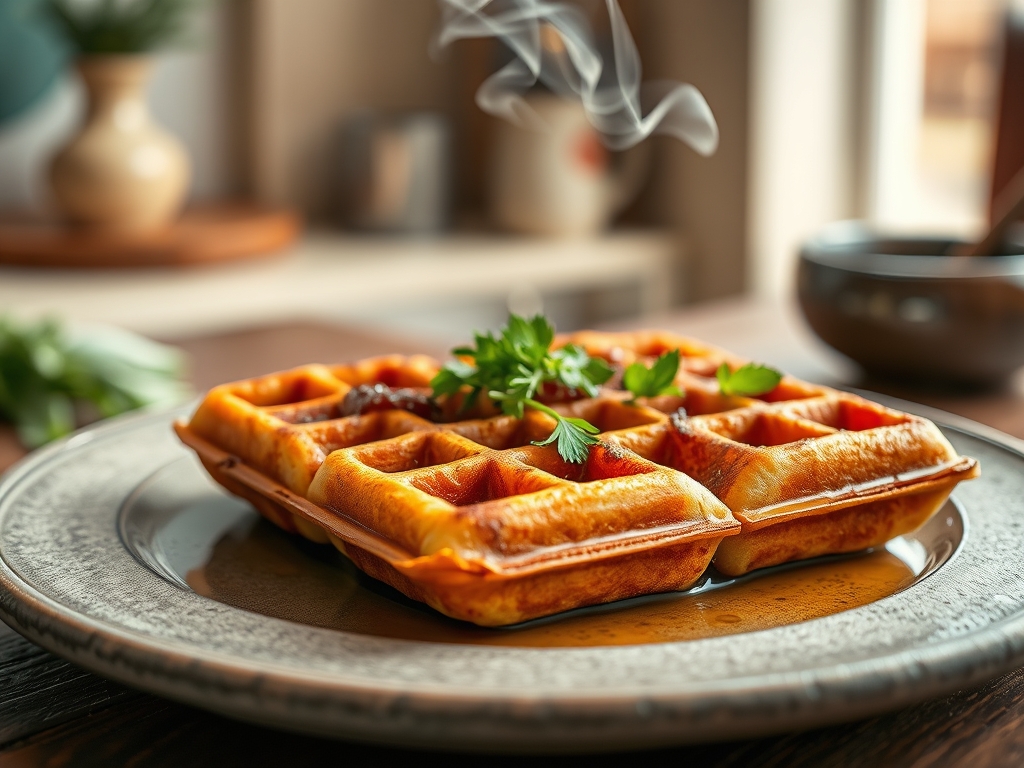
The kitchen floor is your launchpad; the air is thick with the promise of Maillard-induced glory. Listen closely. That initial contact between cold, viscous batter and a 400-degree cast iron plate creates the signature Waffle Iron Sizzle. It is not just a sound; it is the violent, instantaneous conversion of water into steam. As an auditor of culinary infrastructure, I am here to tell you that if your iron does not scream upon impact, you are not cooking; you are merely warming flour. We are chasing the perfect structural integrity of a dual-sided vapor release. This is where high-throughput batter meets thermal dynamics. The objective is a crust so crisp it shatters like glass, protecting a crumb that remains as light as a cloud. We are balancing the delicate ratio of fats to leavening agents to ensure that every pocket is a vessel for flavor. Forget the soggy, limp rectangles of your childhood. We are building an architectural masterpiece of gluten and air.
THE DATA MATRIX
| Metric | Specification |
|---|---|
| Prep Time | 15 Minutes |
| Execution Time | 4 Minutes per Cycle |
| Yield | 6-8 Standard Units |
| Complexity (1-10) | 4 |
| Estimated Cost per Serving | $0.85 USD |
THE GATHERS
Ingredient Protocol:
- 250g / 2 cups All-Purpose Flour
- 50g / 1/4 cup Granulated Sugar
- 10g / 2 tsp Baking Powder
- 3g / 1/2 tsp Kosher Salt
- 475ml / 2 cups Whole Milk (Room Temperature)
- 115g / 1/2 cup Unsalted Butter (Melted and Cooled)
- 2 Large Eggs (Separated)
- 5ml / 1 tsp Pure Vanilla Extract
Section A: Ingredient Quality Audit:
Sub-par raw materials are the silent killers of the Waffle Iron Sizzle. If your baking powder is past its six-month shelf life, your batter will fail to aerate, resulting in a dense, leaden disc. Test your leavening agent by dropping a pinch into hot water; if it does not fizz violently, discard it. If your flour is stored in a humid environment, it will clump and over-develop gluten during the mixing phase. Sift your dry goods through a fine-mesh strainer to ensure uniform particle distribution. Finally, never use cold milk. Cold liquids will prematurely solidify your melted butter, creating "fat beads" rather than a homogeneous emulsion. Temper your dairy to 70 degrees Fahrenheit to maintain a smooth, viscous flow.
THE MASTERCLASS
1. The Dry Sift and Aeration
Begin by whisking your flour, sugar, baking powder, and salt in a large stainless steel mixing bowl. Use a digital scale for these measurements; volumetric cups are the enemies of precision.
Pro Tip: Sifting does more than remove lumps; it introduces air pockets between flour particles. This mechanical aeration works in tandem with chemical leaveners to maximize the "lift" once the batter hits the heat.
2. The Lipid-Protein Emulsion
In a separate saucier, whisk together the egg yolks, milk, melted butter, and vanilla. The goal is to infuse the fat into the liquid phase without over-agitating the proteins.
Pro Tip: Using a saucier with rounded bottom edges allows your whisk to reach every millimeter of the mixture, preventing un-emulsified "dead zones" that lead to uneven browning.
3. The Structural Fold
Pour the wet ingredients into the dry. Use a bench scraper or a wide silicone spatula to fold the mixture until just combined. Small lumps are acceptable; over-mixing will render the gluten too elastic, turning your waffle into a rubber gasket.
Pro Tip: The "folding" motion preserves the air bubbles you worked so hard to create. If you stir vigorously, you collapse the cellular structure of the batter, killing the fluffiness before it ever sees the iron.
4. The Vapor Release Phase
Preheat your iron until the indicator light signals readiness. Ladle the batter into the center. As the plates close, listen for the Waffle Iron Sizzle. This is the sound of moisture escaping through the side vents.
Pro Tip: High-throughput irons rely on steam pressure to push the batter into the corners of the mold. Do not peek for at least 120 seconds; opening the iron too early will tear the delicate, unset crust.
Section B: Prep & Timing Fault-Lines:
Timing is the bridge between a masterpiece and a tragedy. A common error is preparing the batter too far in advance. Chemical leaveners have a "burst" period; if the batter sits for over thirty minutes, the carbon dioxide escapes, and the resulting waffle will be flat. Furthermore, temperature control is paramount. If your iron is too hot, the exterior will char before the interior starch has gelatinized. If it is too cold, the batter will stick to the plates, requiring a surgical extraction with a bench scraper. Aim for a consistent surface temperature of 375 to 400 degrees Fahrenheit.
THE VISUAL SPECTRUM
Section C: Thermal & Visual Troubleshooting:
The Masterclass photo illustrates a "Golden-Hour" gradient. If your waffles appear dull and matte rather than glossy and browned, you likely skimped on the sugar or fat. Sugar is essential for the Maillard reaction; it provides the carbon chains necessary for browning. If you see uneven white spots, your iron has "cold spots" or you have not seasoned the plates correctly. A perfectly executed waffle should show deep amber ridges with a pale, soft interior. If the edges are "fringed" or lacy, your batter is too thin; increase the flour by 15g to restore the proper viscosity.
THE DEEP DIVE
Macro Nutrition Profile:
A standard serving (two 4-inch squares) provides approximately 380 calories, 18g of fat, 45g of carbohydrates, and 8g of protein. The high fat content is necessary for the "shatter-crisp" texture, while the protein from the eggs and milk provides the structural scaffolding.
Dietary Swaps:
- Vegan: Replace whole milk with oat milk and eggs with a "flax egg" (1 tbsp ground flax to 3 tbsp water). Use melted coconut oil in place of butter for a high-smoke-point fat.
- Keto: Substitute all-purpose flour with almond flour and xanthan gum. Use a sugar-free erythritol sweetener.
- GF: Utilize a 1:1 gluten-free flour blend containing potato starch or rice flour to mimic the crispness of wheat.
Meal Prep & Reheating Science:
To maintain molecular structure for future consumption, under-cook the waffles by 30 seconds. Flash-freeze them on a wire rack before bagging. To reheat, use a toaster or air fryer. This re-activates the exterior fats and "recrisps" the crust without drying out the interior crumb. Never use a microwave; it vibrates water molecules, turning the waffle into a soggy, elastic mess.
THE KITCHEN TABLE
Why is my waffle iron sticking despite the non-stick coating?
Sugar buildup or low-quality oils create a "varnish" over time. Clean your plates with a soft brush and use a high-smoke-point oil spray. Ensure the iron is fully preheated before adding batter to trigger an immediate sear.
Can I use this batter for pancakes?
Technically yes, but the results will be sub-optimal. Waffle batter has a higher fat content to ensure the exterior fries against the metal plates. In a pan, this excess fat may cause the pancake to feel heavy or greasy.
What is the "Dual Sided Vapor Release" exactly?
It refers to the steam escaping from both the top and bottom plates simultaneously. This process dehydrates the surface of the batter rapidly, creating the crisp shell while keeping the inside moist. It is the hallmark of professional-grade waffle equipment.
My waffles are crispy at first but get soft quickly. Why?
This is caused by "steam-back." If you stack hot waffles on a plate, the rising steam from the bottom waffle softens the one above it. Always cool your waffles on a wire rack for 60 seconds to allow steam to dissipate.