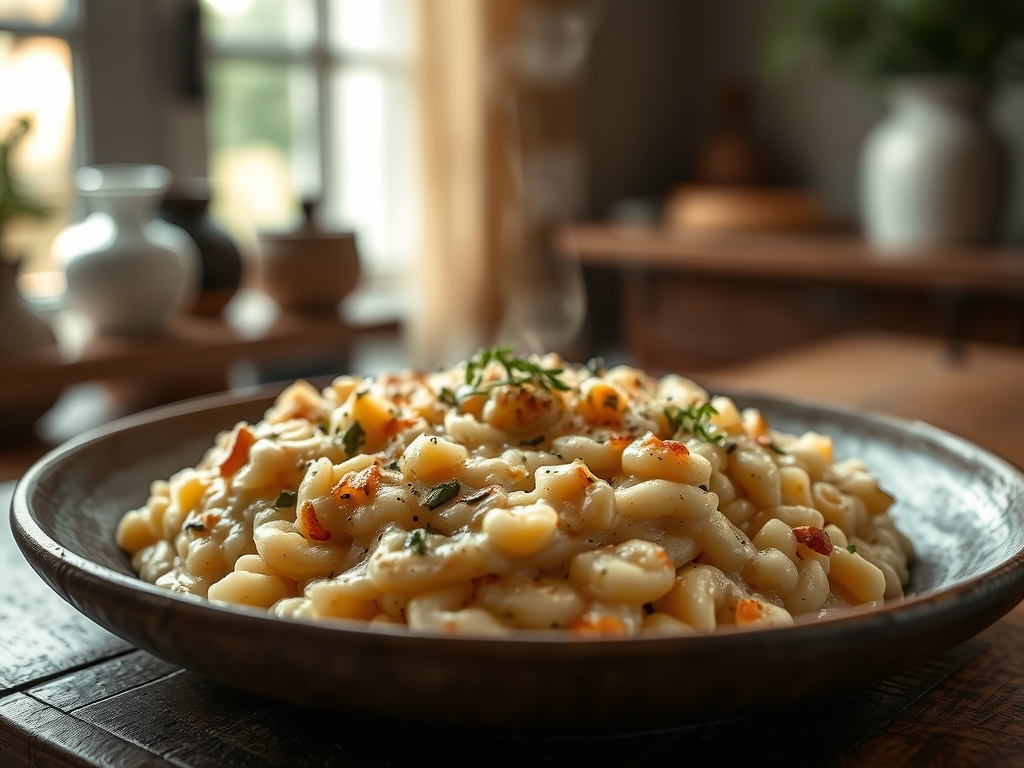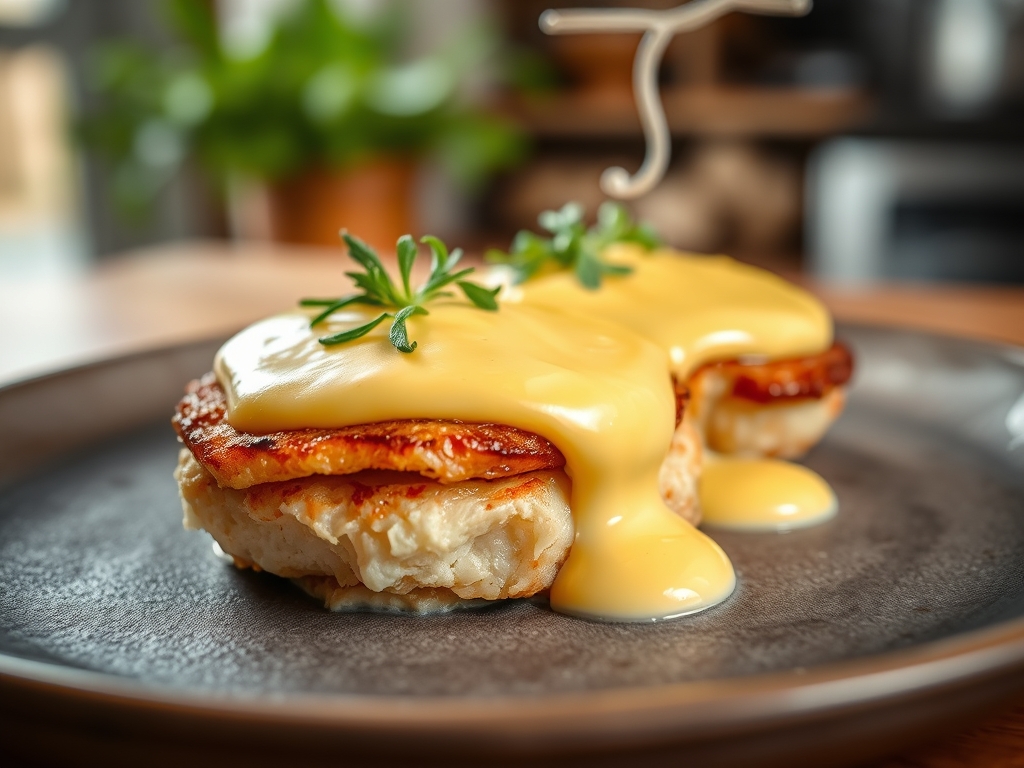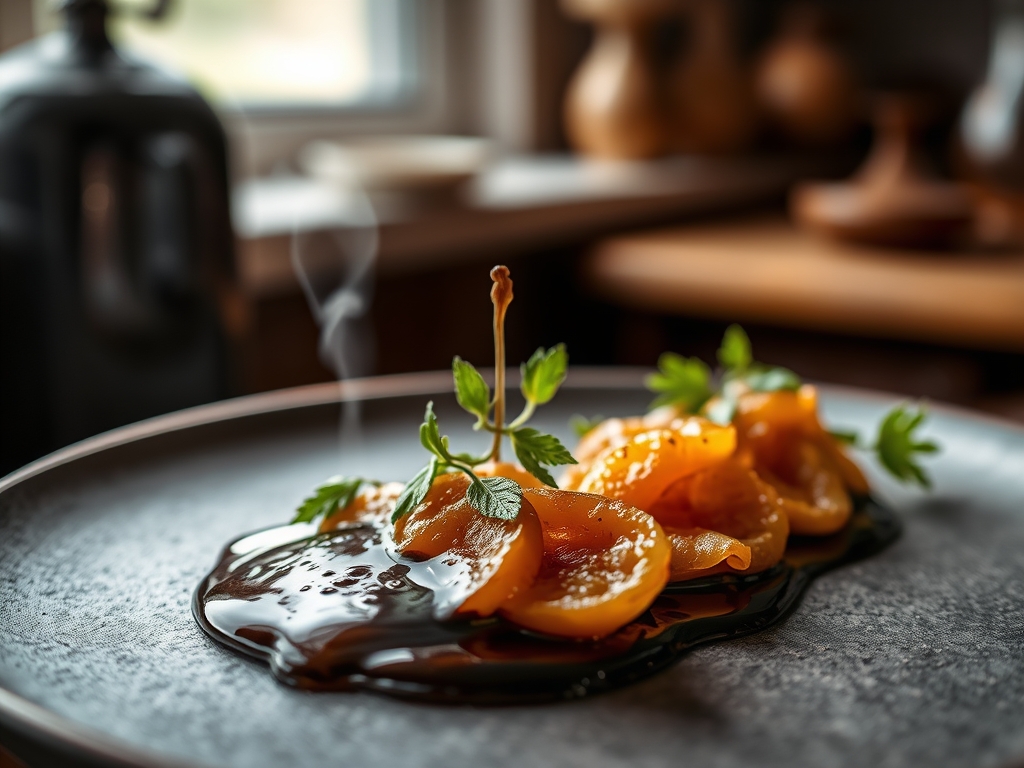
Listen to the sound of a liquid losing its soul to gain its spirit. That is the rhythmic, popping hiss of a Balsamic Glaze Reduction as it undergoes the violent transformation from a thin, acidic vinegar into a velvet shroud for your palate. We are not merely boiling juice here. We are conducting a masterclass in evaporative concentration. When you tilt the pan, the liquid should move like heavy oil; it should possess a piquant depth that threatens to overwhelm the senses if not respected. This is the architectural foundation of modern plating. Without a properly executed reduction, your Caprese is just wet cheese and your strawberries are merely fruit. We are hunting for that specific moment where the acetic acid mellows and the natural sugars polymerize into a dark, obsidian sheen. It requires the patience of a saint and the precision of a watchmaker. If you pull it too early, it runs off the plate like a coward. If you pull it too late, you have created balsamic flavored asphalt. Let us calibrate your kitchen for success.
THE DATA MATRIX
| Metric | Specification |
|---|---|
| Prep Time | 2 Minutes |
| Execution Time | 15 to 25 Minutes |
| Yield | 120ml / 0.5 Cup |
| Complexity (1-10) | 4 |
| Estimated Cost per Serving | $0.18 |
THE GATHERS
Ingredient Protocol:
- 500ml / 2 cups Aceto Balsamico di Modena (Look for the IGP seal).
- 60g / 0.25 cup Granulated Sugar or Honey (Optional; for accelerated caramelization).
- 1 sprig Fresh Rosemary (Optional; for aromatic infusion).
Section A: Ingredient Quality Audit:
The primary failure point in a Balsamic Glaze Reduction is the starting material. If your vinegar tastes like battery acid and thin water, your reduction will simply be concentrated battery acid. Look for "Must" (grape juice) as the first ingredient on the label. If the first ingredient is wine vinegar, the acidity will be too harsh. Technical Fix: If you are stuck with a low-grade, high-acid vinegar, increase your sugar ratio by 15% to buffer the pH level. This creates a synthetic body that mimics the mouthfeel of a traditional "Tradizionale" balsamic without the decade-long aging process. Avoid any vinegar containing caramel color (E150d) if possible; these additives can break down under high heat and create a bitter, metallic aftertaste during the concentration phase.
THE MASTERCLASS
1. Vessel Selection and Initial Loading
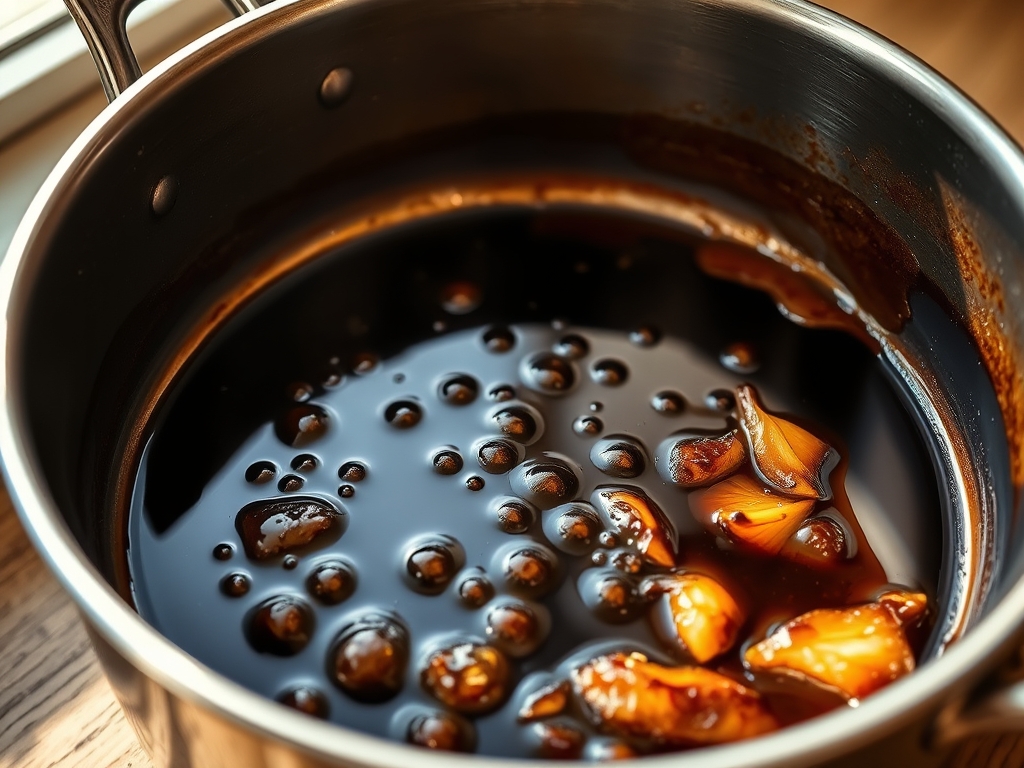
Place your saucier or a wide, shallow stainless steel pan on a digital scale to tare the weight. Pour in your 500ml of balsamic vinegar. Using a wide pan is critical because it increases the surface area for evaporation. If you use a narrow, deep pot, you are trapping steam and extending the cook time, which leads to over-cooking the sugars.
Pro Tip: The geometry of a saucier with curved sides allows for better whisking and prevents the sugars from scorching in the "corners" of the pan. The science here is simple: more surface area equals faster evaporation of water molecules, leaving the solids behind.
2. The Thermal Ascent
Set your burner to medium-high heat until the liquid reaches a gentle boil. As soon as the first bubbles break the surface, reduce the heat to a steady simmer. You want to see movement, but you do not want a rolling boil. A rolling boil will aerate the mixture too much and can lead to a messy splatter that stains everything in a three-foot radius.
Pro Tip: Use a silicone spatula to scrape the sides of the pan every few minutes. This prevents a "tide line" of burnt sugar from forming. In professional kitchens, we call this maintaining the integrity of the meniscus.
3. The Infusion Phase
If you are using aromatics like rosemary or thyme, add them now. The heat will infuse the essential oils of the herbs into the acidic base. If you added sugar, stir constantly until the granules are fully dissolved to ensure an even molecular distribution.
Pro Tip: Do not leave the herbs in for the entire duration. Remove them after 10 minutes. If they stay too long, the increasing concentration of the liquid will extract bitter tannins from the stems, ruining the viscous profile of your final glaze.
4. The Nappe Test
Continue simmering until the volume has reduced by approximately 50% to 60%. To test the viscosity, dip a cold metal spoon into the liquid. It should coat the back of the spoon evenly. Run your finger through the coating; if the line remains sharp and does not fill in, you have achieved "Nappe" consistency.
Pro Tip: Remember that the glaze will thicken significantly as it cools. If it looks like thick syrup while it is still boiling, you have gone too far. It should look like a thin syrup while hot to reach the perfect density at room temperature.
5. Final Filtration and Storage
Pour the hot reduction through a fine-mesh strainer into a glass jar. Do not use plastic containers while the liquid is at peak temperature, as the high acidity and heat can cause chemical leaching. Allow it to cool completely at room temperature before sealing.
Pro Tip: Use a bench scraper to clean any drips on your workstation immediately. Once this substance cools and hardens, it becomes a culinary epoxy that is notoriously difficult to remove from porous surfaces.
Section B: Prep & Timing Fault-Lines:
The most common human error is the "Walk Away" syndrome. Because the first ten minutes of reduction seem slow, cooks often leave the station. However, the rate of reduction is exponential. As the water content drops, the remaining liquid heats up faster, leading to a rapid transition from syrup to carbon. Technical Fix: Set a timer for 15 minutes as a hard check-in point. If you over-reduce and the mixture becomes tacky or hard like candy, you can occasionally save it by whisking in 15ml of hot water at a time over low heat to re-hydrate the sugars, though some flavor complexity will be lost.
THE VISUAL SPECTRUM
Section C: Thermal & Visual Troubleshooting:
Referencing the Masterclass photo, your glaze should exhibit a "mirror finish." If your reduction looks dull or matte, it is likely due to crystallization. This happens if you stirred too vigorously or if there were sugar crystals on the side of the pan that seeded the rest of the batch. Technical Fix: Add a teaspoon of corn syrup or honey; these are "interfering agents" that prevent sucrose from bonding into crystals. If the color is reddish rather than deep obsidian, you haven't reduced it enough. The visual cue for completion is a dark, opaque liquid that holds its shape when drizzled, creating distinct "ribbons" on the surface of the food.
THE DEEP DIVE
Macro Nutrition Profile:
Per 15ml (1 tbsp) serving: 45 Calories, 10g Carbohydrates (mostly sugars), 0g Fat, 0g Protein. Sodium is negligible. While high in sugar, the intensity of the flavor means you use very little.
Dietary Swaps:
- Vegan: Naturally vegan, but ensure your sugar isn't processed with bone char if you are a strict adherent.
- Keto: This is difficult due to the natural grape sugars. Use a sugar-free balsamic (rare) or reduce the serving size to a mere drizzle.
- GF: Naturally gluten-free.
Meal Prep & Reheating Science:
Balsamic glaze is shelf-stable for months due to its high acidity and sugar content. Store it in a squeeze bottle for professional plating. If it becomes too thick in the fridge, place the bottle in a warm water bath for 5 minutes. This lowers the viscosity without altering the molecular structure of the caramelized sugars.
THE KITCHEN TABLE
Why is my glaze bitter?
You likely scorched the sugars or used a low-quality vinegar with heavy additives. Keep the heat lower next time and ensure you are using a wide pan to prevent localized hot spots that burn the reduction.
Can I make this without added sugar?
Yes, but it takes longer. High-quality balsamic has enough natural grape must to thicken on its own. The result is a more complex, less cloying glaze that highlights the fermented notes of the vinegar.
Why did my glaze turn into hard candy?
You drove off too much moisture. The sugar concentration became so high that it reached the "hard ball" stage of confectionery science. Always pull the glaze off the heat while it still looks slightly thinner than your target.
How do I get that perfect drizzle?
Transfer the cooled glaze to a plastic squeeze bottle with a narrow tip. This allows for the controlled, high-tension lines seen in professional plating. Ensure the glaze is at room temperature for the best flow rate.