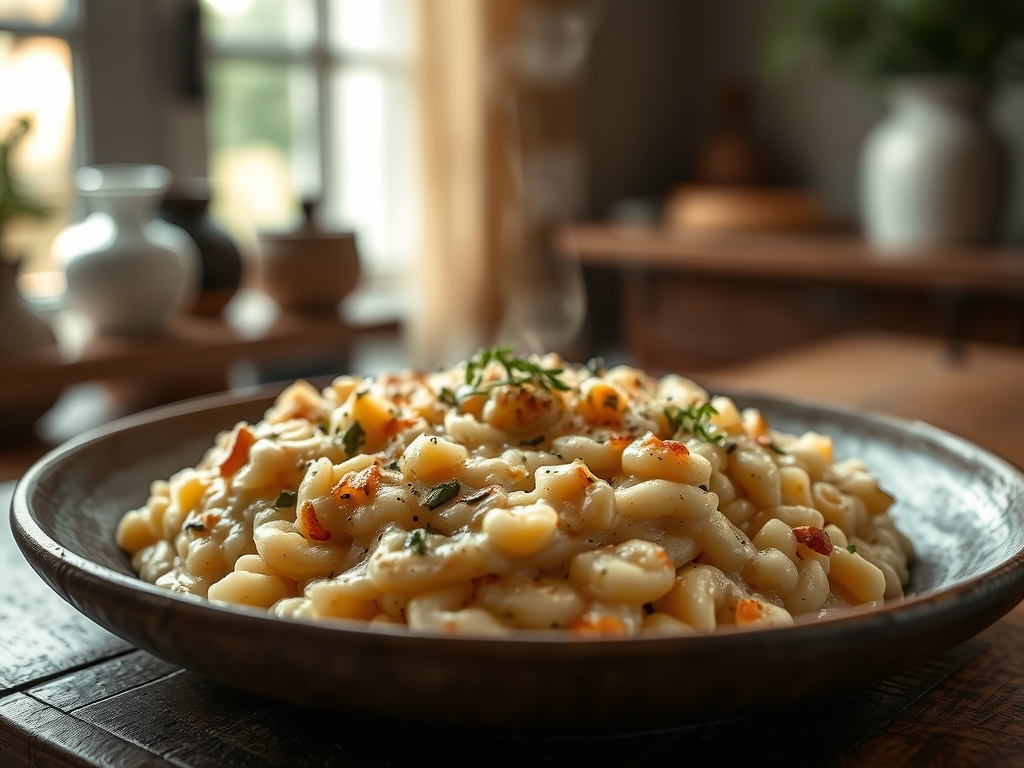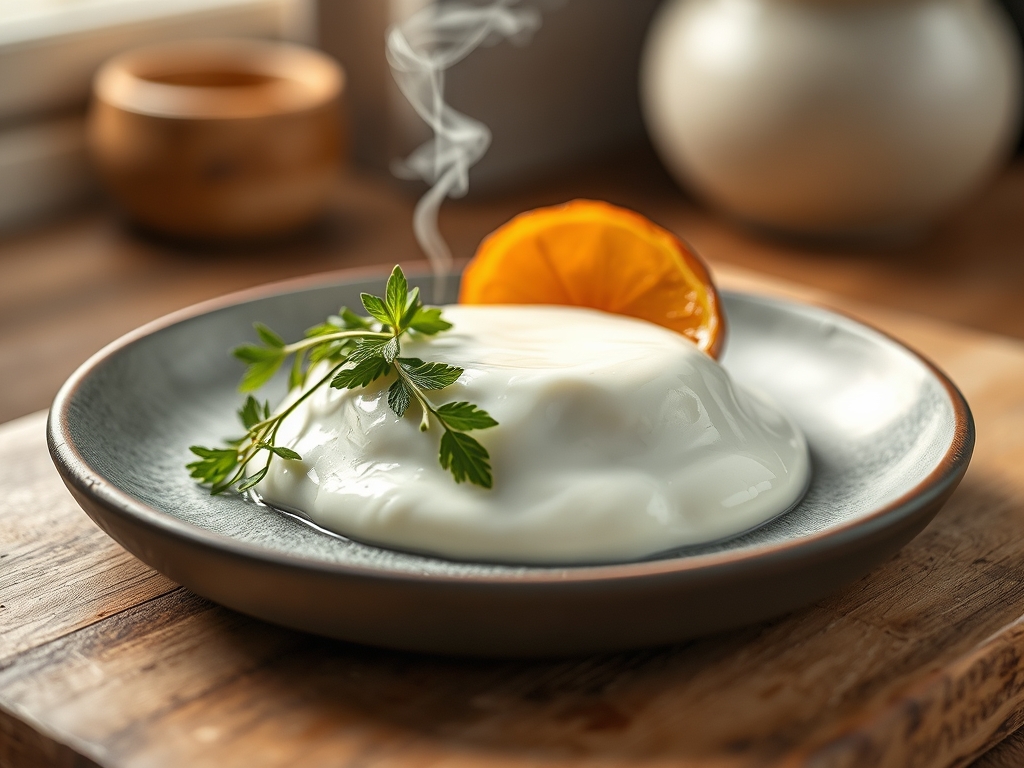
Listen up, flavor architects. We are moving beyond the watery, lackluster ferments of the amateur kitchen and stepping into the realm of structural integrity. When you plunge a spoon into a bowl of yogurt, you should not be greeted by a weeping, translucent mess; you should encounter a dense, architectural marvel that holds its shape against the laws of gravity. This is not just breakfast. This is a Yogurt Thickness Audit. We are looking for a specific molecular density where the casein proteins have crosslinked into a tight, impenetrable lattice. If your current dairy output resembles a thin soup rather than a viscous, velvet-textured mousse, your infrastructure has failed. We are here to rebuild that foundation from the ground up. By controlling thermal denaturation and the precise expulsion of whey, we transform standard bovine secretions into a piquant, spreadable masterpiece. Put down the store-bought plastic tubs and prepare to audit your process. We are about to engineer a gel so stable it would make a civil engineer weep with joy.
THE DATA MATRIX
| Metric | Specification |
|---|---|
| Prep Time | 20 Minutes |
| Execution Time | 12 – 24 Hours (Incubation + Straining) |
| Yield | 1 Liter / 4 Cups |
| Complexity (1-10) | 4 |
| Estimated Cost per Serving | $0.85 |
THE GATHERS
Ingredient Protocol:
- 2 Liters / 8.5 Cups of Whole Milk (Preferably A2 or high-fat content).
- 60ml / 0.25 Cups of Active Starter Culture (Live Greek yogurt or freeze-dried heirloom cultures).
- 120ml / 0.5 Cups of Heavy Cream (Optional for an ultra-viscous finish).
- 5g / 1 Teaspoon of Sea Salt (To enhance the piquant profile post-strain).
Section A: Ingredient Quality Audit:
If your milk is Ultra-Pasteurized (UHT), your structural audit will fail before you begin. UHT processing denatures proteins too aggressively, preventing the formation of a cohesive curd. Always source "Pasteurized" or "Vat-Pasteurized" milk to ensure the proteins remain functional. If your starter culture is old, the bacterial colony count will be insufficient to drop the pH level rapidly. This results in a "long" or "stringy" texture. Fix this by using the freshest starter possible or boosting the batch with a pinch of sugar to fuel initial fermentation.
THE MASTERCLASS
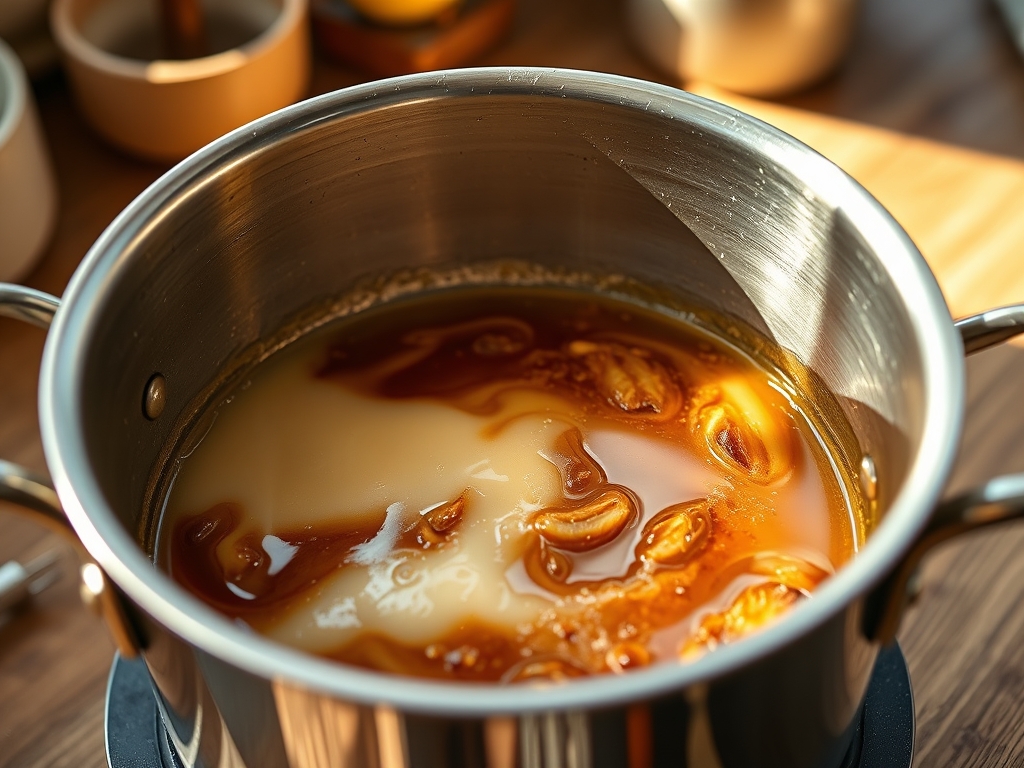
1. Thermal Denaturation Phase
Pour your milk into a heavy-bottomed saucier. Heat the liquid slowly to 82C (180F). This is not just about killing bacteria; it is about unfolding the whey proteins so they can bond with the casein. Hold this temperature for ten minutes to maximize the potential for a dense gel.
Pro Tip: Use a digital scale to measure your milk by weight rather than volume for absolute precision. Heating the milk too fast will scorch the bottom, imparting a burnt flavor that no amount of straining can fix.
2. The Rapid Cool-Down
Place the saucier in an ice bath until the temperature drops to 43C (110F). This is the "Goldilocks Zone" for Lactobacillus bulgaricus. If you add your starter while the milk is too hot, you will terminate your microbial workforce instantly.
Pro Tip: Use a silicone spatula to constantly move the liquid during the cooling phase. This prevents a skin from forming on the surface, which would otherwise create lumps in your final product.
3. Microbial Inoculation
Whisk a small amount of the warm milk into your starter culture to infuse it with heat before introducing it to the main batch. Gently fold the mixture together. Do not over-agitate; we want to distribute the bacteria without shearing the fragile protein chains that are beginning to form.
Pro Tip: A stainless steel whisk is essential here to ensure the starter is fully emulsified into the milk, preventing pockets of uneven fermentation.
4. Controlled Incubation
Transfer the mixture to a glass vessel and maintain a steady temperature of 43C for 8 to 12 hours. The longer the incubation, the more piquant and acidic the flavor profile becomes. During this time, the bacteria consume lactose and produce lactic acid, which causes the casein to aggregate into a solid mass.
Pro Tip: Wrap your vessel in a heavy towel or place it in an oven with only the pilot light on to maintain the thermal equilibrium required for a successful Yogurt Thickness Audit.
5. The Mechanical Strain
Once set, move the yogurt to a refrigerator for two hours to stabilize. Then, pour it into a fine-mesh sieve lined with triple-layered cheesecloth. Let the gravity-fed separation occur for at least 4 hours. This removes the liquid whey, leaving behind a concentrated protein matrix.
Pro Tip: Use a bench scraper to gently move the thickening yogurt away from the edges of the cloth halfway through the process to ensure even drainage.
Section B: Prep & Timing Fault-Lines:
The most common failure in the Yogurt Thickness Audit is "Thermal Shock." If you move the yogurt from the warm incubator directly to the straining cloth without a cooling period, the protein lattice will collapse, resulting in a grainy texture. Patience is a structural requirement. Furthermore, if you over-strain, you will end up with "Labneh" or yogurt cheese. While delicious, it lacks the creamy mouthfeel of a perfect strained gel. Monitor the volume of whey expelled to hit your desired viscosity.
THE VISUAL SPECTRUM
Section C: Thermal & Visual Troubleshooting:
Look at the Masterclass photo above. Note the "Clean Break." When you insert a spoon, the edges should be sharp and defined, not soft or melting. If your yogurt looks "shaggy" or has visible cracks (syneresis) before you even strain it, your incubation temperature was likely too high, causing the proteins to contract too violently. If the color is slightly yellow, you have successfully utilized high-fat grass-fed dairy. If the surface appears dull or matte, the acidity is perfect. A shiny, translucent surface usually indicates under-fermentation and a weak protein bond.
THE DEEP DIVE
Macro Nutrition Profile:
Per 1 cup serving: 160 Calories, 18g Protein, 6g Carbohydrates, 8g Fat. The straining process significantly increases the protein density while removing a portion of the lactose-heavy whey.
Dietary Swaps:
- Vegan: Use full-fat coconut milk and a vegan-specific probiotic starter. Note that coconut lacks casein, so you must add agar-agar to mimic the crosslinking structure.
- Keto: This recipe is naturally keto-friendly, but adding the optional heavy cream will further optimize the fat-to-protein ratio.
- GF: Naturally gluten-free. Ensure your starter culture is not grown on a grain-based medium.
Meal Prep & Reheating Science:
Never reheat your yogurt in a microwave; the localized high heat will break the emulsion and cause the proteins to tighten into rubbery clumps. For meal prep, store in airtight glass jars. The acidity acts as a natural preservative, maintaining the molecular structure for up to 14 days. If liquid separates over time, do not stir it back in; simply pour it off to maintain the audit-level thickness.
THE KITCHEN TABLE
Why is my yogurt thin even after straining?
Your initial heating phase likely failed to reach 82C. Without that thermal trigger, the whey proteins cannot bond to the casein lattice. No amount of straining can compensate for a lack of initial molecular bonding.
Can I use frozen yogurt as a starter?
Negative. Freezing often damages the cellular walls of the bacteria. While some may survive, the population density will be too low to execute a rapid pH drop, leading to a compromised, runny texture.
What should I do with the leftover whey?
Do not discard that liquid gold. Use it to deglaze a pan after searing chicken or use it as the liquid base for bread dough. The residual acidity and minerals provide an incredible depth of flavor.
Is there a way to make it even thicker?
Extend the straining time to 24 hours in the refrigerator. This will render a product so dense it mimics the texture of cream cheese, perfect for savory applications or piping onto desserts.