Imagine the structural catastrophe of a catastrophic structural failure at the precise moment of service. You have spent hours meticulously layering a high-fat biscuit foundation and a delicate, aerated cheese matrix, only to have the entire architectural marvel buckle because of a faulty seal. This is the nightmare of the amateur baker. In the world of high-stakes pastry, we do not rely on hope; we rely on Springform Base Security. This is the mechanical integrity of the ring-to-base interface that prevents the leakage of expensive fats and the tragic seepage of a water bath. When that latch snaps shut, it should feel like the airlock on a spacecraft. We are looking for a seal so tight that even a viscous lemon curd cannot find a microscopic exit point. This audit focuses on the pre-baked crust ring, the literal foundation of your dessert's structural engineering. We are maximizing the Maillard reaction while ensuring the perimeter tension remains absolute. If your base wobbles, your reputation crumbles. Let us calibrate your equipment and your technique to ensure every slice is a masterpiece of geometric precision and culinary stability.
THE DATA MATRIX
| Metric | Specification |
|---|---|
| Prep Time | 25 Minutes |
| Execution Time | 45 Minutes |
| Yield | 12 Precise Wedges |
| Complexity (1-10) | 7 (Technical Precision Required) |
| Estimated Cost per Serving | $1.85 USD |
THE GATHERS
Ingredient Protocol:
- 300g / 2.5 cups Finely Ground Graham Cracker or Speculoos Crumbs
- 115g / 0.5 cup Unsalted European-Style Butter (82% Butterfat)
- 50g / 0.25 cup Granulated Caster Sugar
- 5g / 1 tsp Diamond Crystal Kosher Salt
- 2g / 0.5 tsp Ground Saigon Cinnamon (Optional for aromatic infusion)
Section A: Ingredient Quality Audit:
Sub-par raw materials are the primary cause of structural instability in Springform Base Security. If your butter has a high water content, it will steam rather than fry the crumbs, leading to a soggy, pliable base rather than a crisp, structural ring. Technical Fix: Always utilize European-style butter with a higher fat percentage to ensure the lipid-to-solid ratio favors a rigid set. If your crumbs are too coarse, the surface area for bonding is insufficient. Technical Fix: Pass your crumbs through a fine-mesh sieve or use a high-speed blender to achieve a uniform, sandy texture. This increases the capillary action of the melted butter, ensuring every particle is coated and ready to fuse during the thermal cycle.
THE MASTERCLASS
Step-by-Step Execution:
1. The Mechanical Inspection
Before a single crumb enters the arena, you must audit the springform pan itself. Place the base inside the ring and engage the latch. There should be zero lateral movement. If the ring is warped, use a pair of pliers to gently adjust the tension of the clasp. Pro Tip: Use a digital scale to weigh your empty pan; knowing the tare weight allows for precise portioning of the crust across multiple batches, ensuring consistent thermal conductivity.
2. The Lipid Infusion
Melt your high-fat butter in a small saucier over low heat until it reaches a translucent state. Do not allow it to brown yet; we want the moisture to remain emulsified. Pour the butter over the dry mixture and use a bench scraper or a stiff spatula to fold the ingredients. Pro Tip: The goal is to infuse every crumb with fat without over-saturating. The mixture should resemble wet sand that holds its shape when squeezed in your palm.
3. Perimeter Tension Deployment
Transfer the mixture to the center of the pan. Use the flat bottom of a heavy glass or a professional-grade tamper to press the crumbs from the center outward. Focus heavily on the "elbow" where the base meets the ring. This is the primary failure point for Springform Base Security. Pro Tip: Use a straight-sided measuring cup to compress the vertical walls. This creates a reinforced ring that prevents the filling from coming into direct contact with the metal, which can cause over-cooking at the edges.
4. The Thermal Set
Place the pan in a preheated oven at 175C / 350F for exactly 10 minutes. This initiates the Maillard reaction, toastiness, and structural fusion. The sugar will melt and act as a molecular glue once cooled. Pro Tip: Use an infrared thermometer to verify the surface temperature of the crust before removing it. You are looking for a uniform 165F across the base to ensure the sugars have fully liquefied and bonded.
Section B: Prep & Timing Fault-Lines:
Timing is the silent killer of the perfect crust. If you add the filling to a hot crust, the thermal shock can cause the base to pull away from the walls, compromising your Springform Base Security. Technical Fix: Always allow the pre-baked ring to cool completely on a wire rack for at least 30 minutes. This allows the lipid structure to re-solidify and "lock" the crumbs into a singular, rigid plate. If you find the butter is leaking out during the bake, your oven calibration is likely off. High heat causes the fat to render too quickly before the crumbs can absorb it. Check your internal oven temperature with a secondary probe.
THE VISUAL SPECTRUM
Section C: Thermal & Visual Troubleshooting:
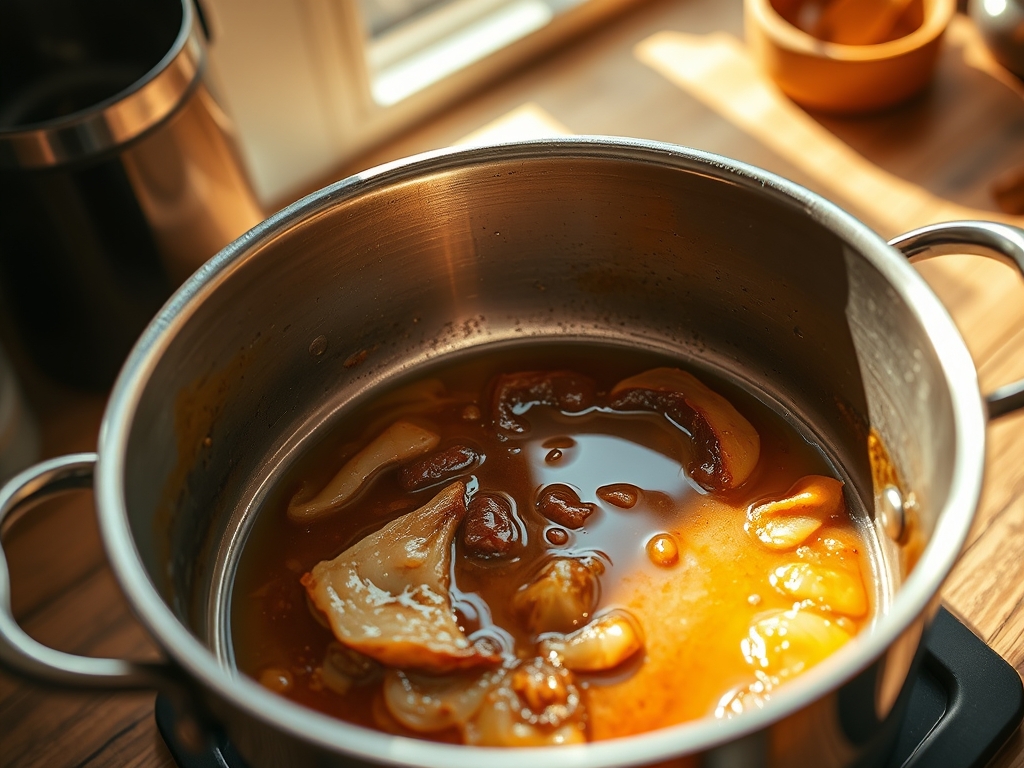
Referencing the Masterclass photo, the ideal crust should exhibit a uniform, golden-amber hue. If you see dark spots near the edges, your oven has hot spots; rotate the pan 180 degrees halfway through the bake. A dull, pale color indicates under-baking, which results in a "sandy" mouthfeel that collapses under the weight of the filling. If the edges appear jagged or uneven, you did not apply enough vertical pressure during the molding phase. The visual cue for a perfect seal is a slight "bead" of fat at the very bottom edge where the ring meets the base; this indicates the perimeter is fully saturated and waterproof.
THE DEEP DIVE
- Macro Nutrition Profile: Per serving (crust only): 180 Calories, 12g Fat, 18g Carbohydrates, 2g Protein. This is a high-density energy foundation designed for structural integrity.
- Dietary Swaps:
- Vegan: Replace European butter with a high-solids coconut oil or a cold-pressed vegan buttery spread. Ensure the fat content is above 78%.
- Keto: Substitute crumbs with almond flour and crushed pecans; use erythritol in place of caster sugar.
- GF: Utilize certified gluten-free oat crumbs. Increase the butter by 10% to account for the higher absorption rate of gluten-free starches.
- Meal Prep & Reheating Science: To maintain molecular structure, store pre-baked shells in an airtight container at room temperature for up to 48 hours. If the crust loses its snap, a 5-minute "flash bake" at 300F will aerate the crumb and re-crisp the lipids. Avoid refrigeration of the empty shell, as the humidity will soften the sugar bonds.
THE KITCHEN TABLE
Why does my crust always crumble when I slice it?
This is a failure of the sugar-to-fat ratio or insufficient compression. Ensure you are using caster sugar, which melts faster, and use a flat-bottomed tool to apply significant downward force during the shaping phase.
Can I skip the pre-bake for a cold-set cheesecake?
You can, but you sacrifice Springform Base Security. A pre-bake creates a moisture-resistant barrier. Without it, the filling's moisture will migrate into the crumbs, resulting in a soggy, unappealing texture that lacks structural definition.
How do I stop butter from leaking into my oven?
A small amount of leakage is normal for high-fat crusts. However, excessive leaking means your crumbs are over-saturated. Wrap the bottom of your springform pan in a double layer of heavy-duty aluminum foil to catch any rendered fats.
What is the best way to release the ring without damage?
Run a thin offset spatula or a warm knife around the perimeter before releasing the latch. This breaks any sugar bonds between the crust and the metal, ensuring the vertical walls remain intact and visually pristine.