Imagine a pastry case where the custard is weeping into a soggy bottom and the sides have slumped into a sad, buttery puddle. This is the ultimate culinary infrastructure failure. In the high stakes world of professional pastry, Tart Shell Security is not just a suggestion; it is a mandatory protocol. When you pull that ring away, you want a vertical, crisp, and structurally sound wall that defies gravity and moisture alike. We are talking about a crust that rings like porcelain when tapped with a spoon. To achieve this, we must move beyond home-cook intuition and embrace the cold, hard science of gluten inhibition and thermal management. If your tart shell looks like a deflated tire, your entire dessert narrative collapses before the first bite is even taken. We are here to audit your technique, reinforce your foundations, and ensure that every crumb serves a structural purpose. Prepare for a deep dive into the molecular mechanics of the perfect shortcrust, where precision is the only path to glory.
THE DATA MATRIX
| Metric | Specification |
|---|---|
| Prep Time | 30 Minutes (plus 2 hours chilling) |
| Execution Time | 45 Minutes |
| Yield | Two 9-inch (23cm) Tart Shells |
| Complexity (1-10) | 7 |
| Estimated Cost per Serving | $0.85 USD |
THE GATHERS
Ingredient Protocol:
- 375g / 3 cups All-Purpose Flour (low protein)
- 225g / 1 cup Unsalted European Butter (82% butterfat), chilled and cubed
- 50g / 0.25 cup Granulated Sugar
- 5g / 1 tsp Fine Sea Salt
- 1 Large Egg Yolk (approx. 18g)
- 45ml / 3 tbsp Ice-Cold Water
Section A: Ingredient Quality Audit:
The primary failure point in Tart Shell Security often begins with the butter. If your butter has a high water content, it will steam during the bake, causing the pastry to puff and then collapse. Always opt for European-style butter with at least 82% fat to minimize moisture. If your flour is too high in protein (like bread flour), the crust will become tough and shrink away from the sides. Use a digital scale to ensure your ratios are exact; volume measurements are the enemy of consistency. If your dough feels too viscous or sticky, your water was likely too warm. The fix is immediate refrigeration to render the fats solid again before the gluten network becomes over-excited.
THE MASTERCLASS
1. The Rubbing-In Phase
Combine your dry ingredients in a chilled stainless steel bowl. Use a bench scraper to cut the cold butter into the flour until the mixture resembles coarse sand with a few pea-sized lumps.
Pro Tip: This process coats the flour proteins in fat, which inhibits gluten development. This ensures a short, crumbly texture rather than a bread-like snap.
2. Hydration and Emulsification
Whisk the egg yolk and ice water together before drizzling over the flour mixture. Use a fork to toss the liquid through until the dough just begins to clump together.
Pro Tip: Using a digital scale to measure your water prevents over-hydration. Excessive water leads to significant shrinkage during the blind bake as the moisture evaporates.
3. The Fraisage Technique
Turn the dough onto a cool marble surface. Use the heel of your hand to smear the dough away from you in short bursts. This finalizes the emulsification of fat and flour without overworking the dough.
Pro Tip: This technique creates long, thin streaks of butter that result in a microscopic layered structure, providing superior Tart Shell Security against heavy fillings.
4. Thermal Stabilization
Shape the dough into a flat disc, wrap tightly in plastic, and refrigerate for at least two hours. This allows the flour to fully infuse with the moisture and the gluten to relax.
Pro Tip: Skipping this step is the leading cause of sidewall collapse. A relaxed dough does not "fight" the pan; it sits comfortably against the fluted edges.
5. The Precision Dock and Weight
Roll the dough to 3mm thickness and fit it into your tart ring. Prick the bottom with a fork (docking) and line with parchment paper. Fill to the very brim with ceramic baking beans or dried pulses.
Pro Tip: Use a heavy-bottomed saucier to weigh down the center if you lack enough baking beans. The weight must push against the sides to prevent the pastry from sliding down the walls.
Section B: Prep & Timing Fault-Lines:
The most common human error is rushing the "resting" phases. If the dough is not cold when it hits the oven, the fat melts before the flour structure sets, leading to a total structural failure. Another fault-line is the "over-stretching" of the dough when lining the tin. If you pull the dough to make it fit, it will snap back like a rubber band in the heat. Always lift and drop the dough into the corners to ensure there is zero tension.
THE VISUAL SPECTRUM
Section C: Thermal & Visual Troubleshooting:
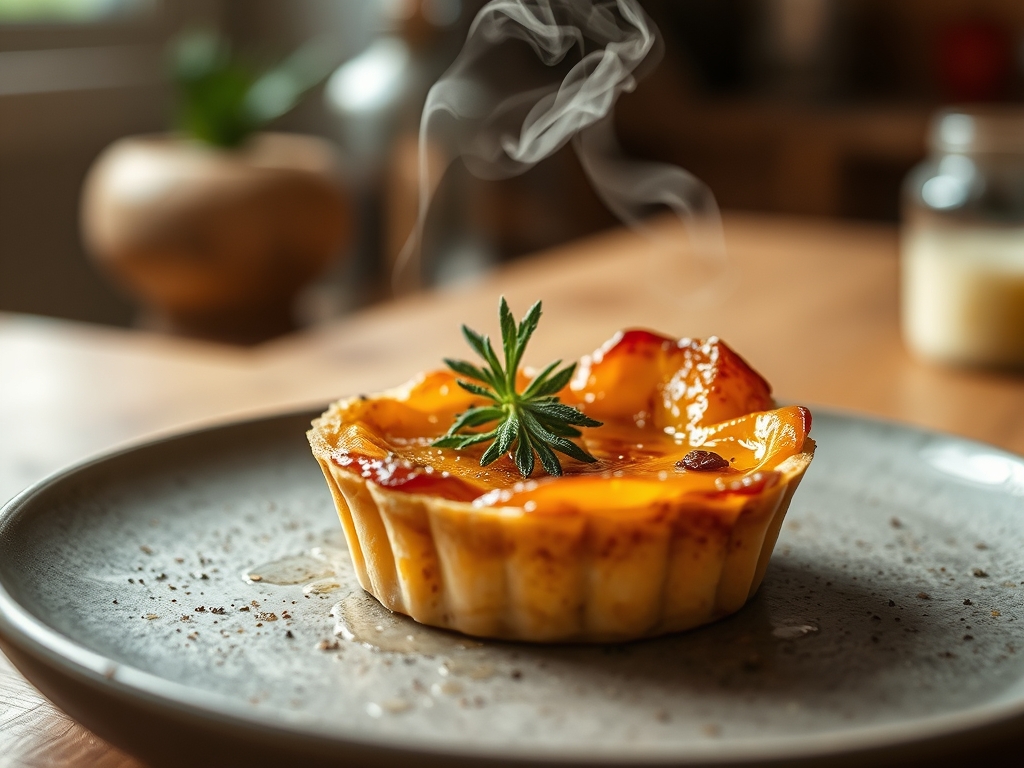
Look closely at the Masterclass photo; notice the golden-brown hue and the sharp, defined ridges of the fluted edge. If your shell is pale and chalky, you have under-baked it, and it will lack the structural integrity to hold a piquant lemon curd. If the edges are dark but the bottom is white, your oven rack was too high. For uneven browning, rotate the tray halfway through the bake to compensate for hot spots. If the surface appears greasy, your dough was too warm during the rolling process; the fat has "leaked" out of the flour matrix. To fix a dull appearance, brush the shell with a thin layer of beaten egg white five minutes before the end of the bake to aerate the surface and create a moisture-proof glaze.
THE DEEP DIVE
Macro Nutrition Profile
A single serving of this tart shell (1/12th of a recipe) contains approximately 180 calories, 12g of fat, 16g of carbohydrates, and 2g of protein. It is a high-density energy source designed for flavor delivery.
Dietary Swaps
- Vegan: Replace the butter with a high-quality plant-based block (ensure it is high in saturated fat) and use 15ml of vodka instead of the egg yolk to maintain crispness.
- Keto: Substitute the flour with a blend of almond flour and coconut flour, using xanthan gum as a structural binder.
- Gluten-Free: Use a 1-to-1 GF flour blend that contains rice flour and potato starch to mimic the snap of wheat.
Meal Prep & Reheating Science
To maintain the molecular structure of a blind-baked shell, store it in an airtight container at room temperature for up to 48 hours. Do not refrigerate an empty shell, as the humidity will soften the crust. To crisp it back up, a five-minute flash in a 300F (150C) oven will render any absorbed moisture and restore the "snap."
THE KITCHEN TABLE
Why did my tart shell shrink so much?
Shrinkage is usually caused by overworking the dough, which develops gluten. When heated, these gluten strands contract. Proper resting and avoiding stretching the dough when lining the pan are the best defenses for Tart Shell Security.
Can I use a food processor for the dough?
Yes, but use the pulse function sparingly. The high-speed blades can heat the butter too quickly. Pulse until the butter is the size of peas, then finish the hydration by hand to avoid over-mixing the delicate flour.
Do I really need to use pie weights?
Absolutely. Without weights, steam builds up under the crust, causing it to billow and the sides to slump. Ensure the weights reach the top of the rim to provide lateral support to the walls during the initial set.
How do I prevent a "soggy bottom" after filling?
Blind bake the shell fully until it is golden. You can also "seal" the crust by brushing it with a thin layer of melted chocolate or an egg-wash glaze before adding high-moisture fillings like fruit or custard.