Listen up, kitchen architects. We are not here to assemble a sandwich; we are here to engineer a structural masterpiece of heat, fat, and protein. When we talk about the Grilled Cheese Crunch, we are discussing the precise moment that the Maillard reaction achieves structural integrity. This is the infrastructure of flavor. Your bread is the foundation, your cheese is the mortar, and the heat is the catalyst that transforms soft gluten into a rigid, golden lattice. If you are looking for a soggy, limp triangle of disappointment, go to a cafeteria. We are auditing the very essence of pan-seared tension. We want a crust so definitive that it shatters upon impact, releasing a viscous, molten core of dairy gold. This is about the physics of the perfect sear. We are going to render fat into the pores of sourdough until every millimeter of the surface area is a hardened, toasted fortification. Prepare your workstation. Clear the clutter. It is time to build something that bites back.
THE DATA MATRIX
| Metric | Specification |
|---|---|
| Prep Time | 10 Minutes |
| Execution Time | 8 Minutes |
| Yield | 1 Serving |
| Complexity | 4 / 10 |
| Estimated Cost per Serving | $3.50 |
THE GATHERS
Ingredient Protocol:
- 2 Thick Slices (approx. 100g) / Sourdough or Pullman Loaf
- 60g / 2 oz Sharp Cheddar (aged 12 months minimum)
- 30g / 1 oz Gruyere or Emmental
- 30ml / 2 tbsp Salted Butter (room temperature)
- 15ml / 1 tbsp Mayonnaise (high-fat content)
- 2g / 0.5 tsp Smoked Paprika
- 1g / pinch Flaky Sea Salt
Section A: Ingredient Quality Audit:
The primary failure point in most builds is the moisture content of the bread. If your loaf is too fresh, the internal steam will compromise the Grilled Cheese Crunch, leading to a structural collapse. Technical Fix: Use bread that is at least 48 hours old or lightly "stale" the slices in a low-moisture environment before assembly. If your cheese is pre-shredded, it is likely coated in cellulose or potato starch to prevent clumping. This inhibits a smooth melt and creates a grainy texture. Technical Fix: Always hand-grate from a high-quality block to ensure the proteins can emulsify properly. If your butter is too cold, you will tear the gluten fibers of the bread during application. Technical Fix: Use a 50/50 blend of softened butter and mayonnaise to create an emulsion that spreads easily and provides a more complex browning profile.
THE MASTERCLASS
1. The Surface Preparation
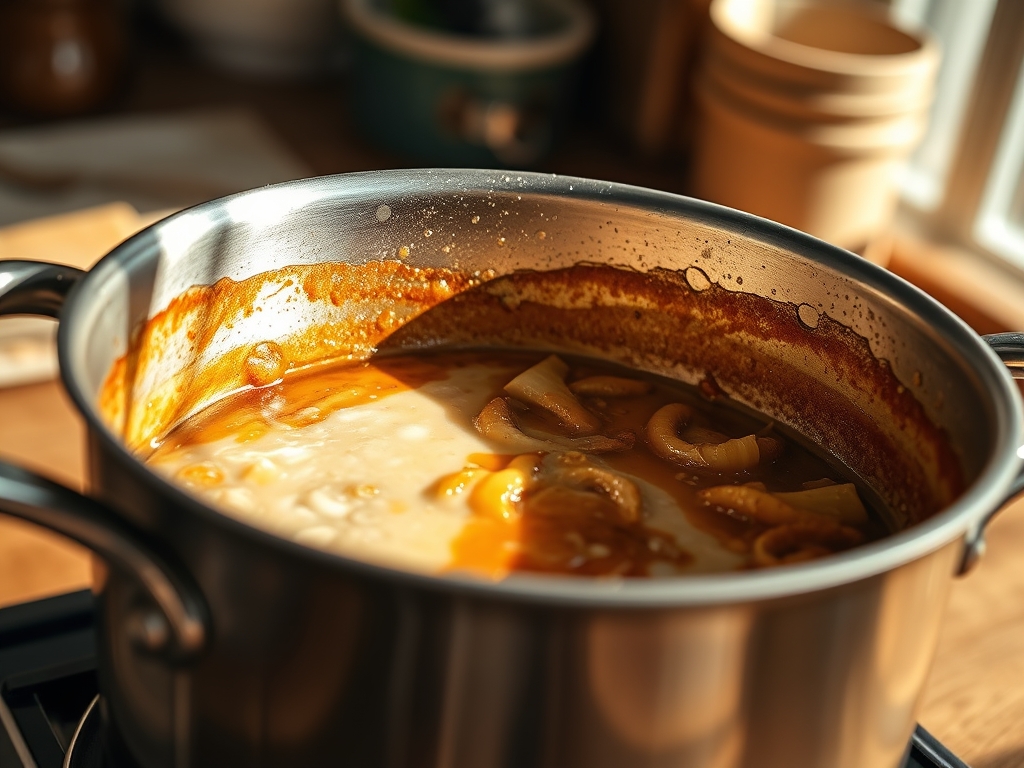
Apply the butter and mayonnaise emulsion to the exterior faces of your bread slices using a small offset spatula or a bench scraper. Ensure edge-to-edge coverage. The mayonnaise contains egg proteins that accelerate the Maillard reaction, while the butter provides the classic dairy depth. Sprinkle a micro-dusting of smoked paprika and flaky salt onto the fat layer to infuse the crust with piquant notes.
Pro Tip: Use a digital scale to ensure you are applying exactly 15g of fat per slice. Consistency is the hallmark of a professional kitchen. Even distribution prevents "hot spots" where the bread might burn before the cheese reaches its melting point.
2. The Cheese Architecture
Grate your cheeses and mix them thoroughly to ensure a homogenous melt. Place the cheese between the non-buttered sides of the bread. Do not overstuff the center; leave a 5mm perimeter around the edges. This allows the cheese to expand as it liquefies without immediately escaping the structural confines of the bread.
Pro Tip: Use a microplane or a fine grater to aerate the cheese. Increased surface area allows the heat to penetrate the dairy fats more rapidly, ensuring the center is molten by the time the exterior achieves its hardened state.
3. Thermal Contact and Compression
Place a heavy-bottomed stainless steel skillet or a copper saucier over medium-low heat. Once the pan is preheated, lay the sandwich down. Use a cast iron bacon press or a secondary heavy pan to apply light, even pressure. This ensures maximum surface contact between the bread and the heat source.
Pro Tip: Monitoring the surface temperature with an infrared thermometer is ideal. You are looking for a steady 325 degrees Fahrenheit. This temperature is high enough to render the fats and brown the proteins without incinerating the delicate sugars in the bread.
4. The Flip and Finish
Once the first side has achieved a deep, mahogany hue, use a wide spatula to flip the sandwich. The cheese should be starting to soften at the edges. Repeat the compression process on the second side. Monitor the sound; a "hissing" indicates moisture loss, which is the precursor to the ultimate Grilled Cheese Crunch.
Pro Tip: In the final 30 seconds, add a teaspoon of water to the corner of the pan and cover with a lid. This creates a brief burst of steam that ensures the cheese is fully viscous without toughening the bread.
Section B: Prep & Timing Fault-Lines:
The most common human error is impatience. Turning the heat to "High" will result in a burnt exterior and a cold, unmelted core. This is a failure of thermal conductivity. If you find the bread is browning too fast, immediately remove the pan from the heat and allow the residual energy to continue the cook. Another fault-line is the "Soggy Bottom" syndrome, caused by leaving the sandwich on a flat plate immediately after cooking. This traps steam. Technical Fix: Rest the finished sandwich on a wire cooling rack for 60 seconds to allow air to circulate, preserving the tension of the crust.
THE VISUAL SPECTRUM
Section C: Thermal & Visual Troubleshooting:
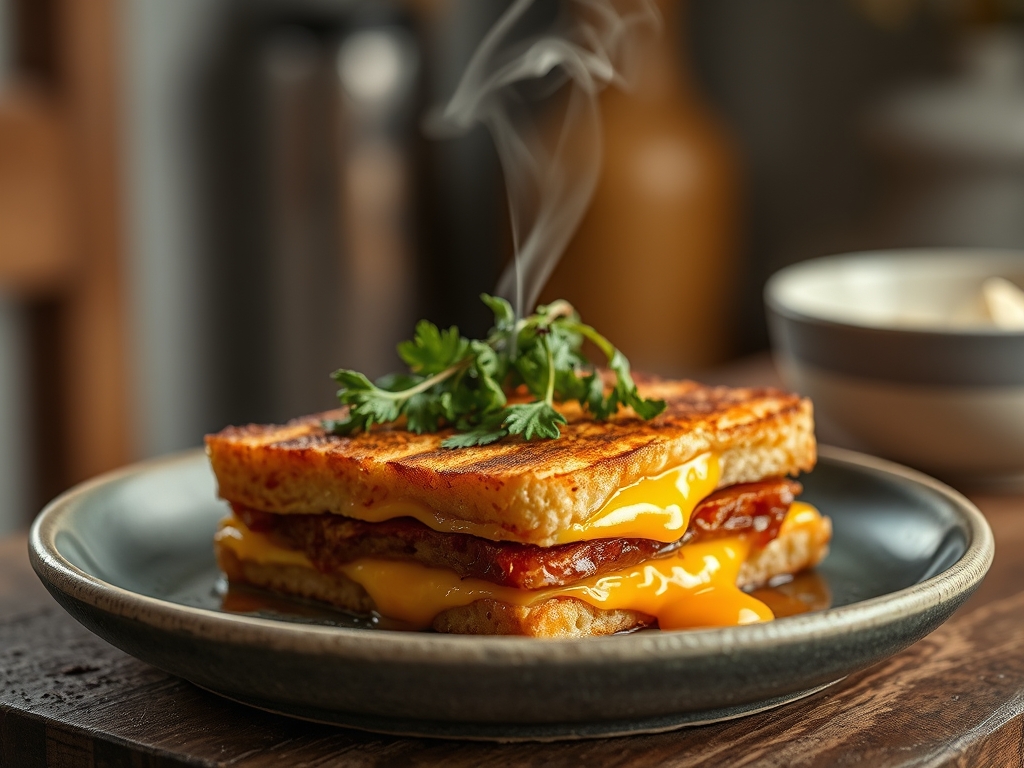
Look at the Masterclass photo. Notice the variegated golden-brown surface; this is the visual representation of a successful Maillard reaction. If your sandwich looks pale or "blonde," you have not reached the necessary temperature for flavor development. If it appears black or carbonized, the heat was too aggressive. Dull colors often indicate a lack of fat; the surface should have a slight sheen from the rendered butter. If you see "leaking" cheese that has turned into a hard, oily puddle, your heat was too high for too long, causing the emulsion of the cheese to break. The ideal visual cue is a slight protrusion of molten cheese at the edges that has just begun to caramelize against the pan.
THE DEEP DIVE
Macro Nutrition Profile:
A standard build using these specifications yields approximately 580 calories. This includes 24g of protein, 42g of carbohydrates, and 36g of fats. The sourdough base provides a lower glycemic index compared to white bread, while the aged cheddar offers a significant dose of calcium and Vitamin A.
Dietary Swaps:
- Vegan: Substitute dairy with a cashew-based fermented "cheese" and use a plant-based oil spread or coconut oil.
- Keto: Replace sourdough with a high-protein, almond-flour-based bread. Ensure the cheese is high-fat and zero-carb.
- GF: Use a sturdy gluten-free bread; however, be aware that the lack of gluten will change the "tension" of the crunch, often resulting in a more brittle texture.
Meal Prep & Reheating Science:
To maintain the molecular structure when reheating, avoid the microwave at all costs. The microwave excites water molecules, turning your crust into a rubbery mess. Instead, use an air fryer at 350 degrees Fahrenheit for 3 minutes or a dry skillet over medium heat. This re-activates the fats and restores the Grilled Cheese Crunch.
THE KITCHEN TABLE
Why is my bread soggy even though I used butter?
You likely used too much butter or your heat was too low. Excessive fat without sufficient heat leads to absorption rather than searing. Ensure the pan is preheated so the fat fries the bread surface immediately upon contact.
Can I use low-fat cheese for this recipe?
Negative. Low-fat cheese lacks the lipid structure necessary for a proper melt. It will often turn rubbery or "weep" water, which destroys the structural integrity of the bread. Stick to full-fat, aged varieties for the best results.
What is the best bread for maximum crunch?
Sourdough is the gold standard. Its dense crumb and fermented structure create a more resilient lattice that can withstand the weight of the cheese while providing a superior, glass-like crunch once seared in fat.
Why add mayonnaise to the outside?
Mayonnaise is an emulsion of oil and egg yolks. The egg proteins undergo the Maillard reaction more efficiently than milk solids in butter alone. This results in a more even, darker, and more flavorful crust.
How do I stop the cheese from leaking out?
The "5mm perimeter" rule is essential. By leaving space at the edges during assembly, you allow the cheese to expand as it melts. If it does leak, use your spatula to push it back against the bread.