Listen up, culinary architects. We are not just baking a crust; we are engineering a structural masterpiece capable of defying gravity and moisture. When you approach the Cream Pie Foundation, you are engaging with the load-bearing substrate of the pastry world. Forget those soggy, limp-wristed grocery store shells that crumble under the slightest pressure of a heavy custard. We are talking about a crisp, buttery, and resilient fortification that serves as the bedrock for every silk, curd, or cream filling in your repertoire. This is where physics meets flavor. The objective is a golden-brown lattice of fat and flour that remains impervious to the moisture migration of a chilled filling. If your crust lacks the structural integrity to hold a dense pastry cream without turning into a damp sponge, you have failed the audit. We are here to ensure your infrastructure is sound; your crumb is short; and your bottom is flawlessly par-baked. Let us strip away the amateur fluff and build a foundation that commands respect on the plate.
THE DATA MATRIX
| Metric | Specification |
|---|---|
| Prep Time | 20 Minutes |
| Execution Time | 45 Minutes (Plus Chilling) |
| Yield | Two 9-inch (23cm) Shells |
| Complexity (1-10) | 6 |
| Estimated Cost per Serving | $0.42 |
THE GATHERS
Ingredient Protocol:
- 500g / 4 cups All-Purpose Flour (11.5% protein)
- 340g / 1.5 cups Unsalted European Butter (82% butterfat), chilled and cubed
- 10g / 2 tsp Fine Sea Salt
- 15g / 1 tbsp Granulated Sugar
- 120ml / 0.5 cup Ice-Cold Filtered Water
- 15ml / 1 tbsp Apple Cider Vinegar
Section A: Ingredient Quality Audit:
If your flour has a protein content lower than 10%, your Cream Pie Foundation will lack the gluten strength to support heavy fillings. Conversely, high-protein bread flour will yield a tough, leathery texture. Fix: Blend flours to hit the 11% sweet spot. If your butter is too warm, it will emulsify into the flour rather than creating distinct layers. Fix: Freeze your butter cubes for 15 minutes before the "rubbing-in" phase. If your water is tap-heavy with chlorine, it can inhibit the delicate flavor profile of the butter. Fix: Always use filtered water. Sub-par salt? Avoid iodized table salt which imparts a metallic tang; stick to sea salt for a clean finish.
THE MASTERCLASS
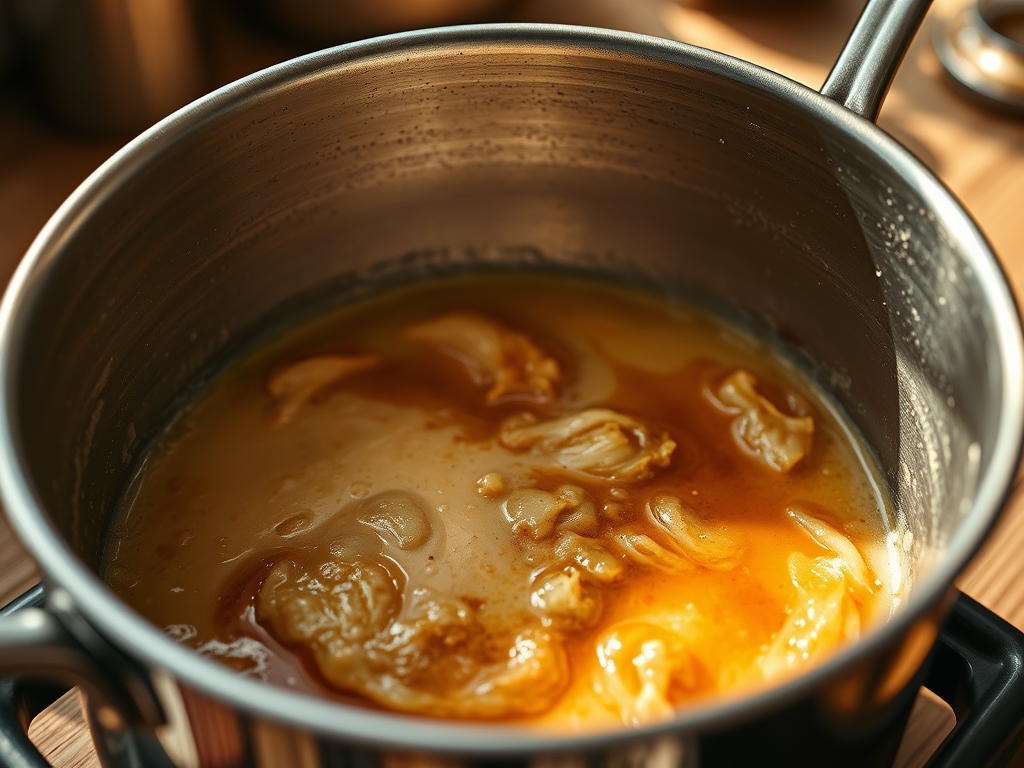
1. The Dry Integration
Sift your flour, salt, and sugar into a large stainless steel mixing bowl. Use a digital scale for this; volume measurements are for hobbyists who enjoy inconsistency. Whisk thoroughly to ensure the salt is evenly distributed throughout the matrix.
Pro Tip: Sifting does more than remove lumps; it helps to aerate the flour, ensuring the fat can coat the particles more efficiently, which prevents excessive gluten development later.
2. The Lipid Dispersion
Add your frozen butter cubes. Use a bench scraper or a pastry blender to cut the fat into the dry mix until the largest pieces are the size of peas. You are looking for a sandy texture with visible chunks of intact fat.
Pro Tip: This "rubbing-in" method creates a physical barrier of fat around the flour proteins. When the butter melts in the oven, it creates steam pockets that render the crust flaky and light.
3. Hydration and Binding
Combine your ice water and vinegar. Drizzle the liquid over the flour while tossing with a fork. Do not knead. Stop the moment the dough holds together when squeezed. Wrap in plastic and chill for at least two hours.
Pro Tip: The acetic acid in vinegar inhibits gluten formation, ensuring a tender bite. Using a chilled saucier to hold your ice water ensures the temperature remains near freezing throughout the process.
4. The Structural Roll-Out
On a lightly floured surface, roll the dough to a 3mm thickness. Drape it over your pie tin, gently easing it into the corners without stretching. Trim the edges and crimp for aesthetic and structural reinforcement.
Pro Tip: Stretching the dough triggers "elastic memory." If you pull the dough, it will inevitably shrink during the bake. Let gravity do the work to prevent a collapsing rim.
5. The Par-Bake Protocol
Line the shell with parchment and fill to the brim with ceramic pie weights or dried beans. Bake at 200C (400F) for 15 minutes. Remove the weights and bake for another 10 minutes until the bottom is dry and golden.
Pro Tip: This is known as "blind baking." It ensures the bottom crust is fully cooked and sealed before the viscous cold filling is added, preventing the dreaded "soggy bottom."
Section B: Prep & Timing Fault-Lines:
The most common failure in the Cream Pie Foundation is rushing the chill time. If the dough is not rested, the gluten remains agitated, leading to a tough result. If your oven is not properly preheated, the fat will melt and leak out before the flour can set, resulting in a greasy, slumped mess. Use an oven thermometer to verify your internal temperature. If the dough becomes too soft while rolling, stop immediately and return it to the refrigerator for 20 minutes. Temperature control is the difference between a professional pastry and a kitchen disaster.
THE VISUAL SPECTRUM
Section C: Thermal & Visual Troubleshooting:
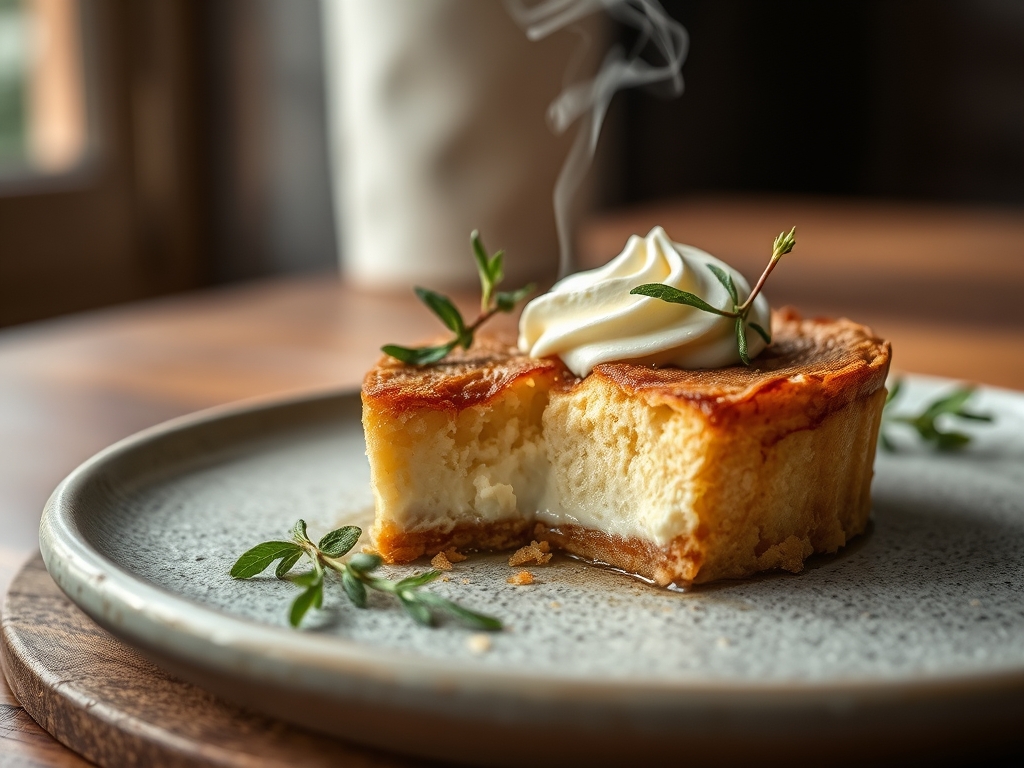
Look at the Masterclass photo. Note the deep, even golden-brown hue; this is the result of the Maillard reaction. If your crust is pale, you likely under-baked or your oven temperature was too low. If the edges are dark but the bottom is white, your rack position was too high. Uneven browning usually indicates "hot spots" in your oven; rotate the tin halfway through the bake to compensate. If you see large bubbles on the floor of the crust, you failed to "dock" the dough with a fork or didn't use enough weights. The texture should be matte and crisp, not shiny or translucent. A shiny surface suggests the fat melted out and fried the exterior rather than creating flakes.
THE DEEP DIVE
- Macro Nutrition Profile: Each serving (1/8 of a shell) contains approximately 280 calories, 18g of fat, 25g of carbohydrates, and 3g of protein. This is a high-energy substrate designed for indulgence.
- Dietary Swaps: For a Vegan foundation, substitute the butter with a high-quality plant-based fat block (ensure it has a high melting point). For Gluten-Free, use a 1-to-1 flour blend with xanthan gum to provide the necessary elasticity. Keto versions require almond flour and egg white as a binder.
- Meal Prep & Reheating Science: You can freeze the raw dough for up to three months. To maintain molecular structure, thaw in the refrigerator for 24 hours before rolling. Once baked, the shell can be stored in a dry, airtight container for 48 hours. Avoid the microwave; it will vibrate water molecules and ruin the crisp lattice.
THE KITCHEN TABLE
Why is my crust shrinking during the bake?
Shrinkage is caused by overworking the dough or stretching it into the pan. This activates gluten and creates tension. Always rest your dough after rolling to allow the gluten network to relax and stabilize before hitting the heat.
Can I use a food processor instead of a bench scraper?
Yes, but use the pulse function sparingly. The high-speed blades can easily over-process the fat, turning your flaky crust into a shortbread texture. Stop when the butter is still in visible, pea-sized chunks for maximum lift.
What is the purpose of the vinegar in the recipe?
Vinegar acts as a dough conditioner. The acid interferes with the bond formation of glutenin and gliadin, the proteins that create gluten. This ensures your Cream Pie Foundation remains tender and easy to cut with a fork.
How do I prevent the bottom from getting soggy after filling?
Ensure a perfect par-bake. You can also brush the hot, par-baked crust with a thin layer of beaten egg white or melted chocolate. This creates a moisture-proof barrier that protects the infrastructure from the hydration of the cream filling.