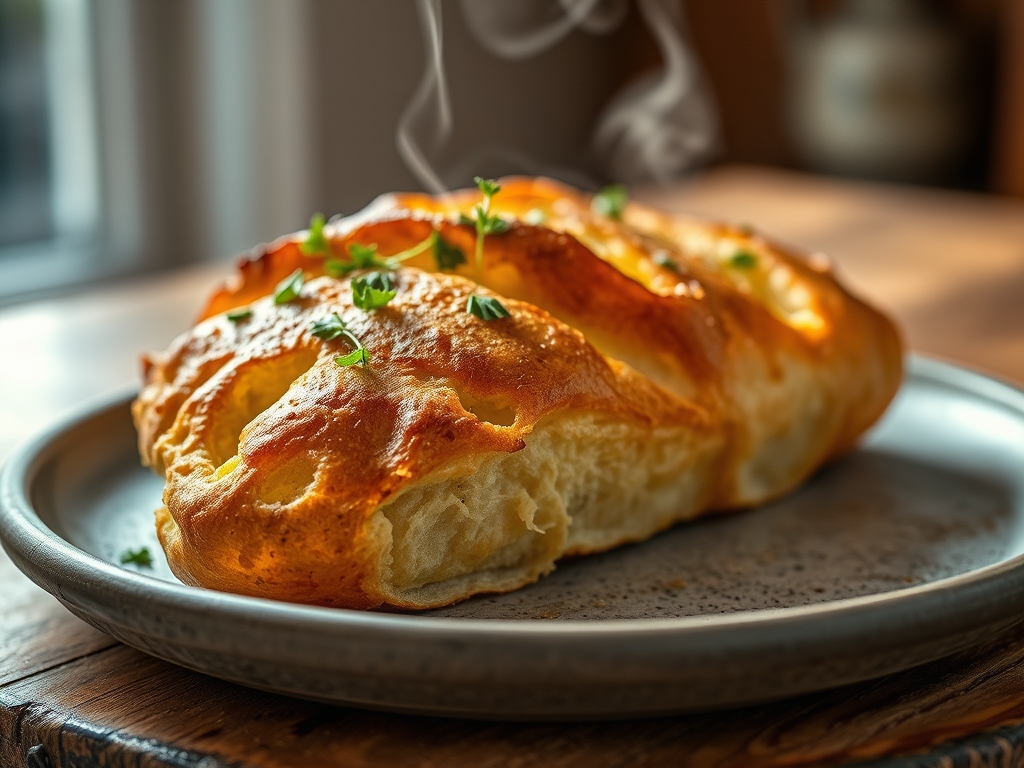
Listen to the sound of a structural failure. It is the wet, rhythmic thud of a dough that lacked the skeletal integrity to withstand its own internal pressure. We are here to prevent the tragedy of the "soggy bottom" by mastering the tactical art of the Par Baked Sourdough. This is not merely baking; it is a high-stakes engineering project involving microbial gas retention and the precise solidification of a gluten matrix before the moisture of the filling can compromise the hull. When you pull a perfectly par-baked crust from the oven, you should see a pale gold surface that feels like parchment but holds the rigidity of a shield. The air is thick with the scent of lactic acid and toasted grain. We are building a vessel designed to contain chaos. By pre-setting the structure through a controlled thermal event, we ensure that every subsequent layer of flavor remains distinct rather than dissolving into a viscous, undifferentiated slurry of failure.
THE DATA MATRIX
| Metric | Specification |
|---|---|
| Prep Time | 45 Minutes (Active) |
| Execution Time | 25 Minutes (Baking) |
| Yield | 2 Standard 9-inch Crusts |
| Complexity (1-10) | 7 |
| Estimated Cost per Serving | $0.85 USD |
THE GATHERS
Ingredient Protocol:
- Active Sourdough Starter: 150g / 0.63 cups (100% hydration).
- High-Protein Bread Flour: 450g / 3.75 cups.
- Filtered Water: 225ml / 0.95 cups.
- Fine Sea Salt: 10g / 2 teaspoons.
- Cold Unsalted Butter: 50g / 3.5 tablespoons (cubed).
- Diastatic Malt Powder: 5g / 1 teaspoon (optional for browning).
Section A: Ingredient Quality Audit:
If your sourdough starter smells like acetone rather than a piquant, fruity ferment, your acidity levels are too high. This will degrade the gluten network, resulting in a crust that shatters rather than flakes. To fix this, perform two back-to-back feedings at a 1:5:5 ratio to dilute the acid load. If using flour with a protein content below 12 percent, the crust will lack the tensile strength to support heavy fillings. In this scenario, replace 20g of flour with vital wheat gluten to fortify the structure. Finally, ensure your water is filtered; chlorine is a microbial assassin that will inhibit the very gas retention we are trying to exploit.
THE MASTERCLASS
Step 1: The Molecular Integration
Combine your active starter and filtered water in a glass bowl, whisking until the mixture is frothy and the microbes are beginning to aerate the liquid. Gradually incorporate the flour and salt. Use a digital scale for this process; volumetric measurements are the enemies of consistency. Once a shaggy mass forms, let it rest for twenty minutes to allow for autolyse.
Pro Tip: This resting period allows the flour to fully hydrate, which reduces the mechanical energy required during kneading and prevents the oxidation of the carotenoid pigments in the flour.
Step 2: Mechanical Strengthening
Turn the dough onto a clean surface and use a bench scraper to manage the hydration. Work the dough using the "slap and fold" method until it reaches a windowpane consistency. At this stage, fold in the chilled butter cubes. The goal is not to emulsify the fat completely but to create thin sheets of lipid between the gluten layers.
Pro Tip: Cold butter creates steam pockets during the initial blast of heat. This is the "puff" in your Par Baked Sourdough, providing a flaky contrast to the chewy fermented crumb.
Step 3: Fermentation and Shaping
Place the dough in a transparent container to monitor the volume increase. Once it has expanded by 50 percent, divide the dough and roll it out to a 12-inch diameter. Drape it over your tart tin or pie plate, ensuring there are no air pockets trapped between the dough and the metal. Use your bench scraper to trim the excess with surgical precision.
Pro Tip: Over-proofing at this stage will lead to a collapse in the oven. You want the dough to be "young" so it still possesses enough residual sugar to undergo the Maillard reaction.
Step 4: The Weighted Thermal Set
Dock the bottom of the crust thoroughly with a fork to allow steam to escape. Line the dough with parchment paper and fill it to the brim with ceramic pie weights or dried beans. Bake at 400 degrees Fahrenheit for 15 minutes. This "blind" phase sets the exterior walls before the interior can slump.
Pro Tip: Using heavy weights is non-negotiable. Without them, the steam generated by the butter will cause the floor of the crust to bubble and heave, ruining the flat architecture required for professional fillings.
Step 5: The Final Infrastructure Cure
Remove the weights and the parchment paper. Return the crust to the oven for another 8 to 10 minutes. You are looking for a "biscuit" texture that is dry to the touch but has not yet developed deep mahogany tones. This is the essence of the Par Baked Sourdough; it is a half-finished symphony waiting for its final movement.
Pro Tip: Use an infrared thermometer to check the surface temperature. You want the crust to reach at least 190 degrees Fahrenheit to ensure the starches have gelatinized and set permanently.
Section B: Prep & Timing Fault-Lines:
The most common human error is "rushing the cold." If the dough is not chilled for at least 30 minutes before entering the oven, the fats will render and leak out before the flour can absorb them. This results in a greasy, tough shell. Furthermore, if your oven is not properly preheated for at least an hour, the initial "oven spring" will be sluggish, leading to a dense and gummy interface. Always use an independent oven thermometer to verify your appliance is not lying to you.
THE VISUAL SPECTRUM
Section C: Thermal & Visual Troubleshooting:
Observe the photo above. Notice the micro-blistering on the rim; this is a hallmark of long-term fermentation and high-quality gas retention. If your crust looks smooth and matte like cardboard, you likely under-fermented the dough or used "dead" starter. If the edges are charred while the bottom is translucent and pale, your rack position is too high. Move the tin to the lowest rack and use a preheated baking stone to conduct heat directly into the base. A successful Par Baked Sourdough should exhibit a "shatter-crack" when poked with a fingernail, indicating the moisture has been successfully evacuated from the outer lamellae.
THE DEEP DIVE
Macro Nutrition Profile:
A single serving of this sourdough base provides approximately 210 calories, 4g of protein, 32g of carbohydrates, and 7g of fat. The fermentation process reduces the presence of phytic acid, making the minerals in the grain more bioavailable than in a standard shortcrust.
Dietary Swaps:
For a vegan iteration, substitute the butter with a high-quality coconut oil solid or a vegan block butter with at least 80 percent fat content. For gluten-free requirements, you must utilize a xantham gum-fortified flour blend; however, be advised that the microbial gas retention will be significantly lower, resulting in a denser structural profile.
Meal Prep & Reheating Science:
To maintain the molecular structure of a par-baked crust, wrap it tightly in beeswax wrap and store it at room temperature for up to 48 hours. If freezing, vacuum seal the crust to prevent ice crystal formation, which punctures the gluten cells and causes sogginess upon thawing. Reheat at 350 degrees Fahrenheit for 5 minutes to "crisp" the lipids before adding your final fillings.
THE KITCHEN TABLE
Why is my sourdough crust shrinking down the sides?
This is a symptom of elastic tension. You likely overworked the dough or failed to let it rest after rolling. The gluten fibers are acting like rubber bands. Let the shaped dough rest in the fridge for 30 minutes before baking.
Can I use discard instead of active starter?
Yes, but you will sacrifice the "lift." Discard is more acidic and less gassy. If using discard, add a pinch of baking soda to neutralize the acid and provide a chemical boost to the microbial aeration.
What if I do not have pie weights?
Use dried chickpeas or white rice. They conduct heat efficiently and are heavy enough to suppress the dough. Just ensure you do not cook with them afterward; the repeated dry-roasting renders them inedible for standard consumption.
How do I prevent the bottom from getting soggy later?
Brush the par-baked crust with a thin layer of egg white as soon as it leaves the oven. The residual heat will cook the egg, creating a hydrophobic protein shield that prevents moisture from the filling from migrating into the crust.