The oil is screaming at you; are you actually listening? Most amateur cooks treat the frying process like a silent movie, staring blankly at the bubbling surface while waiting for a magical shade of golden brown to appear. That is a tactical error in the culinary theater. Frying is a high-stakes acoustic performance where the moisture inside your protein is the lead singer. As the water molecules are violently ejected from the cellular structure of the food, they create steam pockets that collide with the hot lipid bath. This produces that signature white noise we call a sizzle. However, the true master of the kitchen relies on Hearing Frying Completion to determine the exact millisecond of peak texture. As the moisture levels drop, the frequency of the sizzle shifts from a chaotic, wet roar to a sharp, rhythmic crackle; and finally to a subtle, high-pitched hiss. If you miss that acoustic transition, you are no longer cooking; you are merely desiccating. Let us audit your technique and turn that noise into data.
THE DATA MATRIX
| Metric | Specification |
|---|---|
| Prep Time | 25 mins |
| Execution Time | 12 mins |
| Yield | 4 Servings |
| Complexity (1-10) | 7 |
| Estimated Cost per Serving | $4.50 |
THE GATHERS
Ingredient Protocol:
- 500g / 1.1 lbs Chicken Thighs (Skin-on, deboned)
- 120g / 1 cup All-purpose flour
- 60g / 0.5 cup Cornstarch (for starch retrogradation)
- 250ml / 1 cup Buttermilk (high acidity for protein tenderization)
- 15ml / 1 tbsp Smoked Paprika
- 10g / 2 tsp Fine Sea Salt
- 5g / 1 tsp Freshly cracked black pepper
- 1L / 4.2 cups Neutral oil (Grapeseed or Peanut for high smoke point)
Section A: Ingredient Quality Audit:
If your buttermilk is too thin or lacks that characteristic viscous cling, your dredge will slide right off the protein. To fix this, whisk in a teaspoon of Greek yogurt to increase the protein solids. If your flour feels clumped or damp, it has absorbed ambient humidity; sifting it twice is mandatory to aerate the mixture and ensure a shatter-crisp crust. Sub-par spices that have lost their piquant punch should be toasted in a dry pan for thirty seconds before being ground to wake up the volatile oils. Finally, if the chicken is weeping excess moisture, pat it dry with surgical precision. Surface water is the enemy of the Maillard reaction; it creates a steam barrier that prevents the crust from bonding to the meat.
THE MASTERCLASS
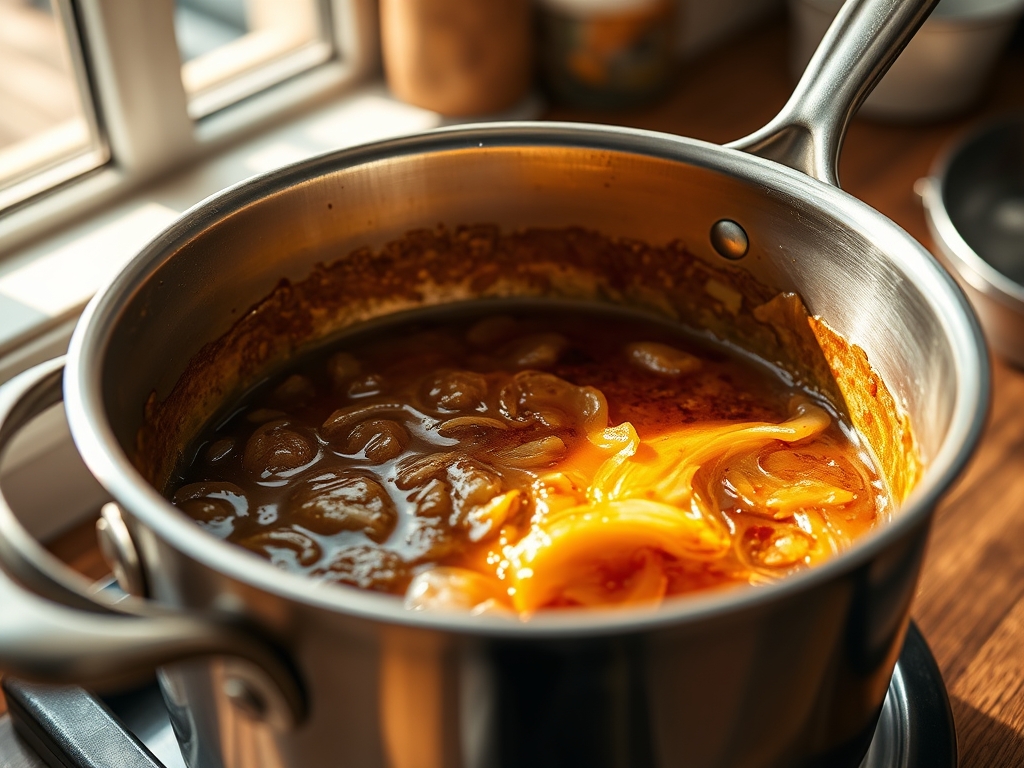
1. The Brine Phase: Structural Integrity
Place your chicken in a stainless steel bowl and submerge it in the seasoned buttermilk. Use a digital scale to ensure your salt ratio is exactly 2 percent of the meat weight. This allows the salt to denature the proteins, ensuring the meat remains juicy even as the exterior undergoes extreme dehydration.
Pro Tip: This stage uses osmosis to infuse the deep tissue with moisture. The lactic acid in the buttermilk breaks down tough connective fibers, turning a standard thigh into a buttery masterpiece.
2. The Dredge: Engineered Friction
Whisk the flour, cornstarch, and spices in a shallow tray. Take the chicken from the buttermilk and press it firmly into the flour. Use a bench scraper to move the excess flour around, ensuring every nook and cranny is coated. Shake off the excess; you want a thin, architectural layer, not a heavy blanket.
Pro Tip: Cornstarch interferes with gluten development. By diluting the wheat flour, you create a more brittle, glass-like crunch that resists softening even after the chicken leaves the oil.
3. The Thermal Entry: Heat Management
Heat your oil in a heavy-bottomed saucier or cast iron skillet until it reaches 175C (350F). Use an infrared thermometer to verify the surface temperature. Gently lower the chicken away from your body to avoid backsplash. The initial sound will be a violent, low-frequency rumble as the surface moisture evaporates instantly.
Pro Tip: Maintaining a consistent temperature is vital. If the oil drops below 160C, the crust will absorb the fat instead of repelling it, resulting in a greasy, soggy failure.
4. The Acoustic Audit: Hearing Frying Completion
As the chicken cooks, the pitch of the oil will rise. You are listening for the transition from "wet" bubbling to "dry" snapping. When the bubbles become small and uniform, and the sound reaches a consistent, high-frequency hiss, the internal moisture has reached its equilibrium. This is the moment of Hearing Frying Completion.
Pro Tip: The sound changes because there is less water vapor being expelled. Less vapor means less acoustic dampening, allowing the sharp "clink" of the hardening crust to resonate through the oil.
5. The Rest: Capillary Action
Remove the chicken and place it on a wire cooling rack. Do not use paper towels; they trap steam and ruin the bottom crust. Let the meat rest for four minutes. This allows the internal juices to redistribute and the crust to fully polymerize.
Pro Tip: Resting allows the heat to carry over to the center. Use a probe thermometer to ensure an internal temperature of 74C (165F) for safety and optimal texture.
Section B: Prep & Timing Fault-Lines:
The most common failure is overcrowding the pan. When you add too much cold protein at once, the oil temperature crashes, and the acoustic cues become muffled. If you cannot hear the individual bubbles popping, you have too much product in the oil. Another timing error is the "premature flip." If you move the chicken before the crust has set, you will tear the structural bond between the skin and the breading. Wait for the sound to stabilize before even thinking about touching the meat.
THE VISUAL SPECTRUM
Section C: Thermal & Visual Troubleshooting:
Look at the Masterclass photo; notice the "craggy" topography of the crust. If your chicken looks smooth and pale, you didn't create enough surface area during the dredging process. To fix this, drizzle a few tablespoons of buttermilk into your flour mixture and rub it in to create small clumps before breading. If the edges are dark brown but the center is pale, your heat is too high; the exterior is burning before the interior can render its fat. If the crust looks "dusty" or white in spots, it means the flour didn't hydrate. A quick spray of oil or a longer rest before frying will ensure the flour is fully integrated into the buttermilk binder.
THE DEEP DIVE
- Macro Nutrition Profile: A single serving provides approximately 35g Protein, 22g Fat, and 28g Carbohydrates. The high protein content is balanced by the starch-heavy crust, making it a dense energy source.
- Dietary Swaps: For a Keto version, replace the flour and cornstarch with crushed pork rinds and almond flour. For a Gluten-Free (GF) version, use a 1:1 GF flour blend with extra cornstarch for structural rigidity. Vegan auditors can substitute chicken for oyster mushrooms and use soy milk with lemon juice as a buttermilk replacement.
- Meal Prep & Reheating Science: To maintain the molecular structure when reheating, avoid the microwave at all costs. The microwave vibrates water molecules, steaming the crust from the inside out. Instead, use an air fryer or oven at 200C for five minutes. This flash-evaporates any absorbed surface moisture and re-crisps the lipid layers.
THE KITCHEN TABLE
How do I know if the oil is ready without a thermometer?
Drop a small pinch of flour into the oil. If it sizzles immediately and stays on the surface, you are in the strike zone. If it sinks, it is too cold; if it smokes, it is too hot.
Why is my crust falling off the chicken?
This is usually caused by surface moisture on the raw meat. Ensure the chicken is bone-dry before the buttermilk dip. The protein-to-starch bond requires a dry interface to achieve maximum adhesion during the frying process.
Can I reuse the frying oil?
Yes, if you filter it through a fine-mesh sieve to remove carbonized food particles. Store it in a cool, dark place. However, oil degrades with every use; if it smells "fishy" or looks dark, discard it immediately.
What is the best oil for Hearing Frying Completion?
Peanut oil is the gold standard. It has a high smoke point and a neutral profile that allows the acoustic frequencies of the moisture evaporation to travel clearly without being muffled by heavy lipid density.