Close your eyes and listen to the white noise of the kitchen. Most amateurs rely on visual confirmation or the invasive poke of a thermometer to gauge progress. However, a true culinary auditor understands that the most critical data points are auditory. Cooking Steak by Sound is not a gimmick; it is a sophisticated method of monitoring moisture evaporation and protein denaturation in real time. When that cold ribeye hits the blistering cast iron, the initial roar is the sound of surface moisture transforming into steam. As the sear progresses, that chaotic hiss transitions into a rhythmic, crackling staccato. This shift signals that the Maillard reaction is accelerating and the fat has begun to render into a liquid state. If the sound dies down to a pathetic simmer, your pan temperature has crashed. If it screams like a jet engine, your butter is about to scorch. Mastering this acoustic feedback loop allows you to maintain the perfect thermal trajectory without ever breaking the crust to peek.
THE DATA MATRIX
| Metric | Specification |
|---|---|
| Prep Time | 45 Minutes (includes tempering) |
| Execution Time | 12 Minutes |
| Yield | 2 Servings |
| Complexity | 7/10 |
| Estimated Cost per Serving | $22.00 – $35.00 |
THE GATHERS
Ingredient Protocol:
- 2 Prime Ribeye Steaks (approx. 450g / 16 oz each), cut 1.5 inches thick.
- 30g / 2 tbsp High-smoke point oil (Avocado or Grapeseed).
- 45g / 3 tbsp Unsalted European-style butter.
- 4 cloves Garlic, smashed.
- 3 sprigs Fresh Thyme.
- 15g / 1 tbsp Coarse Kosher Salt.
- 5g / 1 tsp Freshly cracked black pepper.
Section A: Ingredient Quality Audit:
The primary failure point in steak execution is "wet" meat. Supermarket steaks are often packed in saline solutions that weep moisture when heated. This excess water prevents the temperature from rising above 100C (212F), trapping the steak in a gray, steamed purgatory. To fix this, use a digital scale to measure your salt and apply it 45 minutes before cooking. This allows the salt to draw out moisture, dissolve into a brine, and then be reabsorbed into the muscle fibers via osmosis. If your steak looks pale or lacks marbling, it will lack the intramuscular fat necessary to infuse the meat with flavor during the rendering process. Always opt for dry-aged cuts if the budget allows; the reduced water content provides a much sharper acoustic profile during the sear.
THE MASTERCLASS
1. Thermal Tempering and Surface Dehydration
Remove the steaks from the refrigerator and pat them aggressively dry with paper towels. Apply the salt and let them sit on a wire rack at room temperature. This ensures the center of the meat is not a block of ice when the exterior hits the heat.
Pro Tip: Use a bench scraper to clear any excess salt or moisture from your cutting board. Reducing surface moisture is the only way to achieve the rapid-fire "crackling" sound that indicates a successful Maillard reaction.
2. The Initial Acoustic Impact
Heat a heavy cast iron skillet until it wisps with smoke. Add the oil. Carefully lay the steak away from you. You should hear an immediate, aggressive roar. This is the "Flash Phase" where surface proteins begin to bond.
Pro Tip: An infrared thermometer is a great professional tool here, but your ears are faster. If the hiss is muffled, the pan was not hot enough. Do not crowd the pan; use a second skillet if necessary to maintain thermal mass.
3. The Rhythmic Flip and Crust Development
Flip the steak every 60 seconds. This modern technique creates a more even internal gradient and prevents the gray band of overcooked meat. As you flip, listen for the sound to become "crisper." The moisture is leaving, and the crust is hardening.
Pro Tip: Use heavy-duty stainless steel tongs to hold the steak on its side. You need to render the fat cap until it sounds like frying bacon. This adds structural integrity to the steak's edges.
4. The Butter Baste Symphony
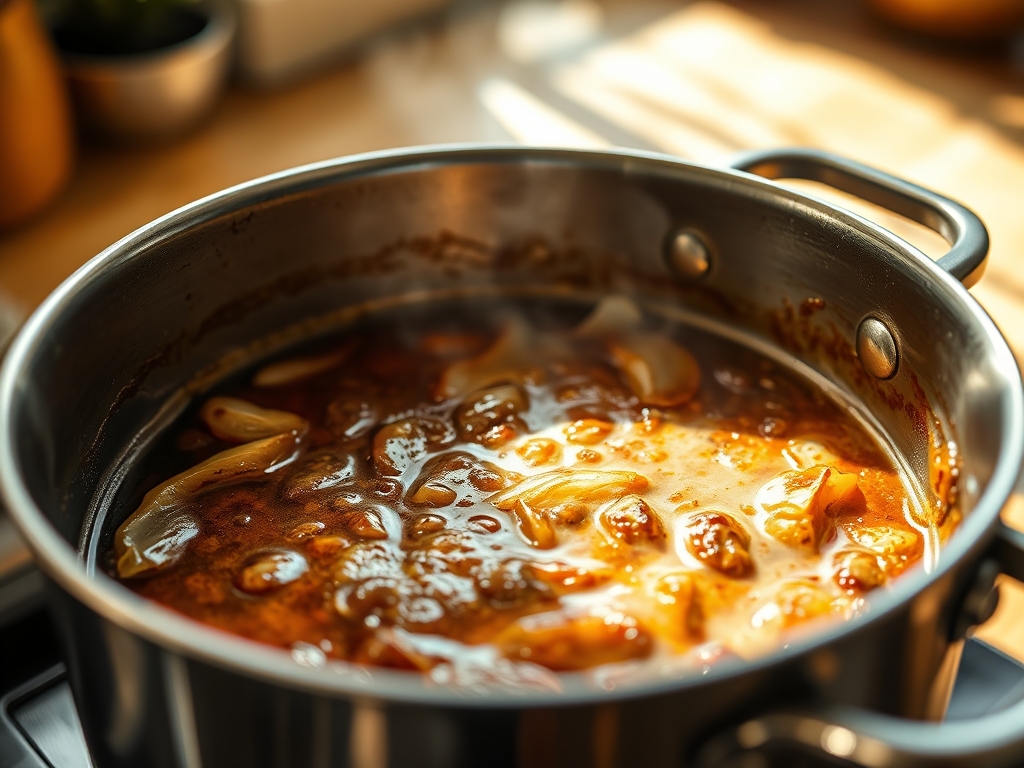
Reduce the heat slightly and add the butter, garlic, and thyme. The sound will change from a sharp crackle to a frothy, bubbling viscous foam. Use a large spoon to continuously bathe the steak in this aromatic fat.
Pro Tip: Tilt the pan so the butter pools at the bottom. This allows you to infuse the herbs without burning them. If the butter stops bubbling, it means the steak is no longer releasing moisture, signaling it is nearing the finish line.
5. The Rest and Redistribution
Remove the steak when it hits 51C (125F) for medium-rare. Place it on a warm plate. The "sound" of the steak now is a faint, internal sizzling as the juices redistribute.
Pro Tip: Use a saucier to collect the remaining pan juices and butter. This liquid gold can be deglazed with a splash of wine to create a pan sauce while the meat rests for at least 10 minutes.
Section B: Prep & Timing Fault-Lines:
The most common human error is "The Panic Flip." If you move the meat before the proteins have properly seared, they will stick to the metal, tearing the surface. Trust the acoustic cues. If it sounds like it is sticking (a dull, wet thud), leave it alone. Another fault-line is ignoring the "carry-over" cooking. A steak's internal temperature will rise by 3 to 5 degrees after leaving the pan. If you pull it at your target temperature, you have already overcooked it. Use a digital scale to weigh your steak before and after cooking to see how much moisture was lost; a 10 to 15 percent loss is the sweet spot for juiciness.
THE VISUAL SPECTRUM
Section C: Thermal & Visual Troubleshooting:
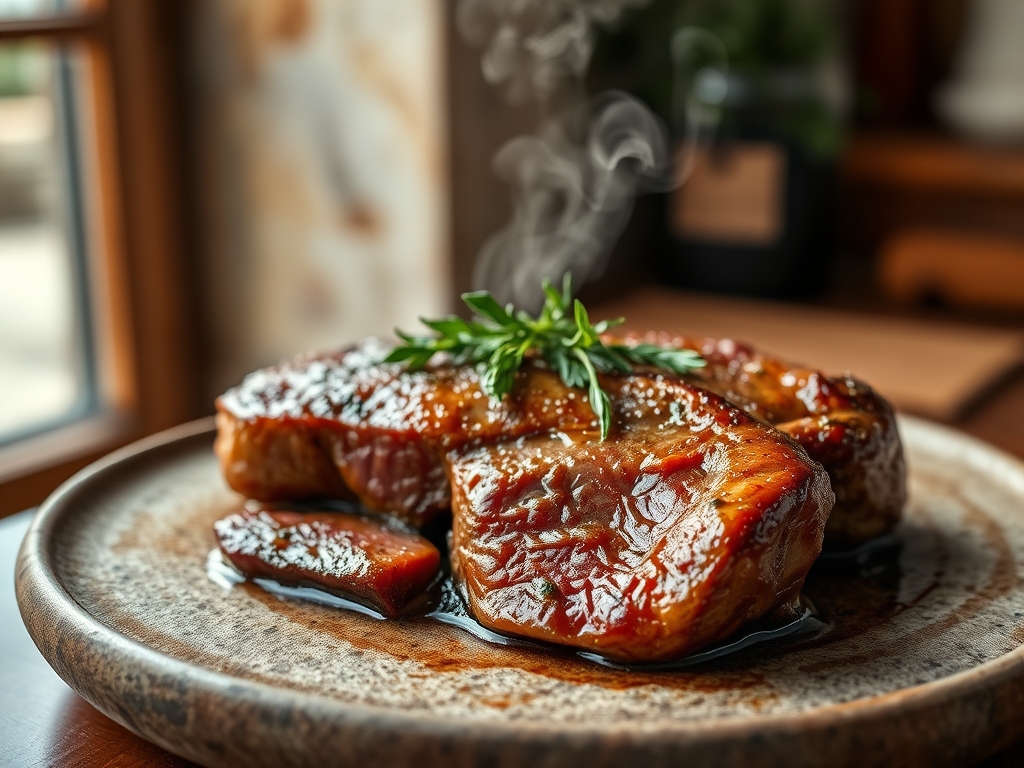
Look closely at the Masterclass photo. The crust should be a deep, mahogany brown, not black. If your steak is charred black, your oil has reached its flash point and oxidized, which creates a bitter flavor. If the steak looks gray and "sweaty," you likely moved it too much or the pan temperature was too low. Uneven browning usually indicates that the steak was not flat against the pan; use a steak weight or a heavy press to ensure maximum surface contact. Dull colors can be revived by a final deglaze of the pan with a piquant acid like lemon juice or balsamic vinegar, which brightens the visual appeal and cuts through the heavy fat.
THE DEEP DIVE
Macro Nutrition Profile:
A standard 450g ribeye contains approximately 1,100 calories, 85g of protein, and 80g of fat. It is a powerhouse of Vitamin B12, Zinc, and Selenium.
Dietary Swaps:
- Vegan: Substitute the steak with a thick-cut "steak" of Lion's Mane mushroom. Use vegan butter and focus on the "squeak" sound the mushroom makes as it loses water.
- Keto/GF: This recipe is inherently Keto and Gluten-Free. Ensure your spices do not contain anti-caking agents like cornstarch.
Meal Prep & Reheating Science:
To maintain the molecular structure when reheating, avoid the microwave. The microwave agitates water molecules, effectively steaming the meat from the inside and turning the crust into rubber. Instead, use a low-temperature oven (120C / 250F) until the internal temp reaches 40C (105F), then flash-sear in a pan for 30 seconds to aerate the fat and crisp the exterior.
THE KITCHEN TABLE
How do I know if my pan is hot enough without a thermometer?
Flick a single drop of water onto the surface. If it dances and evaporates instantly (the Leidenfrost effect), you are ready. If it just sits there and sizzles quietly, wait another two minutes.
Why does my garlic always burn during the baste?
You are likely adding it too early. Garlic should only enter the pan during the final two minutes of cooking. The butter foam acts as a thermal buffer, but direct contact with the pan will still carbonize the cloves.
Can I use a non-stick pan for this?
Absolutely not. Non-stick coatings cannot handle the high temperatures required for a proper sear and will release toxic fumes. Stick to cast iron, carbon steel, or heavy-duty stainless steel for the best acoustic feedback.
What is the best way to clean the pan afterward?
While the pan is still hot, deglaze it with hot water and use a stiff brush. This lifts the fond (the stuck-on brown bits) easily. Dry it immediately on the stove to prevent oxidation and rust.