Listen to the sound of a structural failure. It is the hollow, demoralizing crunch of a slumped pastry wall sliding down the side of a glass pie plate. You spent three hours chilling that dough to ensure the fats remained solid. You laminated with the precision of a master carpenter. Yet, without the proper ballast, your crust has succumbed to the laws of gravity and steam. This is where we talk about the unsung heroes of the patisserie: Pie Weight Alternatives. When you do not have a jar of ceramic beads gathering dust in your pantry, you must turn to the kitchen infrastructure already at your disposal. We are looking for thermal mass and density. We need a material that can withstand the intense heat of the oven while exerting enough downward pressure to prevent the steam from puffing the floor of your tart. Whether you reach for a bag of dried chickpeas or a canister of granulated sugar, you are engaging in a high-stakes engineering project. We are here to audit your process and ensure your crust remains a pristine, golden vessel for your fillings.
THE DATA MATRIX
| Metric | Specification |
|---|---|
| Prep Time | 20 Minutes |
| Execution Time | 45 Minutes |
| Yield | 1 Standard 9-inch Crust |
| Complexity (1-10) | 4 |
| Estimated Cost per Serving | $0.45 |
THE GATHERS
Ingredient Protocol:
- 315g / 2.5 cups All-Purpose Flour (High protein content for structure).
- 225g / 1 cup Unsalted Butter (Chilled to exactly 4 degrees Celsius).
- 5g / 1 tsp Fine Sea Salt (To enhance the Maillard reaction).
- 15g / 1 tbsp Granulated Sugar (For browning and crispness).
- 120ml / 0.5 cup Ice Water (To maintain fat integrity).
- 500g / 2 cups Dried Beans or Rice (The primary Pie Weight Alternatives).
Section A: Ingredient Quality Audit:
The most common failure in pastry infrastructure starts with the butter. If your butter is too soft, it will emulsify with the flour rather than creating discrete layers of fat. This results in a crumbly, shortbread texture rather than a flaky one. If your flour is too low in protein, the crust will lack the tensile strength to hold its shape during the blind bake. Fix this by using a digital scale to ensure exact ratios. If your water is not truly ice-cold, it will melt the butter on contact. Always keep a bowl of ice cubes in your water and measure out only what you need at the very last second.
THE MASTERCLASS
1. The Integration Phase
Whisk your dry ingredients in a large stainless steel bowl. Use a bench scraper to cut the chilled butter into the flour until you have pea-sized shards. Do not overwork the dough with your hands; the heat from your palms will render the fat prematurely.
Pro Tip: Use a digital scale to ensure your butter-to-flour ratio is exactly 70 percent. This creates the perfect balance of moisture and structural integrity.
2. Hydration and Binding
Slowly drizzle the ice water over the mixture. Use a fork to toss the flour until it just begins to clump. Press a small amount together; if it holds, stop adding water. Wrap the dough in plastic and chill for at least one hour to allow the gluten to relax and the moisture to infuse through the starches.
Pro Tip: Over-hydrating the dough leads to excessive shrinkage in the oven. The goal is a "shaggy mass" that barely holds together before the chill phase.
3. Structural Deployment
Roll the dough out on a floured surface to a 12-inch circle. Transfer it to your pie plate and crimp the edges. Prick the bottom with a fork to aerate the base. Line the dough with high-quality parchment paper, ensuring the paper extends past the edges of the crust.
Pro Tip: Use a bench scraper to lift the dough cleanly off the work surface. This prevents stretching, which is the primary cause of "slumping" during the bake.
4. Ballast Application
Fill the parchment-lined cavity with your chosen Pie Weight Alternatives. Dried beans are the gold standard for airflow; however, granulated sugar provides the most even distribution of weight and results in a toasted sugar byproduct that is incredible for cookies. Fill the weights all the way to the top of the rim to support the side walls.
Pro Tip: If using rice, ensure it is tightly packed. The density of rice prevents the floor of the crust from bubbling up, acting as a thermal heat sink.
5. The Thermal Transformation
Bake at 200 degrees Celsius for 15 minutes. Carefully remove the parchment and the weights. Return the crust to the oven for another 10 to 15 minutes until the bottom is golden brown and looks "dry" to the touch.
Pro Tip: Use a saucier to prepare your filling while the crust undergoes its final browning. This ensures the filling is at the optimal temperature for the next stage of assembly.
Section B: Prep & Timing Fault-Lines:
Timing is the silent killer of the perfect crust. If you leave the weights in too long, the bottom of the crust will remain pale and soggy because the moisture cannot escape. If you remove them too early, the sides will collapse. The "sweet spot" is when the edges of the crust have set and begun to pull away slightly from the pan. Use an oven thermometer to verify your heat; most domestic ovens fluctuate by as much as 20 degrees, which can ruin your Maillard reaction timing.
THE VISUAL SPECTRUM
Section C: Thermal & Visual Troubleshooting:
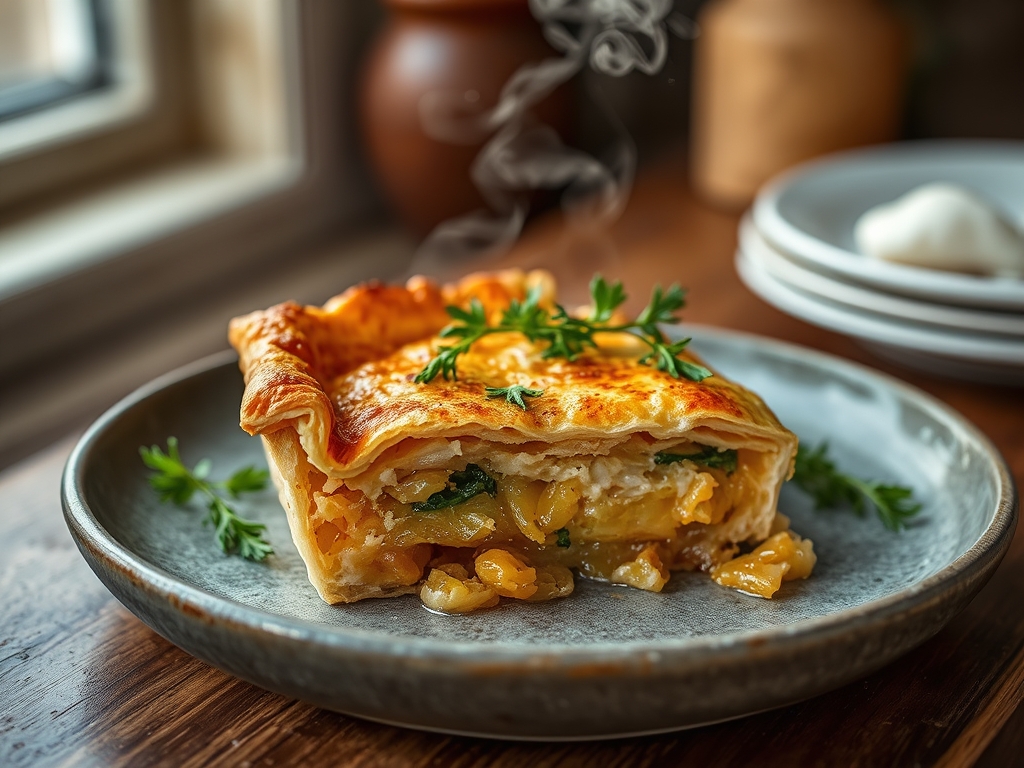
Look at the Masterclass photo. Note the deep, even mahogany color of the crimped edge and the matte finish of the base. If your crust looks shiny or greasy, the fat has leaked out because the oven was too cool. If the edges are dark but the bottom is white, your Pie Weight Alternatives were too cold when they went in. Pre-heat your weights if necessary. If you see large bubbles on the floor of the crust, you did not use enough weight or failed to prick the dough sufficiently. The texture should be shattered glass flaky, not bready or tough.
THE DEEP DIVE
- Macro Nutrition Profile: A standard serving of this crust contains approximately 280 calories, 18g of fat, and 25g of carbohydrates. It is a high-energy structural component.
- Dietary Swaps: For a Vegan version, substitute butter with chilled coconut oil (solid state). For Gluten-Free, use a blend of rice flour and xanthan gum to provide the necessary elasticity.
- Meal Prep & Reheating Science: To maintain molecular structure, store the blind-baked crust in an airtight container at room temperature for up to 48 hours. When reheating, use a low oven (150 degrees Celsius) to aerate the fat layers without burning the exterior.
THE KITCHEN TABLE
Can I reuse the beans used as weights?
Yes, but do not try to cook and eat them. The repeated dry heat alters their protein structure, making them stay hard forever. Label them as "Pie Beans" and store them in a dedicated jar for future use.
What is the best alternative to ceramic weights?
Granulated sugar is the secret weapon of professional pastry chefs. It is heavy, cheap, and perfectly conforms to the shape of the tin. Plus, the toasted sugar can be used later in other recipes for a deeper flavor profile.
Why did my crust shrink so much?
Shrinkage is caused by overworking the dough, which develops too much gluten. It can also happen if you do not let the dough rest. The gluten strands act like rubber bands, snapping back when they hit the heat.
Do I really need to fill the weights to the top?
Absolutely. If you only fill the bottom, the side walls have no support and will succumb to gravity. Filling to the rim ensures the "shoulders" of your pie stay upright and professional.