Forget everything you know about the soggy, leaden disasters of the early low carb movement. We are no longer in the dark ages of grainy textures and structural collapse. When you approach the Almond Flour Crust, you are not just baking; you are managing a complex matrix of lipid stability and protein denaturation. This is a high stakes audit of your pantry. Most home cooks treat almond flour like wheat, but they are fundamentally different beasts. Wheat relies on a gluten network for tensile strength; almond flour relies on protein coagulation and the delicate binding of fats. We are looking for that perfect, golden shatter that signals a successful Maillard reaction without crossing the threshold into scorched nut oils. The aroma should be toasted and buttery, not acrid. If your crust feels like wet sand, your moisture ratios are compromised. If it crumbles upon contact with a fork, your binder has failed its structural integrity test. We are here to build a foundation that can withstand the weight of heavy ganaches and acidic curds alike. Let us begin the audit.
THE DATA MATRIX
| Metric | Specification |
|---|---|
| Prep Time | 15 Minutes |
| Execution Time | 25 Minutes |
| Yield | 1 9-inch (23cm) Shell |
| Complexity (1-10) | 4 |
| Estimated Cost per Serving | $0.85 USD |
THE GATHERS
Ingredient Protocol:
- 360ml / 1.5 cups Super-Fine Blanched Almond Flour
- 45ml / 3 tbsp Melted Grass-Fed Butter (or Coconut Oil)
- 15ml / 1 tbsp Granulated Erythritol (optional for sweet applications)
- 2.5ml / 0.5 tsp Fine Sea Salt
- 5ml / 1 tsp Pure Vanilla Extract
- 1 Large Egg White (Room Temperature)
Section A: Ingredient Quality Audit:
The primary point of failure in an Almond Flour Crust is the particle size of the meal. If you are using "natural" almond meal with the skins attached, your crust will be gritty and prone to oxidative rancidity. Always source Super-Fine Blanched Almond Flour. The lack of skins ensures a smoother mouthfeel and better lipid distribution. If your flour feels damp or clumps in the bag, it has absorbed atmospheric moisture. Technical Fix: Spread the flour on a baking sheet and dehydrate it in a 95C / 200F oven for 10 minutes before measuring. Furthermore, if your butter is too hot when added to the egg white, you will prematurely denature the proteins, leading to a scrambled mess rather than a cohesive binder. Temper your fats.
THE MASTERCLASS
1. The Dry Sift and Aeration
Begin by placing your almond flour, salt, and sweetener into a stainless steel mixing bowl. Use a fine mesh sieve or a whisk to aerate the mixture, breaking up any clumps of fat-rich flour. This ensures that every particle is coated evenly during the wet phase.
Pro Tip: Use a digital scale to measure your flour in grams rather than volume. Almond flour is highly compressible; a "cup" can vary by 30 grams depending on how hard you pack it, which radically alters the viscous nature of the dough.
2. The Lipid Integration
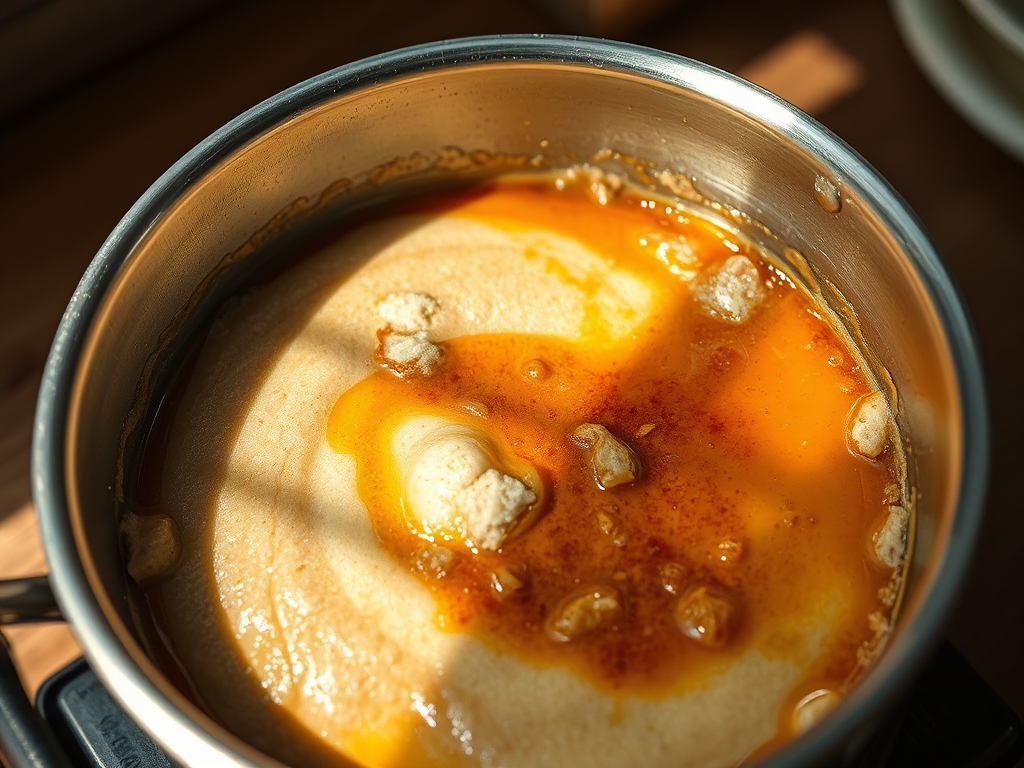
Pour your melted butter and vanilla extract into the center of the dry well. Use a bench scraper or a stiff spatula to fold the ingredients together. You are looking for a texture resembling coarse crumbs. At this stage, the fat is coating the almond proteins, which prevents the crust from becoming tough.
Pro Tip: If the mixture feels too oily, your flour might be too coarse. The surface area of super-fine flour allows for better emulsification of the fats. Use a saucier to melt your butter slowly to avoid evaporating the water content too quickly.
3. The Protein Binding
Add the lightly beaten egg white to the mix. This is your structural insurance policy. The egg white provides the "glue" that almond flour lacks naturally. Work the dough until it forms a cohesive ball that pulls away cleanly from the sides of the bowl.
Pro Tip: Do not overwork the dough. While there is no gluten to develop, excessive handling can cause the almond oils to render out of the solids, resulting in a greasy, heavy crust that shrinks during the bake.
4. The Compression and Docking
Press the dough into a 9-inch tart pan with a removable bottom. Start from the center and work your way up the sides, ensuring an even thickness of approximately 5mm. Use a fork to dock the bottom of the crust, creating steam vents to prevent bubbling.
Pro Tip: Use the flat bottom of a measuring cup to compress the base. High-pressure compression creates a denser molecular wall that resists moisture migration from the filling, keeping the base crisp for longer durations.
5. The Blind Bake Protocol
Slide the pan into a preheated oven at 175C / 350F. Bake for 10 to 12 minutes until the edges reach a pale straw color. Because almond flour has a high fat content, it moves from "perfectly toasted" to "burnt" in a matter of seconds. Monitor the visual spectrum closely.
Pro Tip: If the edges are browning too fast while the center remains pale, use a pie shield or aluminum foil to protect the perimeter. This allows the center to dehydrate and set without carbonizing the delicate edges.
Section B: Prep & Timing Fault-Lines:
Timing is the silent killer of the Almond Flour Crust. If you attempt to fill a hot crust with a cold filling, you trigger a thermal shock that can cause the crust to crack or turn into a viscous paste. Always allow the shell to cool completely on a wire rack to stabilize the internal lipid structure. Another common error is skipping the docking process. Without steam vents, the air trapped beneath the dough expands, creating "volcanoes" that ruin the flat surface required for professional presentation.
THE VISUAL SPECTRUM
Section C: Thermal & Visual Troubleshooting:
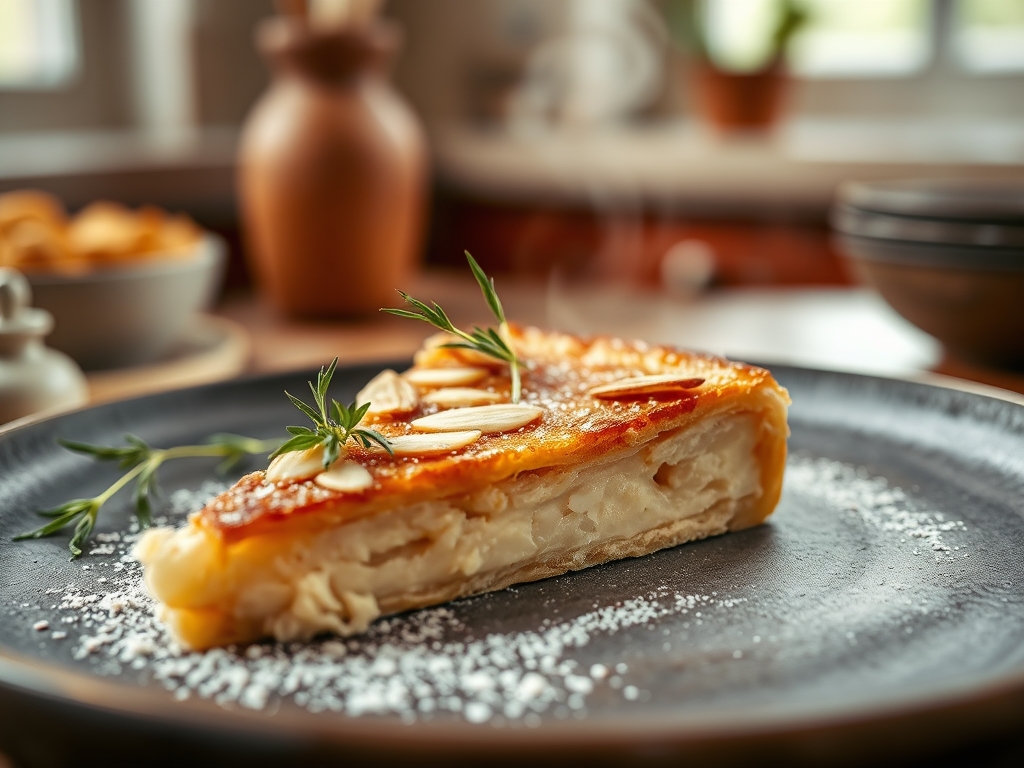
Look closely at the reference photo. A successful bake displays a matte, golden-tan finish with a slight sheen on the rim. If your crust appears dull and grey, your oven temperature was likely too low, failing to trigger the Maillard reaction. If the texture looks "pock-marked," you likely had air bubbles trapped in the dough. To fix uneven browning, rotate your pan 180 degrees halfway through the bake to compensate for oven hot spots. If you notice the crust pulling away significantly from the sides, you over-mixed the dough, causing the fats to separate and the solids to contract. The ideal crust should hold its shape with surgical precision, showing distinct, sharp edges from the tart pan fluting.
THE DEEP DIVE
Macro Nutrition Profile
Per serving (1/8th of crust):
- Calories: 165 kcal
- Net Carbs: 3g
- Protein: 6g
- Healthy Fats: 14g
Dietary Swaps (Vegan/Keto/GF)
This recipe is naturally Gluten-Free and Keto-compliant. To make it Vegan, replace the grass-fed butter with refined coconut oil (for a neutral flavor) and swap the egg white for a "flax egg" (1 tbsp ground flax mixed with 3 tbsp water). Note that the flax swap will result in a more rustic, earthy texture and slightly less structural rigidity.
Meal Prep & Reheating Science
To maintain the molecular structure of the crust during storage, do not refrigerate an empty, unbaked shell; the moisture will degrade the nut proteins. Instead, bake the shell and store it in an airtight container at room temperature for up to 3 days. To reheat a filled tart, use a low temperature (150C / 300F) to gently infuse heat without re-melting the fats in the crust, which would lead to a soggy bottom.
THE KITCHEN TABLE
Why is my crust so crumbly?
You likely lacked sufficient binding. Ensure you use a large egg white and compress the dough firmly into the pan. If the dough is too dry, add a teaspoon of water to help the proteins hydrate and bond.
Can I use this for savory dishes?
Absolutely. Simply omit the erythritol and vanilla. You can infuse the crust with dried herbs like rosemary or thyme, or add a pinch of smoked paprika to render a deeper, more savory flavor profile.
Do I need to use pie weights?
Generally, no. Almond flour dough is denser than traditional pastry and does not puff up as much. As long as you dock the dough thoroughly with a fork, it will remain flat without the need for weights.
How do I prevent the edges from burning?
Almond flour is sensitive to heat. If the edges brown before the center sets, cover them with a ring of foil. This reflects radiant heat, allowing the base to finish cooking through conduction from the pan.