Listen to the silence of a standard pastry kitchen and you will hear the frantic scratching of gluten networks trying to hold it all together. But we are moving beyond the wheat-based status quo into the realm of architectural rice flour. Forget the crumbly, sandy failures of the past. We are building a structural masterpiece that defies the laws of traditional baking. Achieving a perfect Gluten Free Blind Bake is not a matter of luck; it is a rigorous exercise in moisture management and thermal regulation. You want a crust that shatters with a crisp, buttery resonance rather than dissolving into a sad, gritty paste. We are looking for that golden, vitreous finish that signals a perfectly executed Maillard reaction without the structural support of gliadin and glutenin. This is culinary engineering at its most refined. We are replacing the elastic stretch of gluten with the precise starch gelatinization of superfine rice flour. Strap in, check your calibration, and prepare to audit your technique. We are about to render the impossible into a crispy, golden reality.
THE DATA MATRIX
| Metric | Specification |
|---|---|
| Prep Time | 25 Minutes |
| Execution Time | 45 Minutes |
| Yield | One 9-inch (23cm) Tart Crust |
| Complexity (1-10) | 7 (Precision Required) |
| Estimated Cost per Serving | $0.85 USD |
THE GATHERS
Ingredient Protocol:
- 315g / 2.25 cups Superfine Brown Rice Flour
- 150g / 1.25 cups Potato Starch (for structural elasticity)
- 50g / 0.5 cup Tapioca Flour (to aerate the crumb)
- 10g / 2 tsp Xanthan Gum (the synthetic ligament)
- 5g / 1 tsp Fine Sea Salt
- 225g / 1 cup Unsalted Butter, chilled and cubed (1cm units)
- 1 large Egg, cold
- 45ml / 3 tbsp Ice Water (distilled preferred)
Section A: Ingredient Quality Audit:
The most common failure point in this infrastructure is the particle size of your rice flour. If your flour feels like beach sand between your fingers, your crust will be gritty and brittle. Technical Fix: Always source "Superfine" or "Stone-ground" varieties. If you are stuck with coarse flour, pulse it in a high-speed blender for 60 seconds to further reduce the micron size. Another audit point is the butter temperature. If the butter begins to render before it hits the oven, the lipid phase will separate, leaving you with a greasy puddle. Ensure all fats are maintained at 4 degrees Celsius (40 degrees Fahrenheit) throughout the integration phase. If the dough feels tacky, your ambient kitchen temperature is too high; deploy an immediate 15-minute flash-chill in the freezer to stabilize the emulsion.
THE MASTERCLASS
Step 1: The Dry Phase Integration
Begin by whisking your rice flour, potato starch, tapioca flour, xanthan gum, and salt in a large stainless steel bowl. You must ensure a perfectly homogenous distribution of the xanthan gum. Because this polymer acts as your "glue," any clumps will result in rubbery pockets and structural weak points elsewhere. Use a digital scale for these measurements; volumetric cups are too imprecise for the delicate hydration ratios required here.
Pro Tip: Use a sifter to aerate the flour blend twice. This introduces micro-pockets of air that will expand during the thermal phase, creating a lighter, more delicate crumb structure.
Step 2: Lipid Encapsulation
Add your chilled, cubed butter to the dry matrix. Using a bench scraper or a pastry blender, cut the fat into the flour until the mixture resembles coarse meal with some pea-sized lumps remaining. You are looking to coat the starch granules in fat, which inhibits over-hydration and ensures a flaky result. Avoid using your hands, as body heat will melt the butter and ruin the "short" texture.
Pro Tip: Professional bakers often use a food processor for this step, pulsing exactly 8 to 10 times. This mechanical speed prevents the butter from warming up while ensuring the lipid distribution is mathematically even.
Step 3: Hydration and Binding
Whisk the egg and ice water together in a small saucier or prep bowl. Drizzle the liquid over the flour mixture one tablespoon at a time, tossing with a fork. You are looking for the dough to just hold together when squeezed. It should not be wet or viscous. The egg provides lecithin, a natural emulsifier that helps bridge the gap between the fats and the starches in the absence of gluten.
Pro Tip: Let the dough rest for 30 minutes in the refrigerator before rolling. This allows the rice flour to fully infuse with moisture, preventing the "sandy" mouthfeel common in rushed gluten-free bakes.
Step 4: The Strategic Roll-Out
Place the chilled dough between two sheets of parchment paper. Roll from the center outward using a heavy French rolling pin. Aim for a thickness of 3mm. Peel off the top layer of parchment, flip the dough over your tart pan, and gently press it into the corners. Use your bench scraper to trim the excess flush with the rim.
Pro Tip: If the dough cracks, do not panic. Unlike wheat dough, rice flour dough can be "patched" like wet clay without toughening the final product. Use small scraps to fill any fissures.
Step 5: The Gluten Free Blind Bake Execution
Dock the bottom of the crust thoroughly with a fork to prevent steam pockets. Line the crust with heat-resistant plastic wrap or parchment and fill to the brim with ceramic pie weights or dried beans. Bake at 190 degrees Celsius (375 degrees Fahrenheit) for 15 minutes. Remove the weights and bake for another 10 to 15 minutes until the base is dry and the edges are a deep mahogany.
Pro Tip: For an extra-crispy barrier, brush the hot crust with a thin layer of beaten egg white (an "egg wash") as soon as it comes out of the oven. This seals the pores and prevents a piquant filling from making the crust soggy.
Section B: Prep & Timing Fault-Lines:
The most frequent human error is "The Thermal Gap." This occurs when the oven is not fully preheated to the core temperature. If the crust enters a lukewarm oven, the butter melts slowly and soaks into the flour instead of creating steam-driven flakes. Use an independent oven thermometer to verify your settings. Another fault-line is the "Over-Handling Paradox." While you cannot develop gluten, over-working the dough will still lead to a tough, dense result due to the mechanical compression of the starch granules. Move with clinical efficiency.
THE VISUAL SPECTRUM
Section C: Thermal & Visual Troubleshooting:
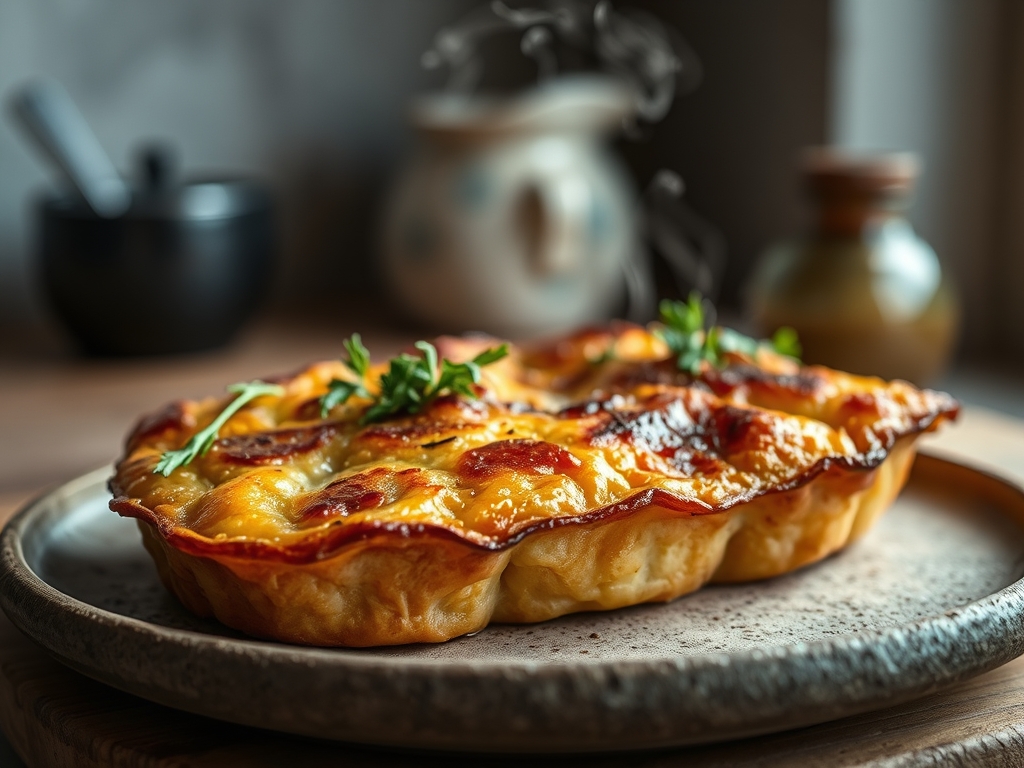
Referencing the Masterclass photo, observe the uniform golden-brown hue and the sharp, defined edges of the fluting. If your crust appears pale and "chalky," you have under-baked it; the starches have not fully gelatinized. If the edges are dark but the bottom is white, your rack position is too high. Move the tray to the lowest third of the oven. If you see "slumping" (where the sides of the crust slide down the pan), your dough was too warm when it entered the oven or you did not use enough pie weights. The weights must support the walls of the crust entirely during the first 15 minutes of the Gluten Free Blind Bake.
THE DEEP DIVE
Macro Nutrition Profile:
A standard slice of this crust (1/8th of a 9-inch tart) contains approximately 280 calories, 18g of fat, 26g of carbohydrates, and 3g of protein. The high fat content is necessary to compensate for the lack of glutenous elasticity.
Dietary Swaps:
- Vegan: Replace the butter with a high-quality vegan block butter (avoid soft tubs) and use 15ml of flax-meal slurry (1 part flax to 3 parts water) instead of the egg.
- Keto: This specific rice-based infrastructure is not keto-compliant. Switch to almond flour and coconut flour for a low-carb alternative.
Meal Prep & Reheating Science:
To maintain the molecular structure, store the unbaked dough disk in the freezer for up to three months. Once baked, the crust is best used within 24 hours. To crisp up a day-old crust, hit it with a 5-minute blast in a 175-degree Celsius (350-degree Fahrenheit) oven to render out any absorbed atmospheric moisture.
THE KITCHEN TABLE
Why is my crust so crumbly?
You likely skipped the resting phase or under-measured the xanthan gum. The rice flour needs time to hydrate fully. Without that 30-minute rest, the moisture stays on the surface, leaving the interior of the flour particles dry and brittle.
Can I use regular rice flour?
Standard rice flour is often too coarse, resulting in a "gritty" texture that feels like eating sand. Always seek out superfine grinds to ensure the starch particles are small enough to create a cohesive, smooth pastry matrix.
Do I really need pie weights?
Absolutely. Without gluten to hold the shape, the steam generated by the melting butter will cause the floor of the crust to bubble up and the walls to collapse. Weights provide the necessary external skeleton during the setting phase.
How do I prevent a soggy bottom?
The "egg wash seal" is your best friend. Brushing the hot, par-baked crust with egg white creates a waterproof protein film. This prevents the moisture from your filling from migrating into the starch network of the crust.