The structural collapse of a dessert is not just a culinary failure; it is a breach of the fundamental laws of engineering. You have spent hours macerating fruit or tempering a silk-smooth custard, only to deposit it into a foundation that has the structural integrity of wet cardboard. This is the "Soggy Bottom" syndrome, a catastrophic event that can be entirely avoided through the rigorous application of Blind Baking Pie Crust. This process is the thermal fortification of your pastry, ensuring that the moisture from your filling does not migrate into the delicate lipid-and-flour matrix. We are looking for a golden, shattered-glass texture that resists saturation. When the heat hits that butter, the water content vaporizes, pushing the flour layers apart to create microscopic air pockets. If you skip the blind bake, those pockets collapse under the weight of the filling, resulting in a dense, gummy disaster. We are here to audit your technique and ensure your crust achieves a load-bearing capacity that would make a civil engineer weep with joy.
THE DATA MATRIX
| Metric | Specification |
|---|---|
| Prep Time | 20 Minutes |
| Execution Time | 45 Minutes |
| Yield | 1 9-inch (23cm) Crust |
| Complexity (1-10) | 6 |
| Estimated Cost per Serving | $0.45 |
THE GATHERS
Ingredient Protocol:
- 315g / 2.5 cups All-Purpose Flour (11.7% protein content preferred)
- 225g / 1 cup Unsalted European-Style Butter (Cold, cubed)
- 5g / 1 tsp Fine Sea Salt
- 15g / 1 tbsp Granulated Sugar
- 120ml / 0.5 cup Ice-Cold Water (Filtered)
- 15ml / 1 tbsp Apple Cider Vinegar
Section A: Ingredient Quality Audit:
The primary failure point in many foundations is the lipid temperature. If your butter is room temperature, it will emulsify into the flour rather than remaining in discrete chunks. This creates a crumbly, shortbread texture instead of long, flaky layers. To fix this, freeze your cubed butter for ten minutes before use. Furthermore, if your flour has too high a protein content, like bread flour, the gluten development will be excessive, leading to a tough, shrinking crust. If you find your dough is too elastic, allow it to rest in the refrigerator for at least two hours to relax the gluten bonds. Finally, ensure your water is truly at the freezing point; even lukewarm water will begin to melt the butter during the mixing phase, ruining the lamination.
THE MASTERCLASS
1. The Lipid Integration
Begin by combining your dry ingredients in a chilled stainless steel bowl. Introduce the cold, cubed butter and use a bench scraper or a pastry blender to cut the fat into the flour. You are looking for pieces ranging from the size of peas to large flakes.
Pro Tip: The science of flakiness relies on these visible pieces of fat. As the oven heat increases, the water in the butter will render and turn to steam, which expands and creates the distinct layers of the pastry.
2. Hydration and Binding
Slowly drizzle the ice water and vinegar mixture over the flour. Use a spatula to fold the dough until it just begins to hold together. Do not overwork the dough; you want a "shaggy mass" that barely clings to itself.
Pro Tip: Use a digital scale to measure your water precisely. Excess hydration leads to increased gluten formation, while under-hydration causes the crust to shatter and crumble during the rolling process.
3. The Chilled Stabilization
Wrap the dough tightly in plastic wrap and flatten it into a disc. Refrigerate for at least sixty minutes. This allows the moisture to distribute evenly through the flour particles and permits the gluten to relax.
Pro Tip: This resting period is non-negotiable. It ensures that when you roll the dough, it does not "snap back" or shrink excessively when it hits the high heat of the oven.
4. Precision Rolling and Docking
On a lightly floured surface, roll the dough to a 12-inch circle. Drape it over your pie tin and gently press it into the corners. Use a fork to "dock" the bottom of the crust, creating tiny perforations.
Pro Tip: Docking allows steam to escape from beneath the crust, preventing the floor of your pie from bubbling up or heaving during the Blind Baking Pie Crust process.
5. The Weighted Thermal Load
Line the crust with parchment paper and fill it to the brim with ceramic pie weights or dried beans. Bake at 400F (200C) for 15 minutes. Remove the weights and the paper, then bake for another 10 to 15 minutes until the base is dry.
Pro Tip: Filling the crust to the very top with weights provides the necessary lateral pressure to prevent the sides from slumping down into the pan as the fats melt.
Section B: Prep & Timing Fault-Lines:
The most common human error is pulling the crust too early. If the bottom looks pale and feels tacky, it is not ready to hold a viscous filling. Another timing error occurs during the "unweighted" phase; if you do not remove the weights, the bottom will remain steamed and raw while the edges burn. Use an infrared thermometer to ensure the oven floor has reached the target temperature before the tin is inserted. If your kitchen is over 75 degrees Fahrenheit, you must work in stages, returning the dough to the fridge every ten minutes to maintain the structural integrity of the fat.
THE VISUAL SPECTRUM
Section C: Thermal & Visual Troubleshooting:
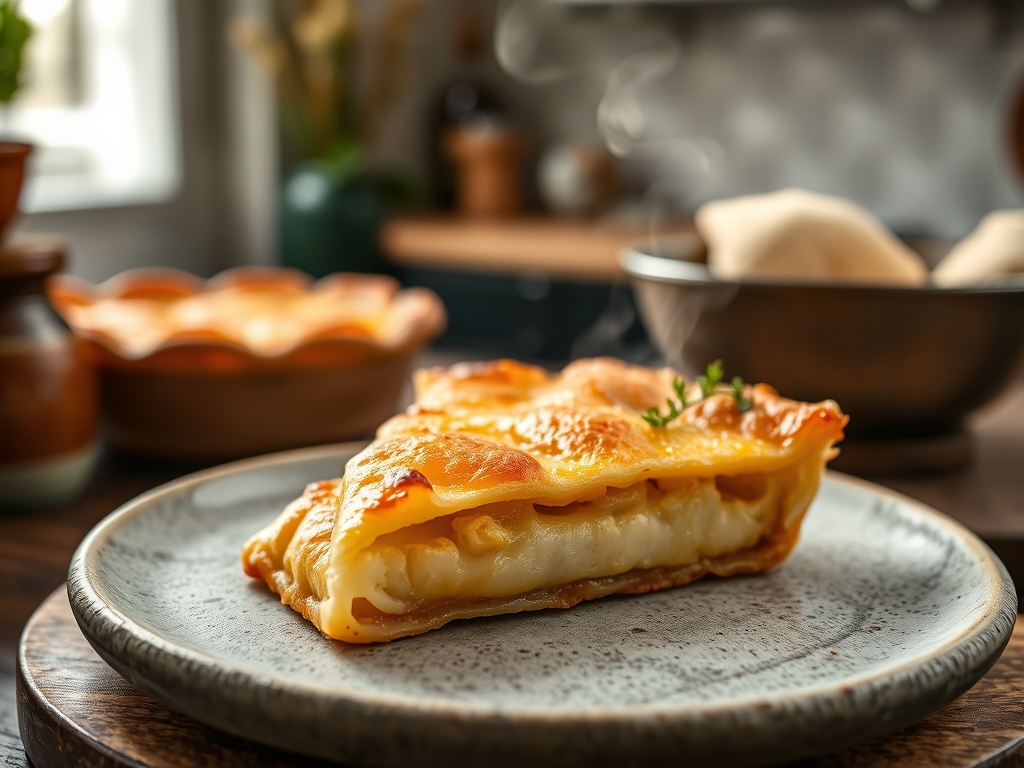
Referencing the Masterclass photo, you should observe a deep, golden-amber hue on the crimped edges. This is the result of the Maillard reaction and the caramelization of the small amount of sugar in the dough. If your crust looks dull and white, your oven temperature was likely too low, or you failed to aerate the dough properly. If you see large bubbles on the floor of the crust, your docking was insufficient. For uneven browning, rotate the tin 180 degrees halfway through the bake. If the edges are darkening too quickly while the base remains raw, utilize a foil shield to protect the perimeter, allowing the center to catch up in the thermal race.
THE DEEP DIVE
Macro Nutrition Profile:
A standard serving of this crust contains approximately 280 calories, 18g of fat, 26g of carbohydrates, and 3g of protein. It is a high-density energy source designed to support the more complex flavors of the filling.
Dietary Swaps:
For a vegan alternative, substitute the butter with a high-quality plant-based shortening or frozen coconut oil. For a Gluten-Free (GF) version, use a 1-to-1 flour blend containing xanthan gum to provide the necessary elasticity. For Keto, utilize almond flour and egg white as a binder, though the texture will be more "short" than flaky.
Meal Prep & Reheating Science:
You can blind bake your crust up to 48 hours in advance. Store it at room temperature in a dry environment. To maintain the molecular structure when reheating, avoid the microwave at all costs; it will agitate the water molecules and turn the crust into a rubbery mess. Instead, use a low-heat oven (300F) to gently re-crisp the lipids.
THE KITCHEN TABLE
Why does my crust shrink down the sides?
Shrinkage is usually caused by overworking the dough, which over-activates the gluten. It can also happen if you do not let the dough rest or if you fail to use enough weights during the initial bake.
Can I use rice as pie weights?
Yes, rice is an excellent conductor of heat. However, once used for Blind Baking Pie Crust, the rice becomes too brittle for standard consumption. Save it in a jar for your next baking audit.
What if I do not have parchment paper?
Aluminum foil is a viable substitute. Ensure the shiny side is down and grease it lightly to prevent it from sticking to the delicate, unbaked dough as you remove the weights.
Should I egg wash a blind-baked crust?
Absolutely. Brushing the interior with a beaten egg during the last five minutes of baking creates a hydrophobic barrier. This "sealant" prevents liquid fillings from migrating into the crust, ensuring maximum crispness.