The olfactory assault of a high hydration sourdough hitting a five hundred degree stone is not merely a pleasant morning greeting; it is a violent chemical broadcast. As the moisture in the dough flashes into steam, the Baking Bread Scent erupts from the oven vents as a complex aerosol of ethanol, esters, and carbonyl compounds. This is the technical audit of oven spring. We are not just making toast; we are managing a biological reactor where saccharomyces cerevisiae consumes simple sugars to produce the carbon dioxide that will eventually aerate our crumb. The aroma you perceive is the death rattle of yeast and the birth of the Maillard reaction. If your kitchen does not currently smell like a toasted malt warehouse with a hint of fermented fruit, your enzymatic activity is lagging. We are here to calibrate your sensory expectations and your countertop infrastructure. Prepare to transition from a casual observer of gluten to a master of the volatile organic compounds that define the ultimate loaf.
THE DATA MATRIX
| Metric | Specification |
|---|---|
| Prep Time | 45 Minutes (Active) |
| Execution Time | 24 Hours (Fermentation Included) |
| Yield | 2 Large Boules |
| Complexity (1-10) | 8 |
| Estimated Cost per Serving | $0.45 |
THE GATHERS
Ingredient Protocol:
- 1000g / 8 cups High-Protein Bread Flour (12.7% protein minimum)
- 750ml / 3 cups Filtered Water (Target Temperature: 90F)
- 200g / 0.8 cups Active Liquid Starter (100% Hydration)
- 22g / 1.5 tbsp Fine Sea Salt
- 10g / 2 tsp Diastatic Malt Powder (Optional for enhanced browning)
Section A: Ingredient Quality Audit:
If your flour lacks the necessary protein content, your gluten network will fail to render a structural web strong enough to trap gas. This results in a flat, dense disc rather than a proud boule. Fix: Incorporate 20g of vital wheat gluten to boost structural integrity. If your water is heavily chlorinated, it will inhibit yeast activity. Fix: Use a charcoal filter or let tap water sit uncovered for 24 hours to allow chlorine to dissipate. Sub-par starter vigor is the most common failure point. If your starter does not double in volume within five hours at room temperature, it is not ready for the audit. Perform three consecutive feedings at 12 hour intervals to stabilize the pH and microbial density before proceeding.
THE MASTERCLASS

Step 1: The Autolyse Phase
Combine your flour and water in a large ceramic basin until no dry flour remains. Let this mixture rest for sixty minutes. This allows the enzymes to begin breaking down starches into fermentable sugars without the interference of salt or yeast.
Pro Tip: Use a digital scale for this step. Volumetric measurements are the enemy of consistency; a 5% variance in water can turn a manageable dough into a viscous mess that refuses to hold its shape.
Step 2: Inoculation and Salt Integration
Dimple your active starter and salt into the autolysed dough. Use a "pincer" method with your hand to cut the starter into the mass, ensuring even distribution of the microbes.
Pro Tip: Utilize a stainless steel bench scraper to clean the sides of the bowl and fold the dough over itself. This minimizes heat transfer from your hands, keeping the dough at the optimal fermentation temperature.
Step 3: Bulk Fermentation and Folding
Perform four sets of "stretch and folds" every thirty minutes. Reach under the dough, pull it upward until you feel resistance, and fold it over the center. This builds tension and organizes the gluten strands into a cohesive matrix.
Pro Tip: The Baking Bread Scent begins here as a faint, piquant aroma of fermentation. If the dough smells overly acidic or vinegary, your bulk fermentation is running too hot; move the vessel to a cooler zone.
Step 4: Cold Retardation
After the dough has increased in volume by 50%, shape it into rounds and place them in floured bannetons. Cover and refrigerate for 12 to 18 hours. This cold environment slows yeast activity while allowing lactic acid bacteria to produce the complex flavor profiles we crave.
Pro Tip: Cold dough is easier to score. A sharp lame or a dedicated razor blade will glide through the chilled surface without snagging, allowing for controlled expansion during the initial bake.
Step 5: The Thermal Shock
Preheat a Dutch oven to 500F for one hour. Carefully transfer the dough into the pot, score the surface deeply, and cover with the lid. The trapped steam will keep the "skin" of the dough supple, allowing for maximum oven spring.
Pro Tip: This is where the infuse of heat meets moisture. The steam prevents the crust from setting too early, which is essential for achieving that cavernous internal crumb structure seen in professional bakeries.
Section B: Prep & Timing Fault-Lines:
The most frequent human error is "The Premature Slice." Cutting into a loaf while it is still hot destroys the internal structure as the steam has not yet finished gelatinizing the starches. Wait at least two hours. Another fault-line is the "Under-Preheat." If your Dutch oven is not saturated with heat, the base of your bread will be pale and gummy. Use an infrared thermometer to verify that the internal surface of your baking vessel has reached at least 475F before the dough makes contact.
THE VISUAL SPECTRUM
Section C: Thermal & Visual Troubleshooting:
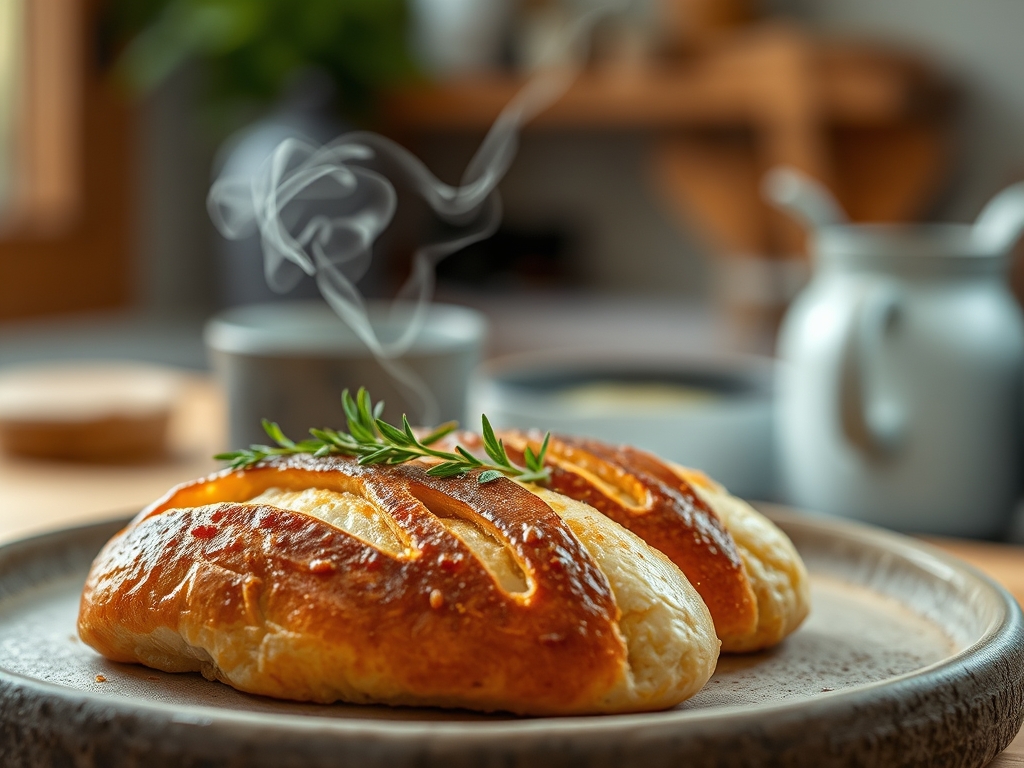
Observe the Masterclass photo above. Notice the "ear" or the raised flap of crust where the score was made; this indicates high internal pressure and successful oven spring. If your loaf is "bald" or lacks this expansion, your scoring was too shallow or your fermentation was over-extended. The deep mahogany color, known as the "Gillard Effect," is a sign of high-heat caramelization. If your loaf is a uniform pale tan, increase your oven temperature or check your oven calibration. Uneven browning usually indicates "hot spots" in your oven; rotate the baking vessel 180 degrees halfway through the lid-off portion of the bake. A dull, matte finish suggests a lack of steam. Ensure your lid is tight-fitting or add two ice cubes to the pot just before closing to generate an extra burst of vapor.
THE DEEP DIVE
Macro Nutrition Profile:
A standard 100g slice of this artisanal sourdough contains approximately 250 calories, 9g of protein, 50g of carbohydrates, and 1g of fat. The long fermentation process significantly reduces the glycemic index and degrades gluten proteins, making it more digestible than commercial bread.
Dietary Swaps:
- Vegan: This recipe is naturally vegan. To enhance the crust, brush with a light coating of coconut oil instead of butter.
- Keto: True sourdough is high-carb. For a keto-adjacent "scent," use almond flour and psyllium husk, though the fermentation profile will be entirely different.
- Gluten-Free: Substitute the bread flour with a high-quality 1:1 GF blend containing xanthan gum. Note that "oven spring" will be significantly diminished.
Meal Prep & Reheating Science:
To maintain molecular structure, store the loaf cut-side down on a wooden board for 48 hours. For long-term storage, slice and freeze immediately. To reheat, use a toaster oven to deglaze the exterior moisture and crisp the crust. Avoid the microwave, as it causes the starch molecules to recrystallize rapidly, resulting in a rubbery texture.
THE KITCHEN TABLE
Why does my bread smell like beer?
That is the ethanol byproduct of yeast fermentation. During the bake, most of this evaporates, but the residual esters provide that complex, yeasty Baking Bread Scent. It indicates a healthy, active fermentation cycle and superior flavor development.
Can I skip the cold ferment?
You can, but you sacrifice the "tang" and the structural ease of scoring. Room temperature fermentation is faster but often results in a flatter loaf with less nuanced aromatic compounds. The fridge is your best tool for flavor.
Why is my crust so thick and hard?
This usually results from over-baking at a low temperature. The moisture evaporates too slowly, toughening the exterior. High heat for a shorter duration, combined with proper steam, creates a thin, crisp crust that "crackles" as it cools.
My bread didn't rise in the oven. Why?
This is "under-proofing" or "over-proofing." If the yeast has exhausted its fuel before hitting the oven, it won't expand. Conversely, if it hasn't produced enough gas yet, the structure remains heavy. Timing the "poke test" is critical for success.