The scent of butter undergoing rapid pyrolysis is the siren song of a kitchen in peak operational status. You are not just baking a tart; you are engineering a structural masterpiece where the crumb must be short, the edges must be crisp, and the floor must be perfectly flat. This is where most amateurs collapse into a heap of soggy bottoms and slumped sidewalls. To achieve architectural greatness, you must master the Pastry Weights Utility. Without these ceramic or metal anchors, your dough will succumb to the volatile expansion of steam, puffing up like a chaotic topographical map. We are here to enforce discipline upon your gluten network. We are here to ensure that every millimeter of your crust receives the same conductive heat, resulting in a golden-brown finish that would make a French master weep. Grab your digital scale and clear your workbench. We are moving from the realm of "guessing" into the realm of high-precision culinary infrastructure.
THE DATA MATRIX
| Metric | Specification |
|---|---|
| Prep Time | 45 Minutes |
| Execution Time | 35 Minutes |
| Yield | 1 x 9-inch (23cm) Tart Crust |
| Complexity (1-10) | 7 |
| Estimated Cost per Serving | $0.85 |
THE GATHERS
Ingredient Protocol:
- 315g / 2.5 cups All-Purpose Flour (11.5 percent protein content)
- 225g / 1 cup Unsalted European Butter (Cold, cubed)
- 5g / 1 tsp Fine Sea Salt
- 15g / 1 tbsp Granulated Sugar
- 60ml / 4 tbsp Ice-Filtered Water
- 1 Large Egg Yolk (For the moisture barrier wash)
Section A: Ingredient Quality Audit:
The primary failure point in pastry infrastructure is the temperature of the lipid phase. If your butter is soft, it will emulsify into the flour rather than remaining in discrete pockets. This results in a tough, bread-like texture rather than a shatteringly crisp flake. If your butter has reached room temperature, freeze it for 10 minutes before proceeding. Furthermore, ensure your water is truly ice-cold; use a thermal carafe if necessary. If your flour feels clumped or humid, sift it twice to aerate the particles and ensure even hydration.
THE MASTERCLASS
1. The Dry Integration
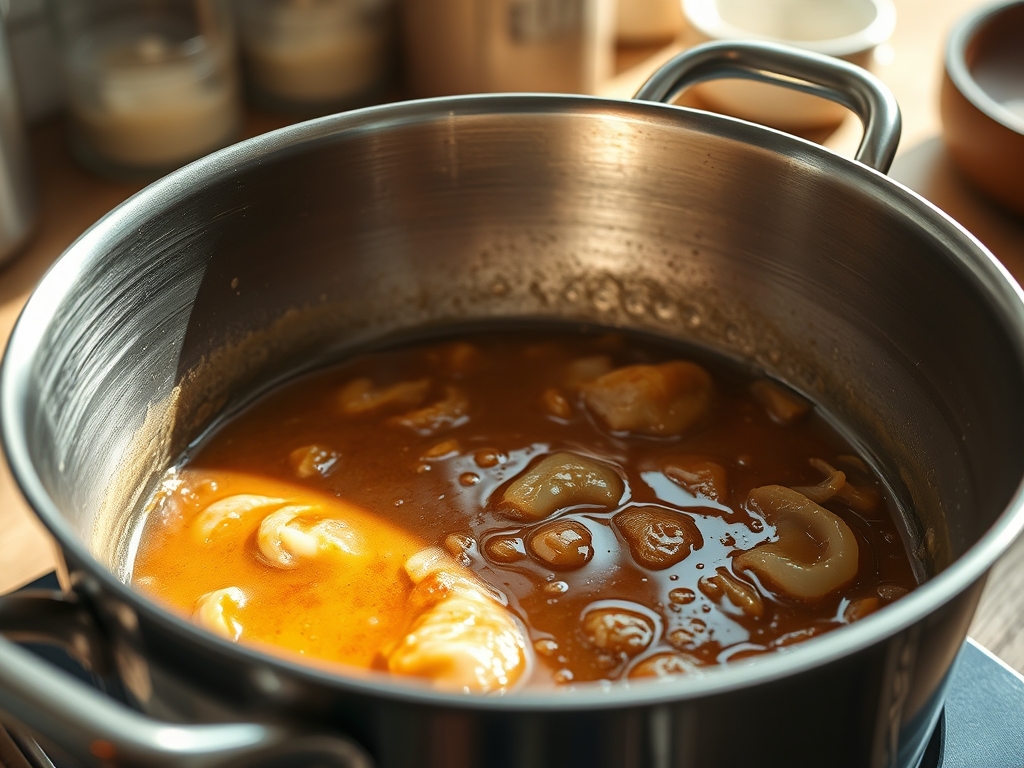
Combine your flour, sugar, and salt in a chilled stainless steel bowl. Use a bench scraper to cut the cold butter into the dry mix until the pieces are the size of small peas. Do not overwork the dough with your hands; the goal is to keep the butter solid.
Pro Tip: Keeping the butter in solid chunks creates steam pockets during baking, which is the secret to a flaky "short" texture. Using a digital scale ensures your flour-to-fat ratio is precise to the gram.
2. Hydration and Binding
Slowly drizzle the ice water over the mixture while tossing with a fork. Once the dough holds together when squeezed, stop immediately. Turn the shaggy mass onto a marble slab and use the heel of your hand to smear the dough away from you once or twice; this is the fraisage technique.
Pro Tip: The fraisage method creates long, thin layers of butter within the dough. This mechanical layering is what defines professional-grade pastry infrastructure.
3. The Cold Cure
Wrap the dough tightly in plastic film and flatten it into a disc. Refrigerate for at least one hour. This allows the gluten network to relax and the moisture to distribute evenly throughout the starch molecules.
Pro Tip: Skipping the rest phase leads to "shrinkage" during baking. A relaxed gluten network is a stable gluten network.
4. Precision Rolling and Docking
Roll the dough to a 3mm thickness. Drape it over your tart tin and gently press it into the corners. Use a fork to dock the bottom of the crust, creating tiny steam vents. Trim the excess using the edge of the tin or a sharp paring knife.
Pro Tip: Use a bench scraper to lift the dough frequently while rolling to ensure it is not sticking to the surface, which prevents tearing.
5. Deploying the Pastry Weights Utility
Line the raw crust with high-quality parchment paper. Fill the cavity to the very brim with ceramic baking beans or stainless steel weights. This provides the necessary counter-pressure against the rising steam.
Pro Tip: If you do not fill the weights to the top of the rim, the sidewalls will slump inward. The Pastry Weights Utility is about gravity-based structural support.
6. The Par-Bake and Seal
Bake at 190C / 375F for 15 minutes. Remove the weights and the parchment. Brush the interior with a beaten egg yolk and return to the oven for 5 minutes. This creates a hydrophobic barrier that prevents the filling from making the crust soggy.
Pro Tip: The egg wash "seals" the docked holes and creates a professional, glossy finish that protects the integrity of the crust once the viscous filling is added.
Section B: Prep & Timing Fault-Lines:
The most common timing error is removing the weights too early. If the dough still looks "wet" or translucent when you pull the weights, it hasn't set its structure. Another fault-line is the "oven-shock" factor. If your oven hasn't been preheating for at least 30 minutes, the initial blast of heat won't be sufficient to render the fat quickly, causing the dough to melt rather than crisp.
THE VISUAL SPECTRUM
Section C: Thermal & Visual Troubleshooting:
Look closely at the Masterclass photo. You will notice the edges are a deep mahogany while the base is a pale, even gold. If your edges are darkening too fast, use a foil shield. If you see large bubbles forming on the floor of the tart, your Pastry Weights Utility was not heavy enough or your docking was insufficient. A dull, matte grey color indicates the dough was overworked and the butter melted before it hit the oven. A perfect crust should have a slight sheen and a uniform thickness across the entire radius.
THE DEEP DIVE
Macro Nutrition Profile
A standard serving of this structural base contains approximately 280 calories, 18g of fat, 24g of carbohydrates, and 3g of protein. It is a high-density energy source designed for flavor delivery.
Dietary Swaps
- Vegan: Replace European butter with a high-fat plant-based block (minimum 80 percent fat) and use a maple syrup wash instead of egg yolk.
- Gluten-Free: Utilize a 1-to-1 GF flour blend containing xanthan gum. Increase the chilling time by 30 minutes to help the alternative starches hydrate.
- Keto: Substitute flour with almond flour and coconut flour; use xanthan gum as a binder. Note that keto crusts do not puff and require less weight.
Meal Prep & Reheating Science
To maintain the molecular structure, store the baked shell in an airtight container at room temperature for up to 48 hours. When reheating, avoid the microwave at all costs; it vibrates water molecules and turns your crisp crust into a rubbery mess. Use a convection oven at 150C / 300F for 8 minutes to re-crisp the lipids.
THE KITCHEN TABLE
Why are my pastry weights sticking to the dough?
You must use parchment paper or a heat-resistant liner between the dough and the weights. Never place weights directly on raw pastry, as they will become embedded in the fat and flour during the baking process.
Can I use dried beans instead of professional weights?
Yes, but they are less thermally conductive. Ceramic or metal weights distribute heat more efficiently to the bottom of the crust, ensuring a more even bake and a superior "snap" to the finished product.
How do I clean my pastry weights?
If they are ceramic, soak them in hot soapy water, rinse, and dry thoroughly in a low oven. Residual oils can turn rancid over time, so maintaining cleanliness is vital for the sensory profile of future bakes.
My crust shrunk down the sides of the pan. What happened?
This is a failure of gluten relaxation. You likely overworked the dough or didn't let it rest long enough in the refrigerator. The proteins "snapped back" like a rubber band when they hit the heat.